
My Spare Parts Project

Thread Starter
|
Senior Member
1st Gear Member
Joined: Sep 2012
Posts: 326
From: Ohio
1st Gear Member
I got a delivery from UPS that made me happy.
And it was just like Christmas:
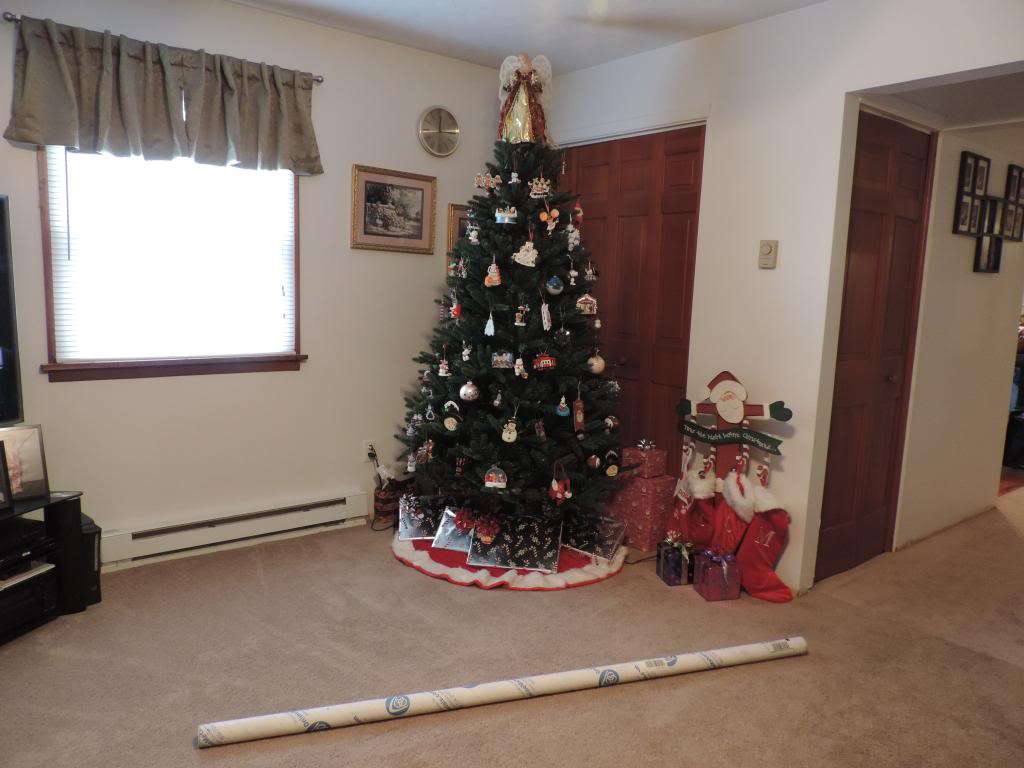
I got Tubing! Thank you Santa!
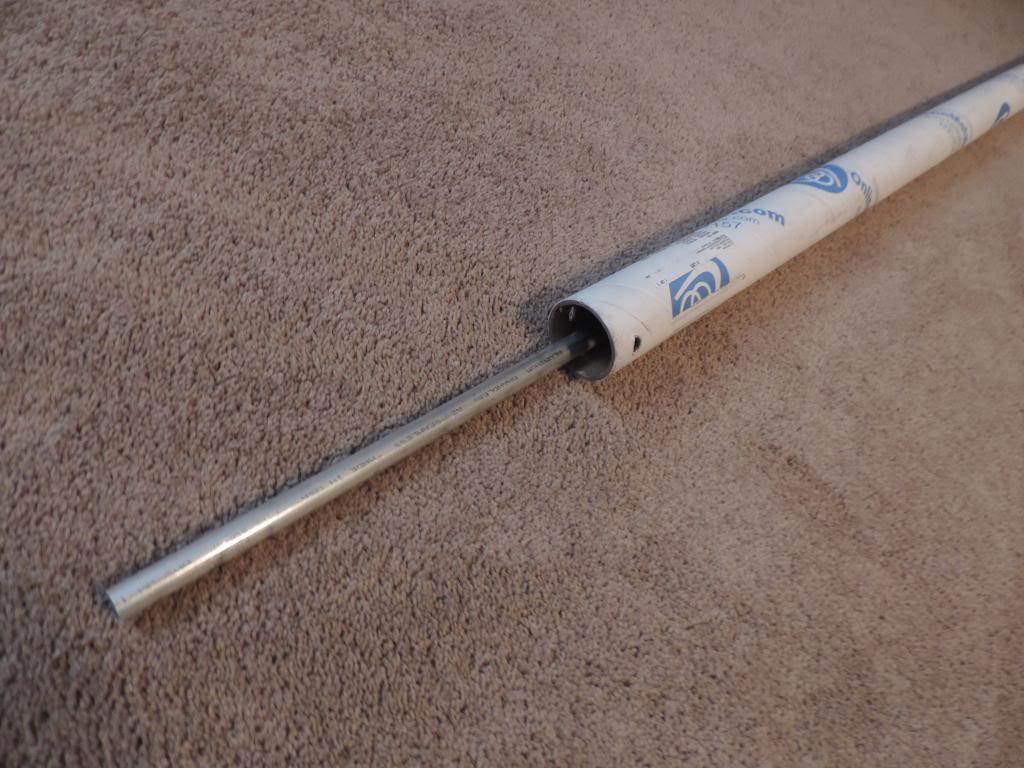
It's for these little projects:
I'll be doing some drilling and fitting & then some welding will get done later this week. The one at the bottom right is what the other four will look like.

And it was just like Christmas:

I got Tubing! Thank you Santa!

It's for these little projects:

I'll be doing some drilling and fitting & then some welding will get done later this week. The one at the bottom right is what the other four will look like.

Thread Starter
|
Senior Member
1st Gear Member
Joined: Sep 2012
Posts: 326
From: Ohio
1st Gear Member
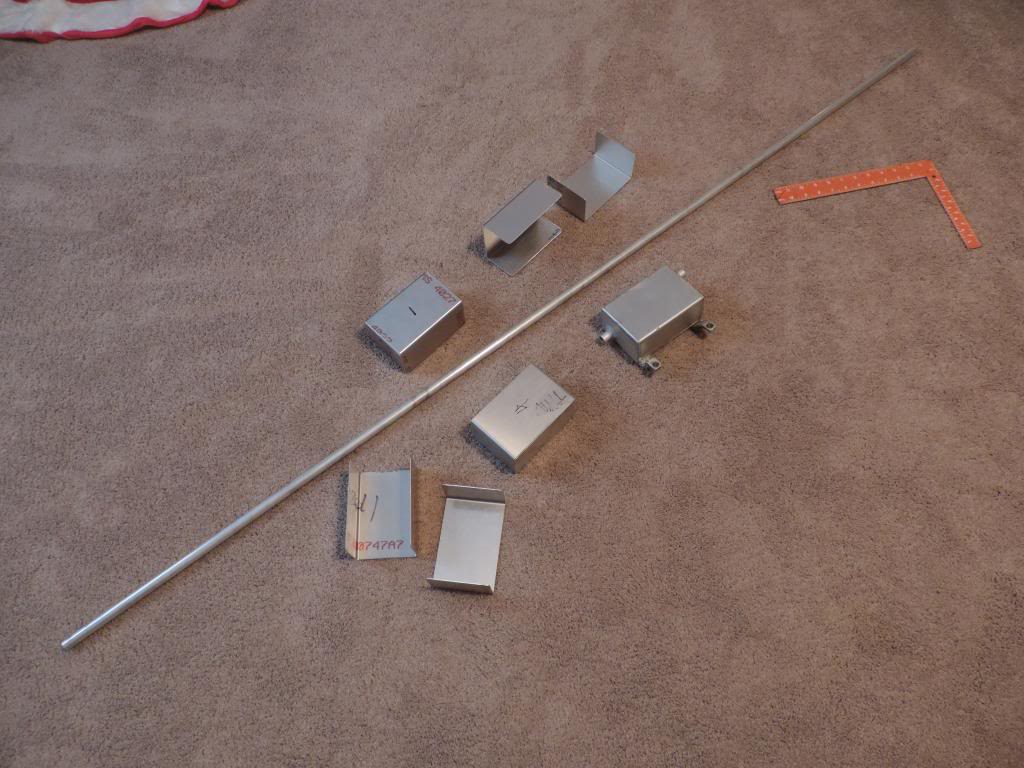
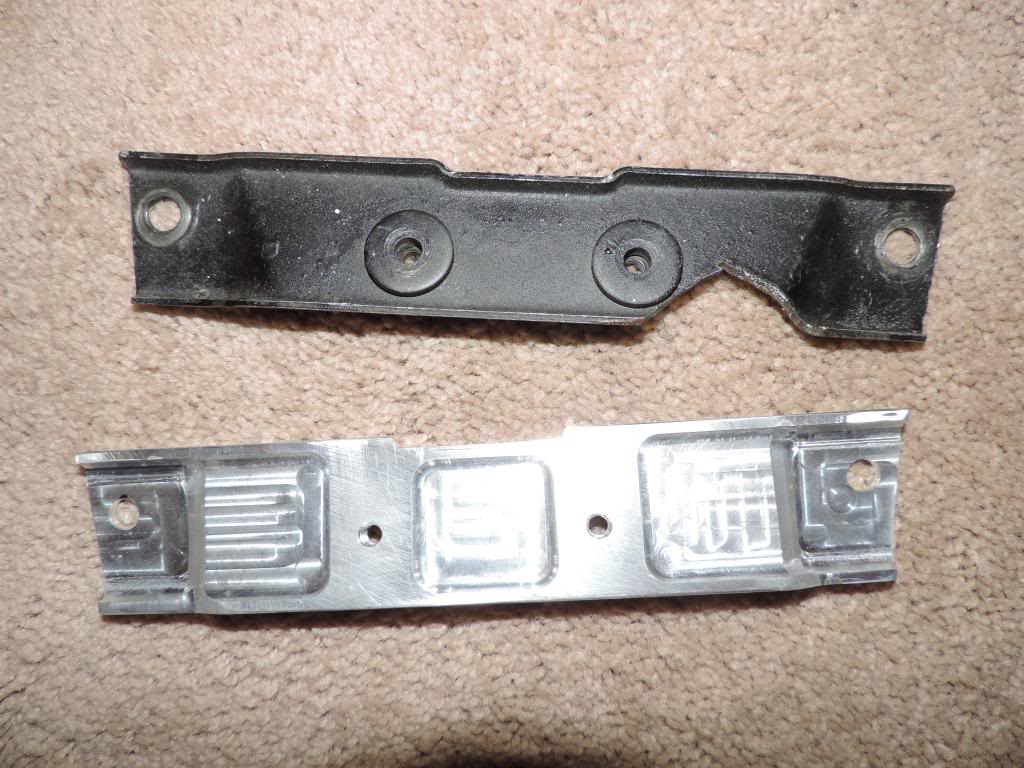
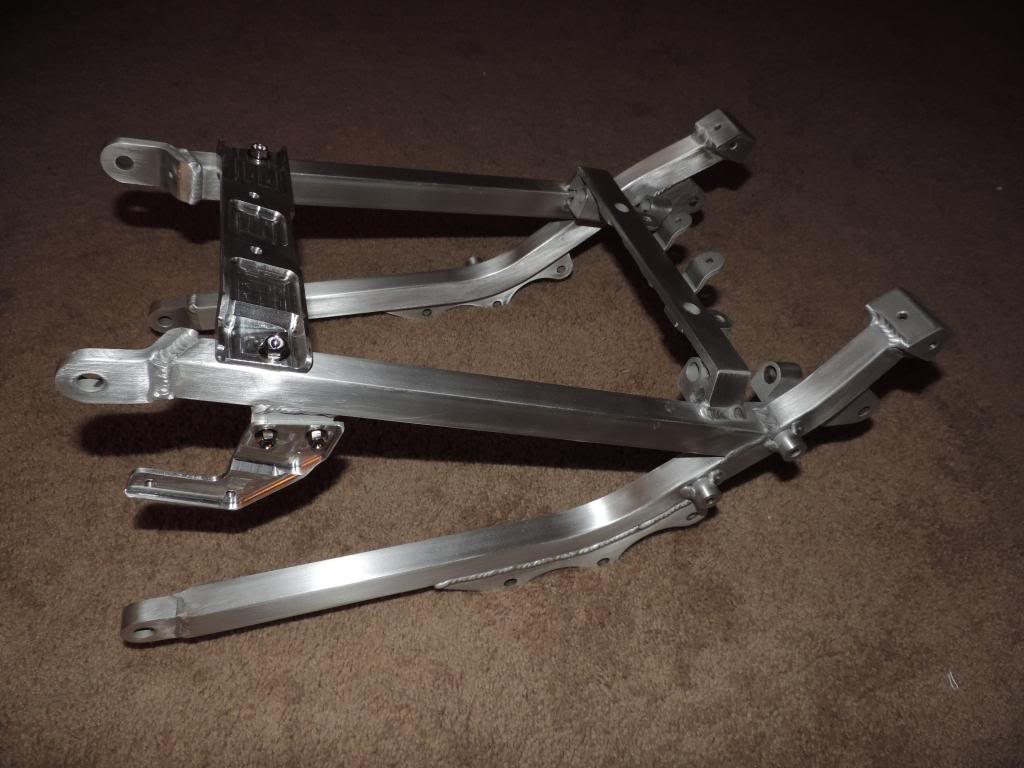
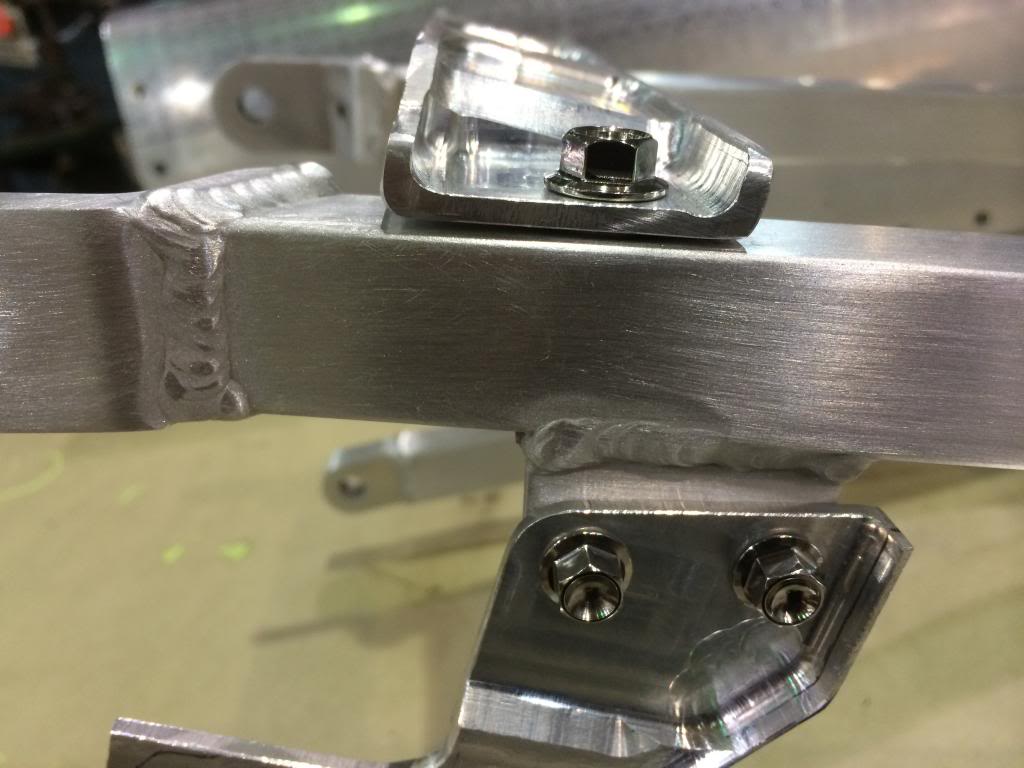
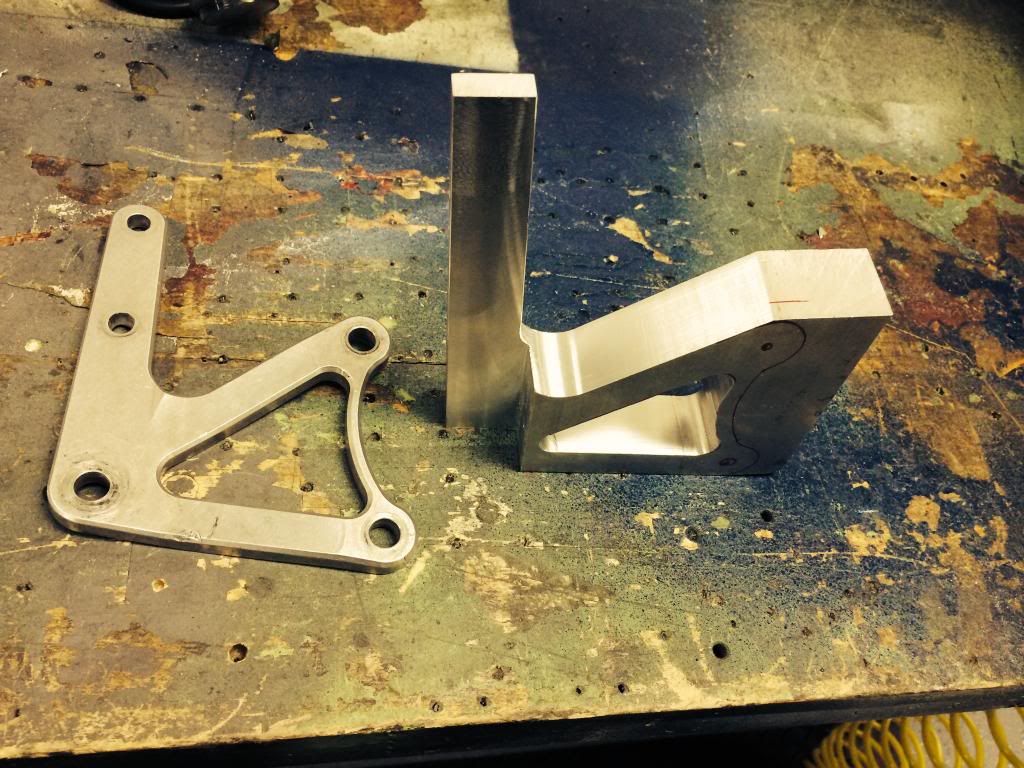
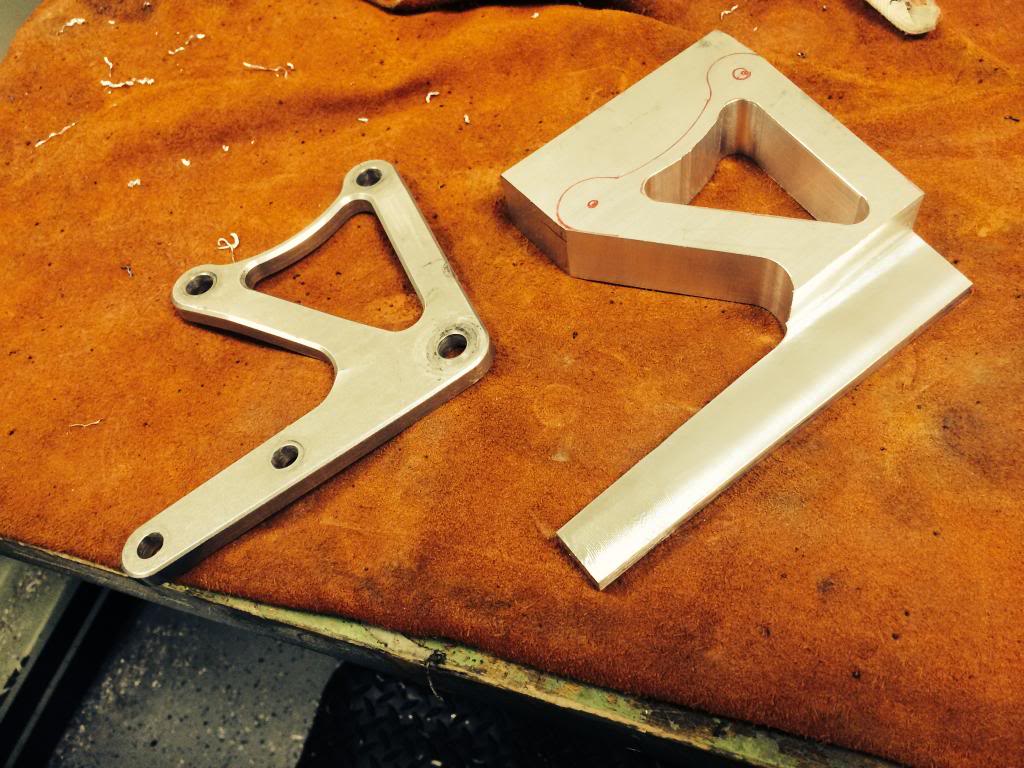
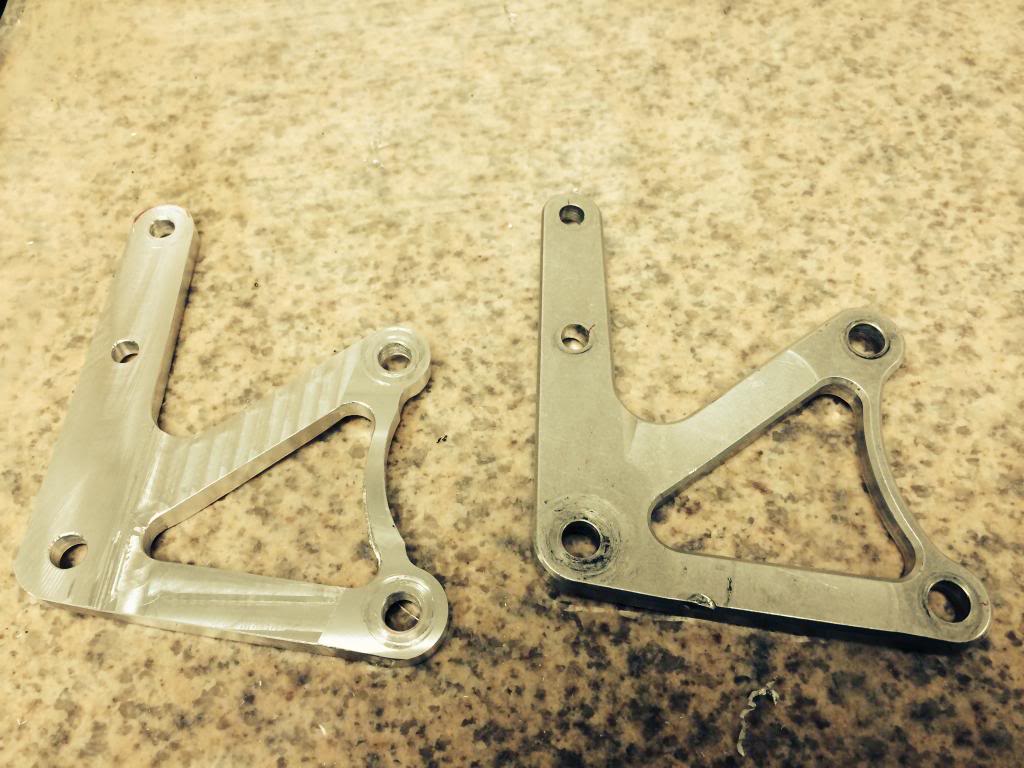
Here's a couple things I've had made:
They all have the original part laying next to them.
Fuel tank mounts:
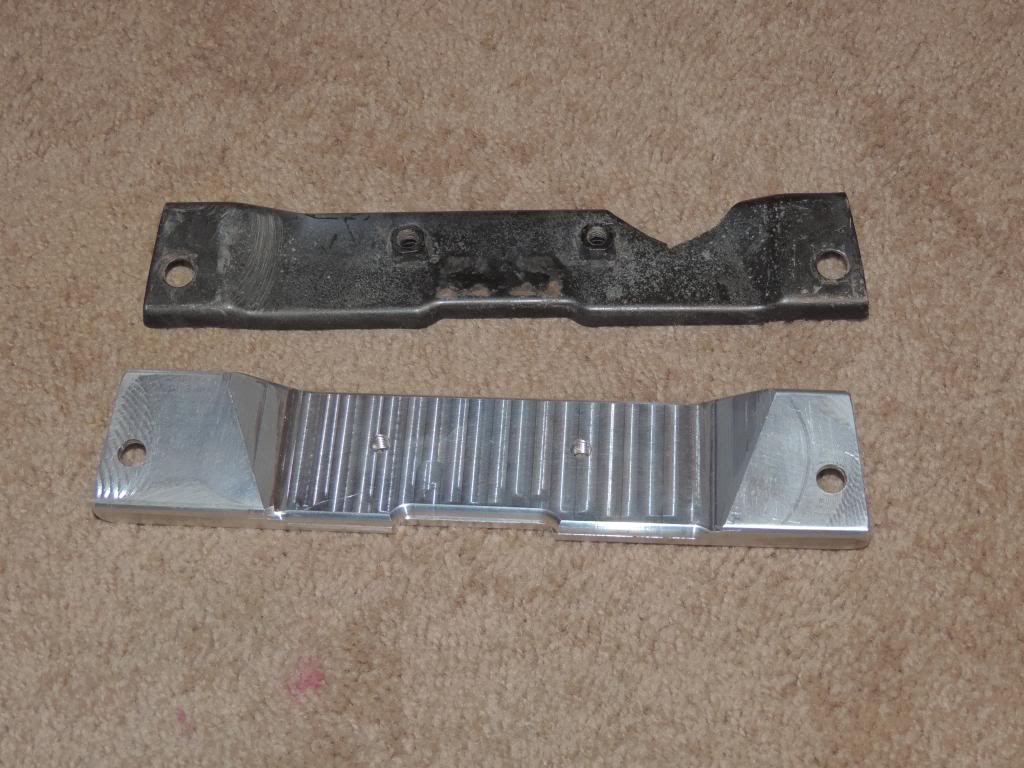
You've all seen this before:
It's the petcock mount.
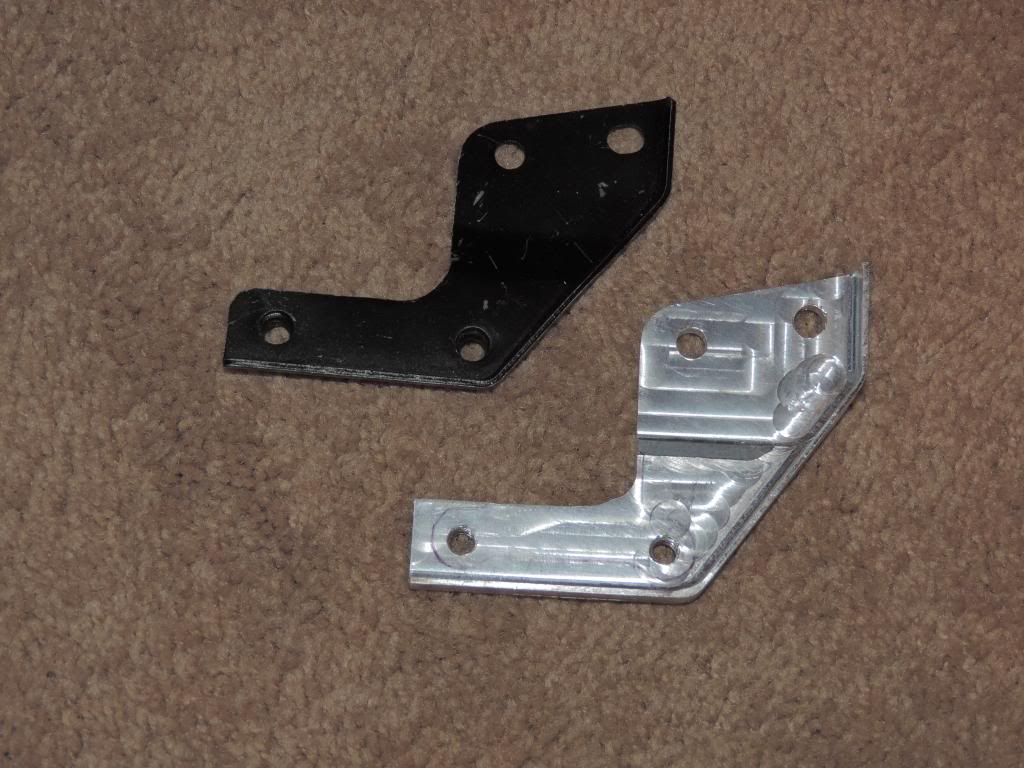
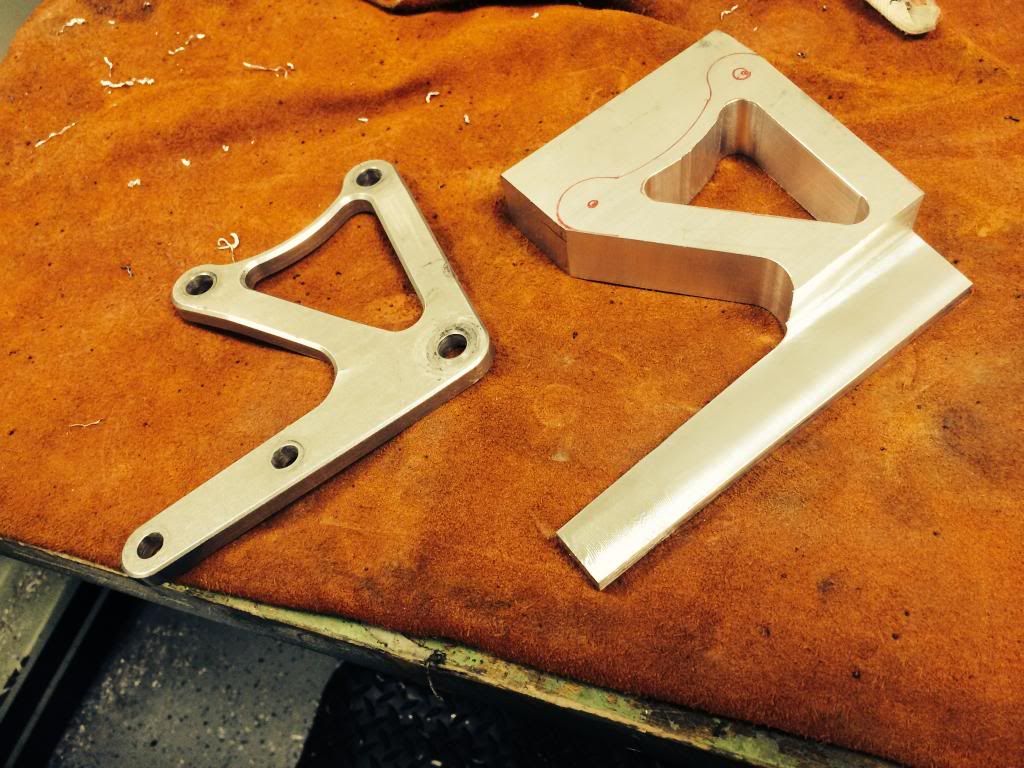
And one of the rearsets that came with my superbike parts stash. I made a new one simply because I don't want to destroy the original if I wreck this bike, so the original is getting put back in it's box and put on a shelf.
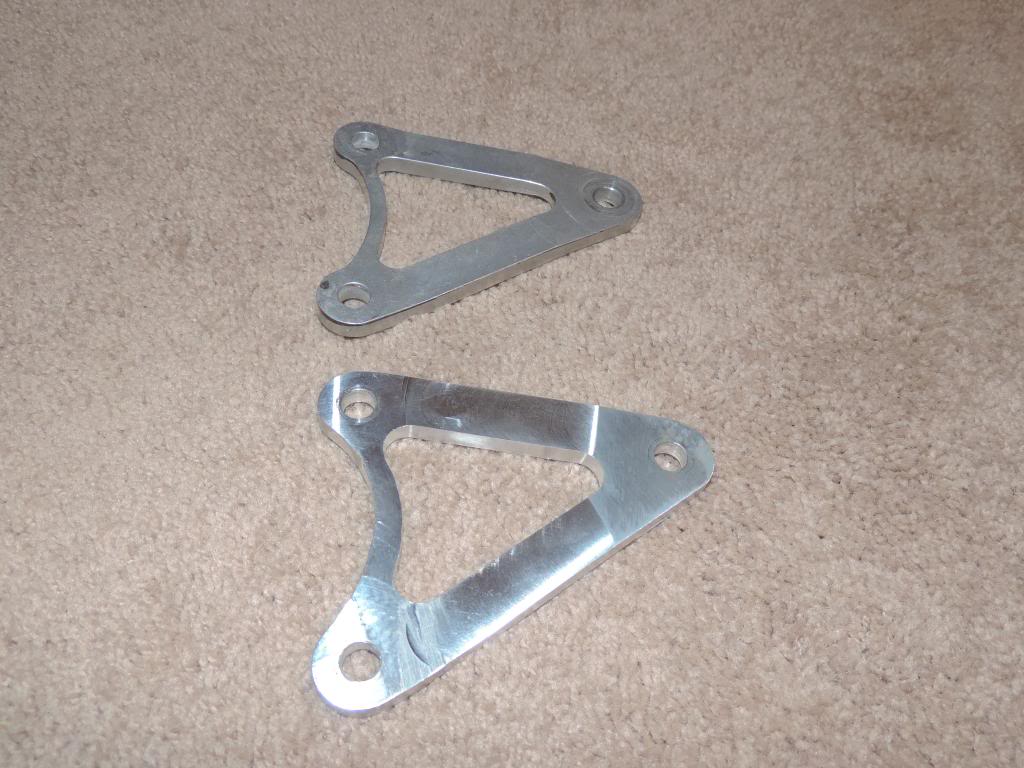
I'm still working on other parts for this project. These are just some things my brother whipped up on his Bridgeport.

They all have the original part laying next to them.
Fuel tank mounts:


You've all seen this before:

It's the petcock mount.
And one of the rearsets that came with my superbike parts stash. I made a new one simply because I don't want to destroy the original if I wreck this bike, so the original is getting put back in it's box and put on a shelf.

I'm still working on other parts for this project. These are just some things my brother whipped up on his Bridgeport.
Thread Starter
|
Senior Member
1st Gear Member
Joined: Sep 2012
Posts: 326
From: Ohio
1st Gear Member
The Christmas holiday really didn't go as I had planned. My wife had agreed to leave me alone for the first part of last week so I could spend a couple days in the garage. Needless to say that didn't happen. :eye:
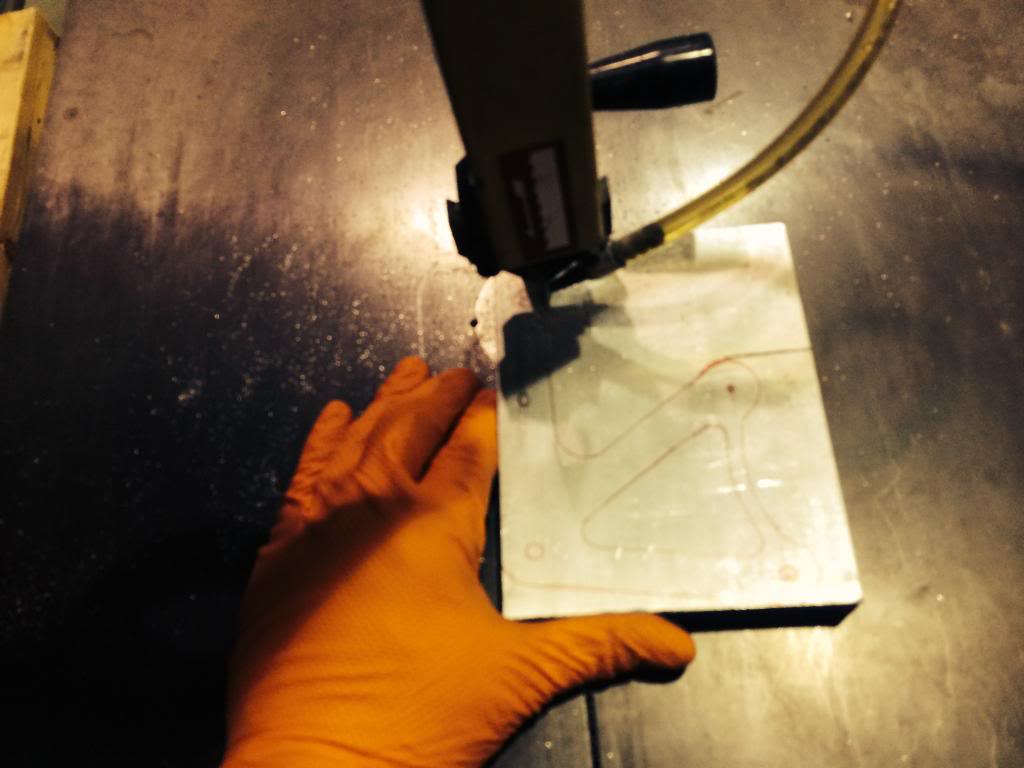
I did manage to get a couple things done though. I stripped the subframe to do the bare metal finish on the whole thing and when I got all the paint off I discovered a fair amount of corrosion. Here's the pictures of that:
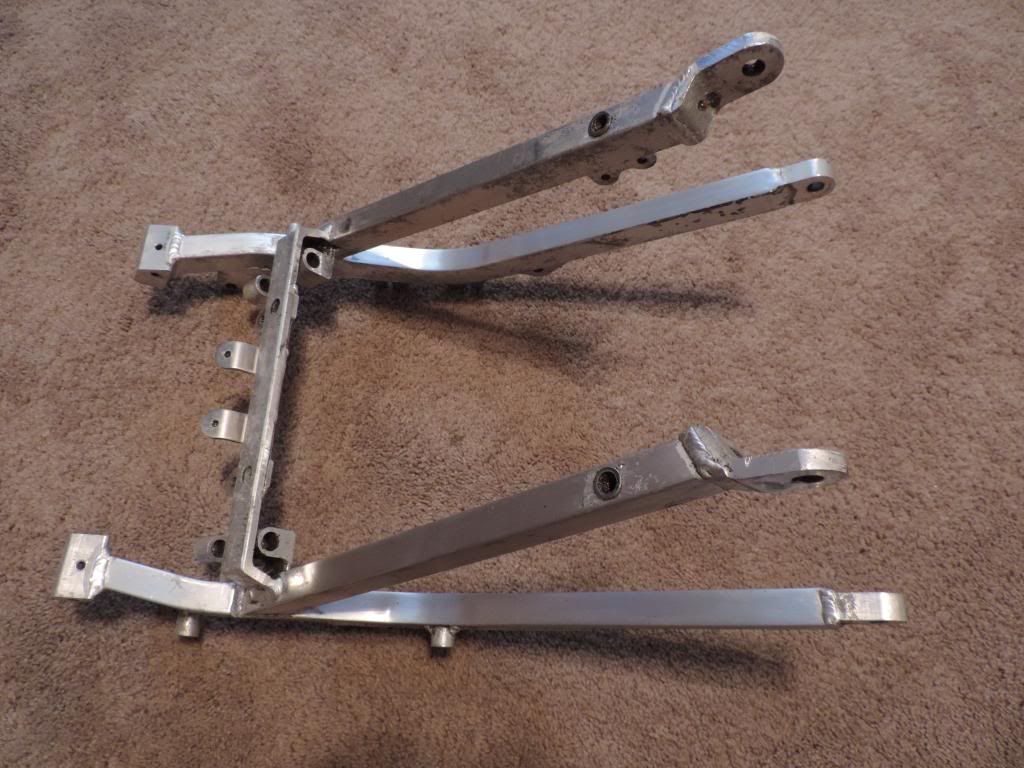
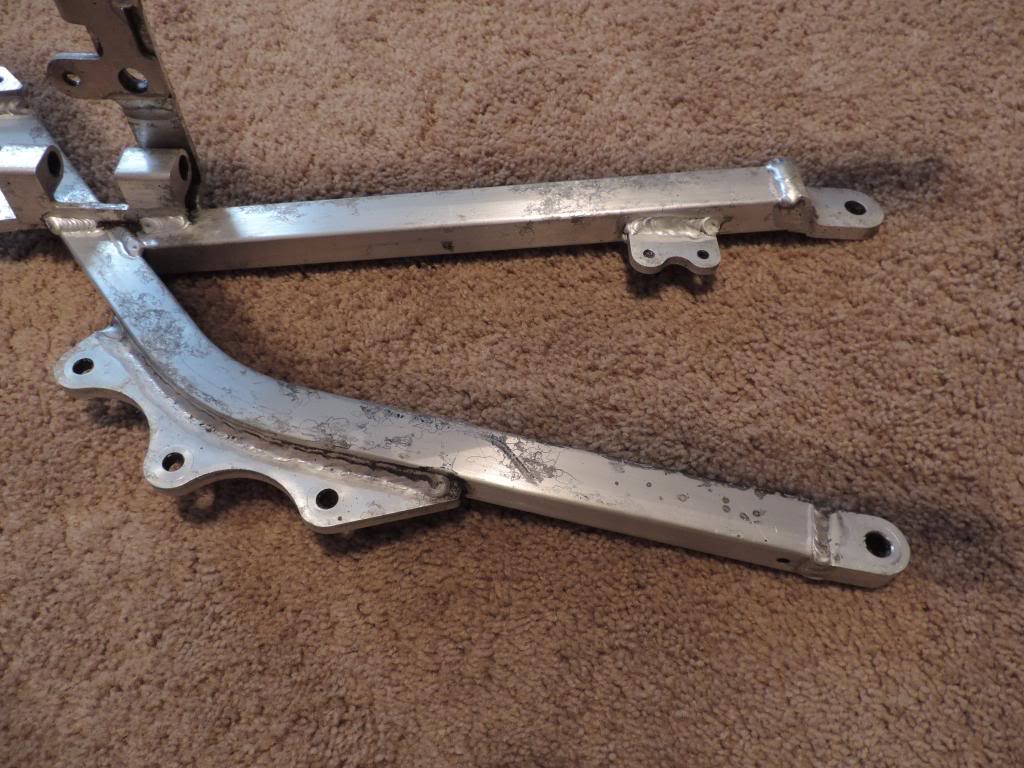
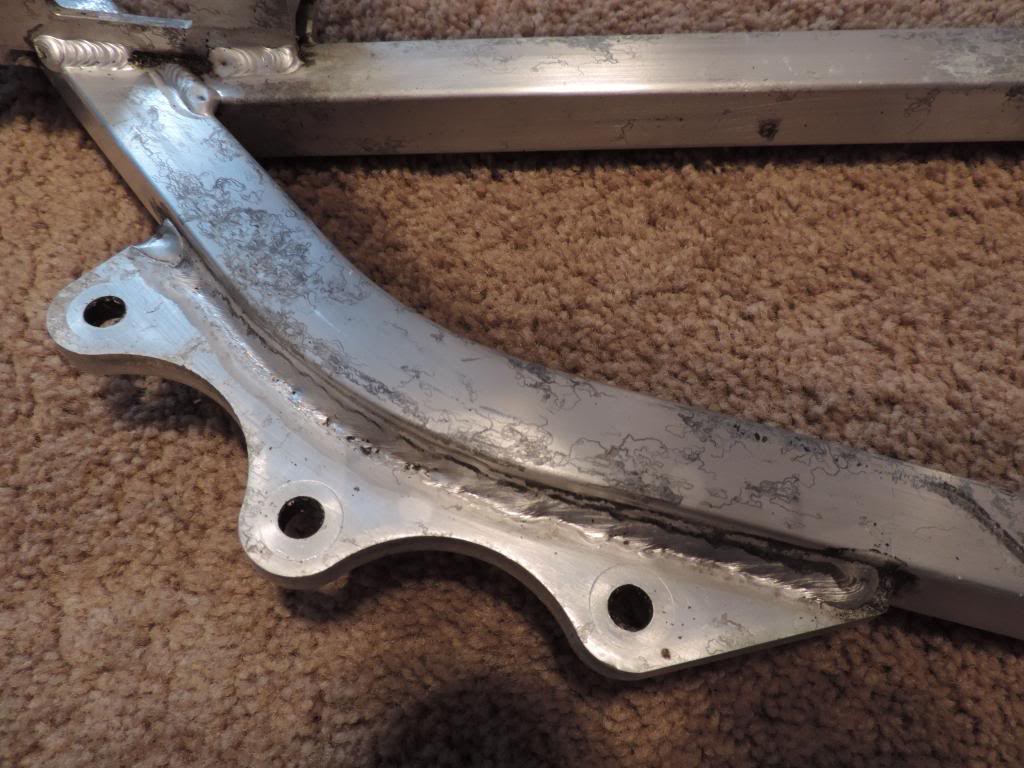
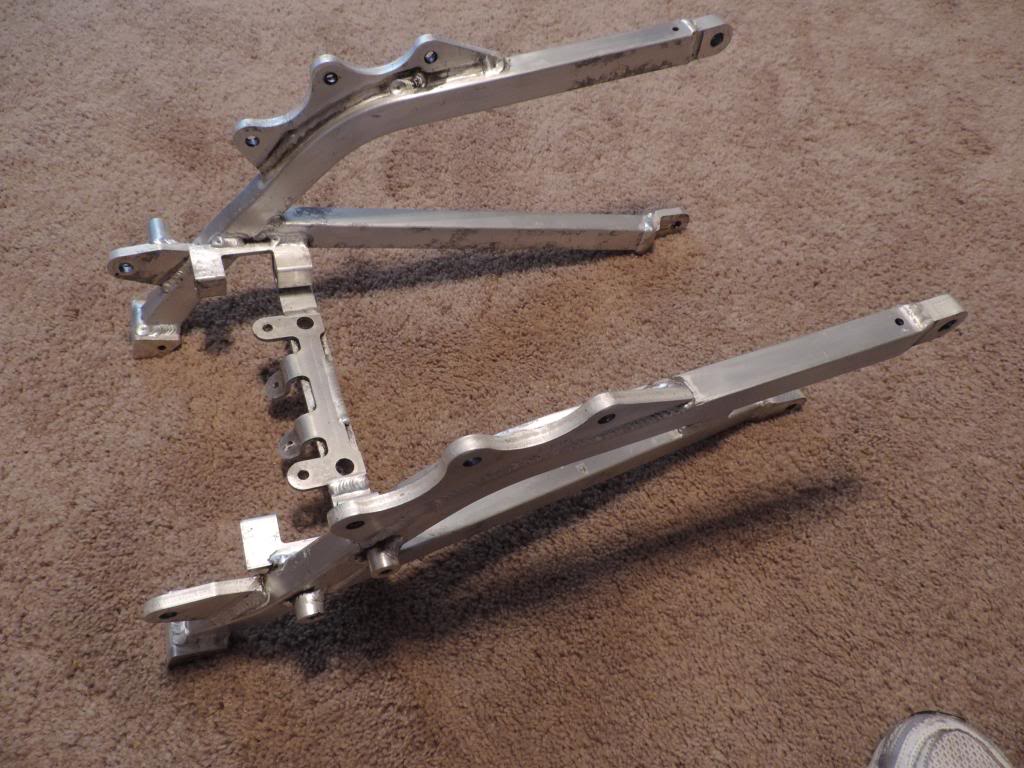
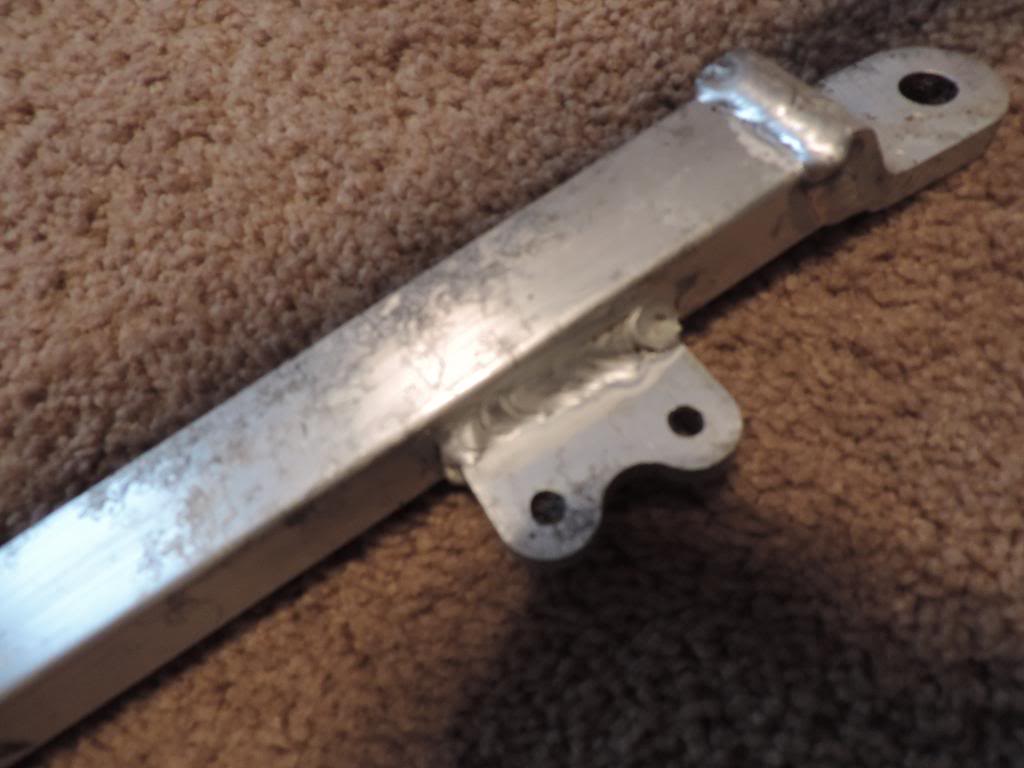
I did manage to get a couple things done though. I stripped the subframe to do the bare metal finish on the whole thing and when I got all the paint off I discovered a fair amount of corrosion. Here's the pictures of that:


Thread Starter
|
Senior Member
1st Gear Member
Joined: Sep 2012
Posts: 326
From: Ohio
1st Gear Member
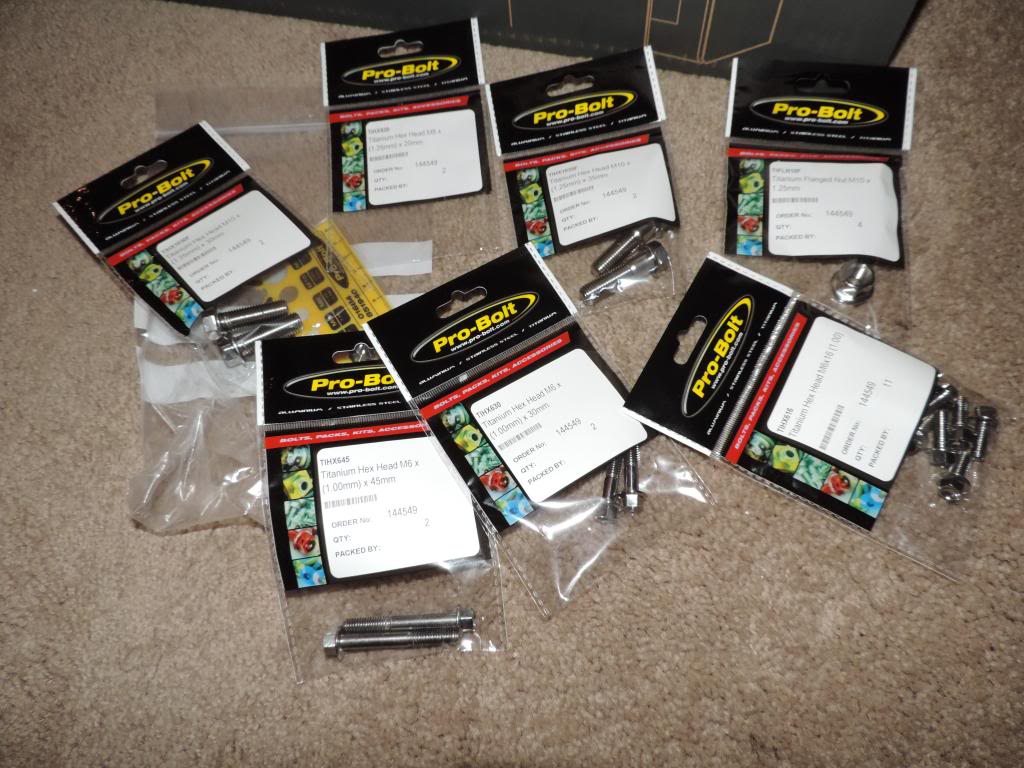
So I had to back up a little. I bead blasted the subframe to remove the corrosion and started over on the finish. The good news was that the corrosion wasn't too bad to save the part. All that corrosion is only on the surface so it was an easy fix. I also received some of my titanium bolts.
Christmas for the fat kid::banana:
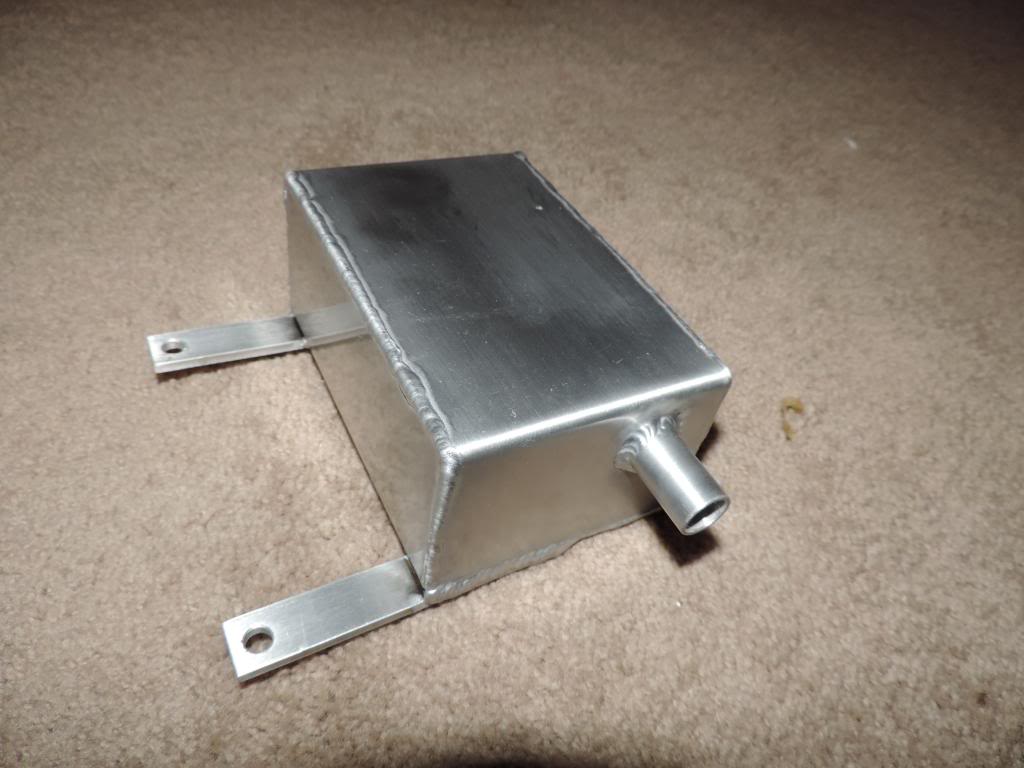
I also fabricated a crankcase vent tank for the bike ( this was done when I was helping CCM out with a part or two):
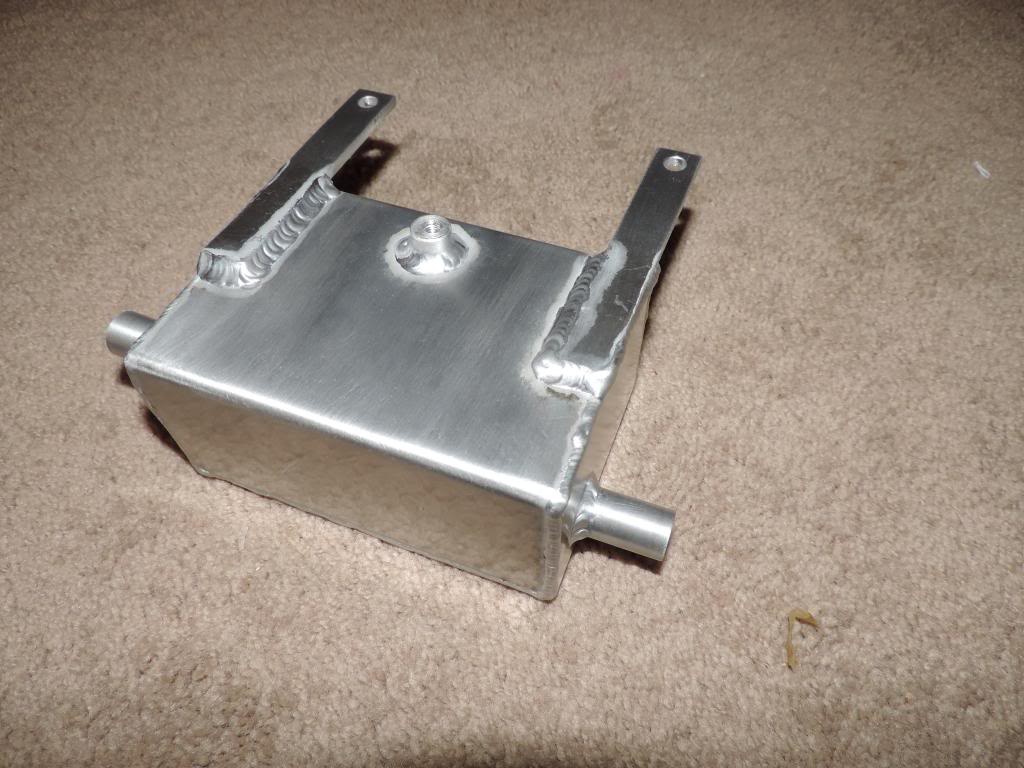
Christmas for the fat kid::banana:

I also fabricated a crankcase vent tank for the bike ( this was done when I was helping CCM out with a part or two):


Thread Starter
|
Senior Member
1st Gear Member
Joined: Sep 2012
Posts: 326
From: Ohio
1st Gear Member
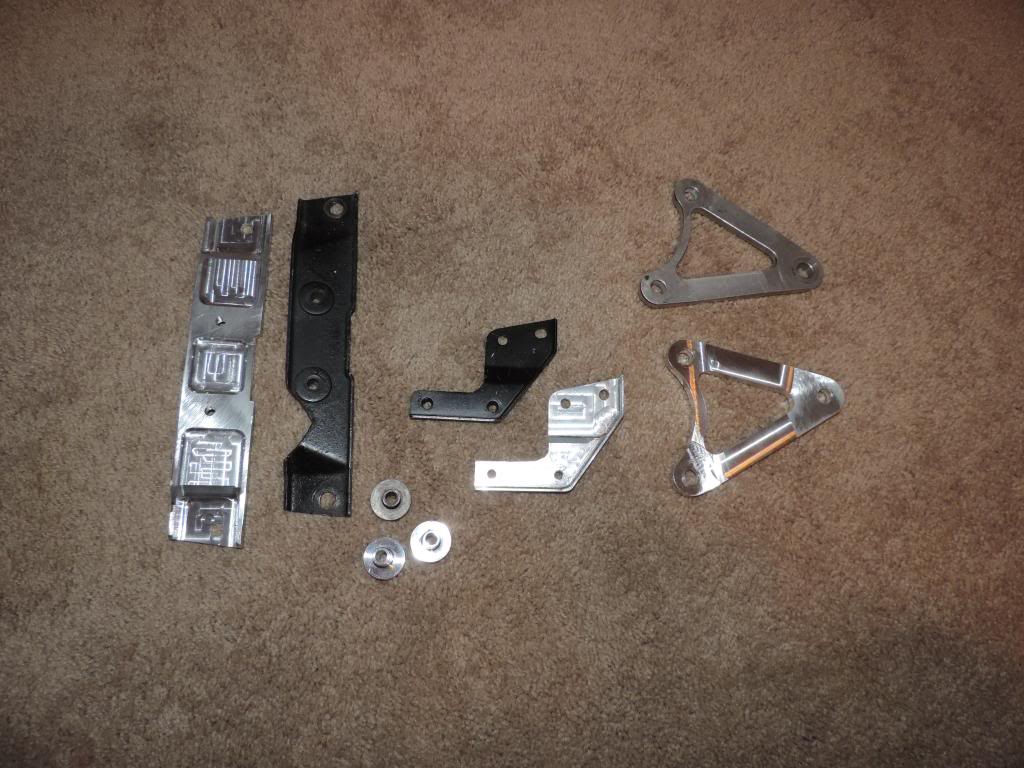
I did get the subframe to a finish I was happy with. I clear coated it and the brackets in the pictures for corrosion protection.

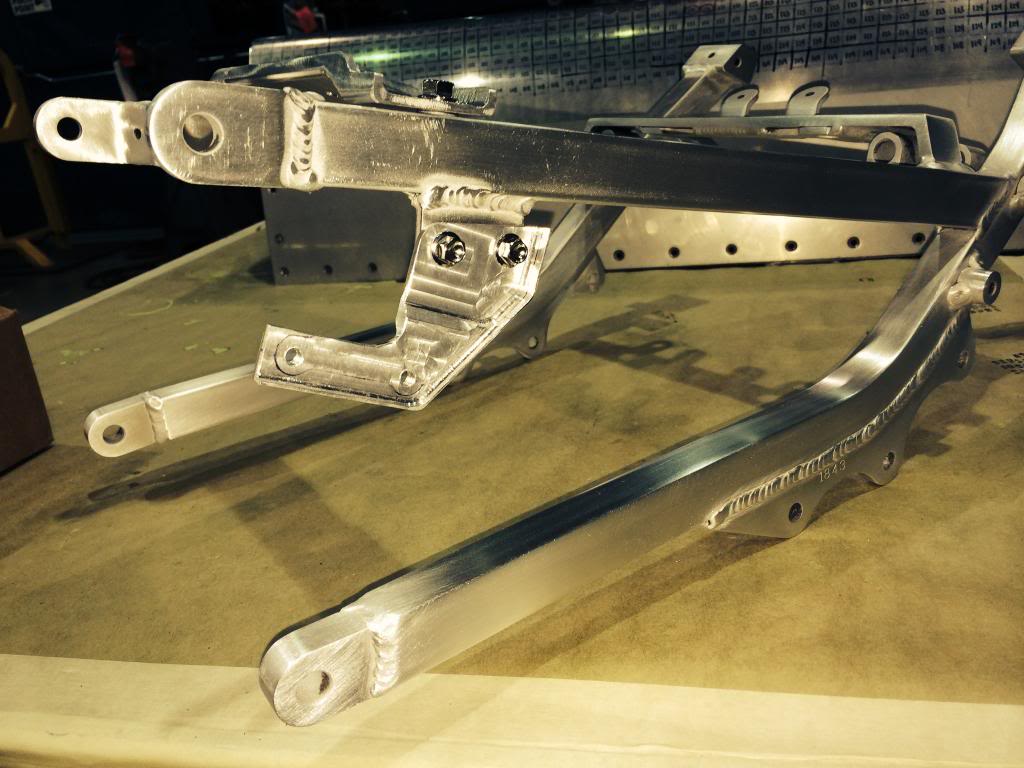
I'll be using ti. bolts to put it all together.


I'll be using ti. bolts to put it all together.

Thread Starter
|
Senior Member
1st Gear Member
Joined: Sep 2012
Posts: 326
From: Ohio
1st Gear Member
It's been a while since my last post, so let me update a little:
I have the other rearset in work:
almost finished:
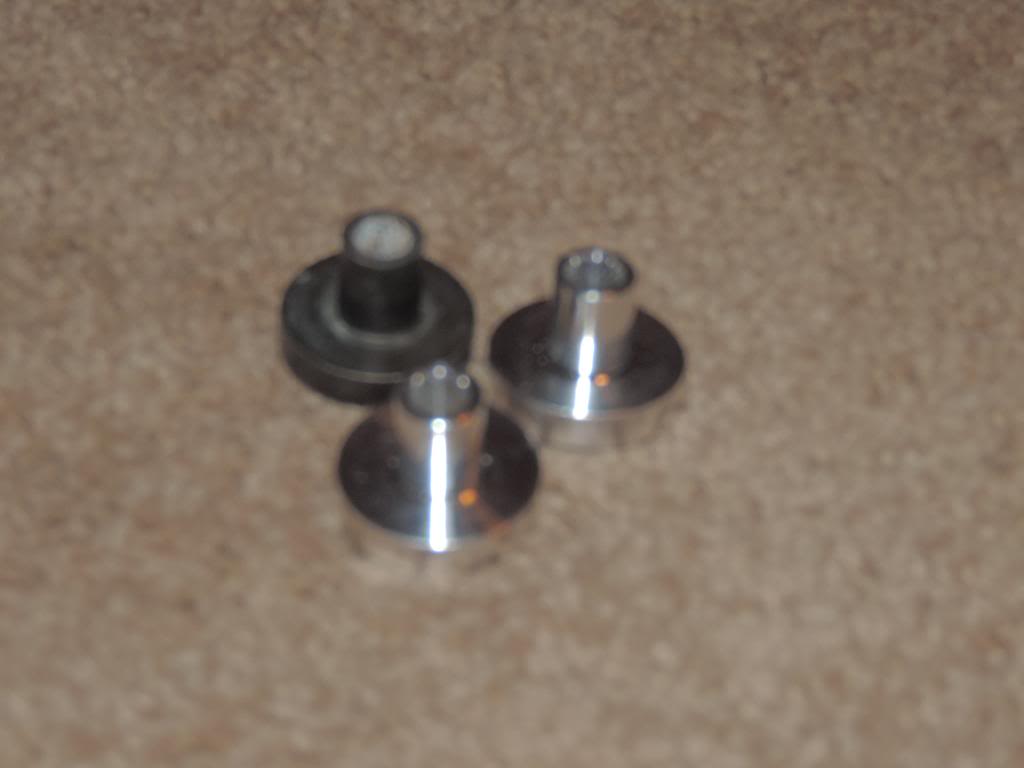
These are spacers for the front fender that I made out of aluminum to replace the steel originals:
[URL=http://s180.photobucket.com/user/2fat2fly_photos/media/M%20Model%20Project/DSCN1200_zps18f5a431.jpg.html]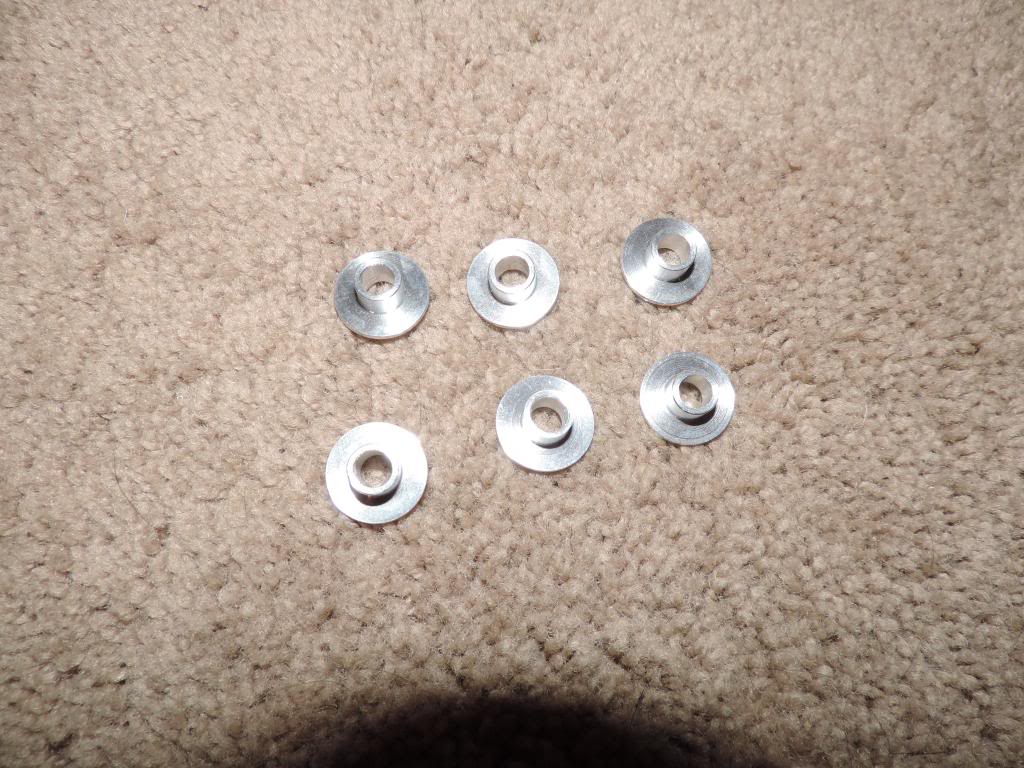 [/
[/
I have the other rearset in work:

almost finished:


These are spacers for the front fender that I made out of aluminum to replace the steel originals:
[URL=http://s180.photobucket.com/user/2fat2fly_photos/media/M%20Model%20Project/DSCN1200_zps18f5a431.jpg.html]
[/

Thread Starter
|
Senior Member
1st Gear Member
Joined: Sep 2012
Posts: 326
From: Ohio
1st Gear Member
I had to use a thicker piece because the rearset has multiple contours to it and it's over 5/8" wide when you measure it overall. That piece was the thinnest piece I had that was thick enough to work.
Thread Starter
|
Senior Member
1st Gear Member
Joined: Sep 2012
Posts: 326
From: Ohio
1st Gear Member
Last week I was out of town for work so I didn't get much done.
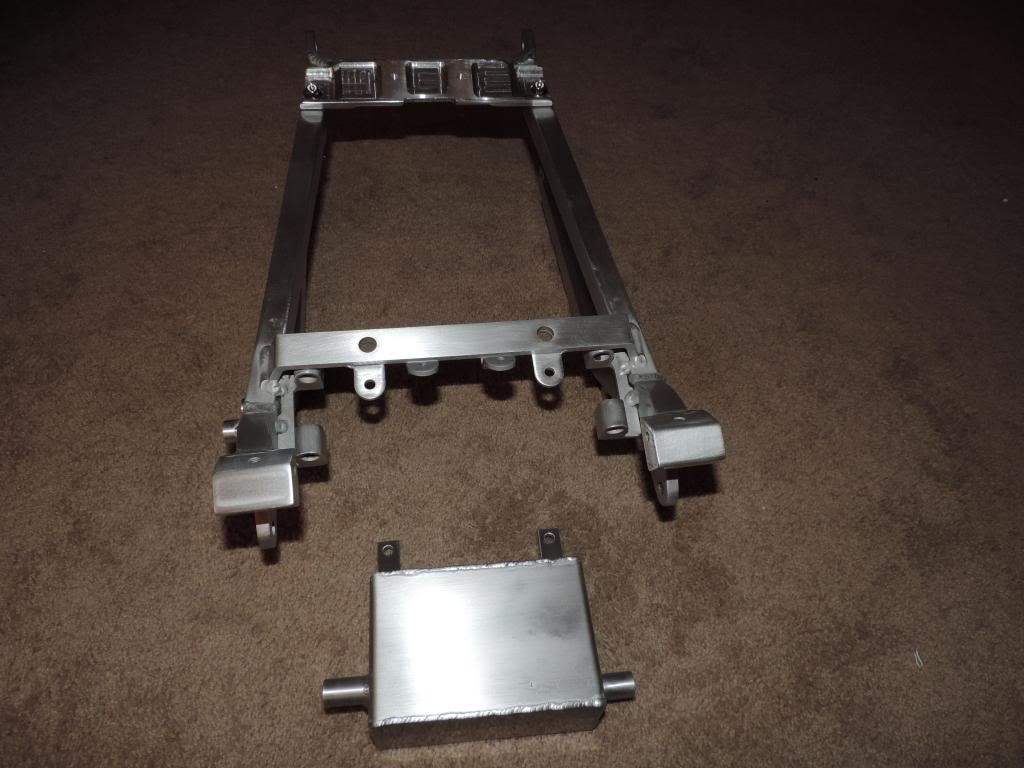
While I was away my brother managed to weld my fuel tank back together for me.
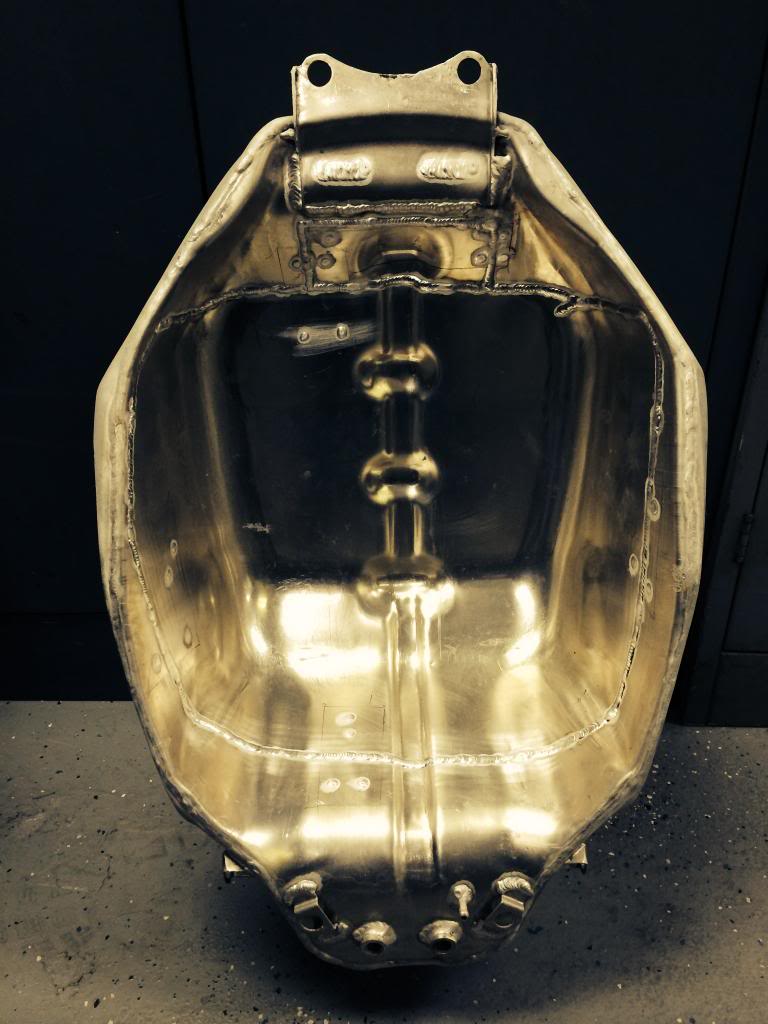
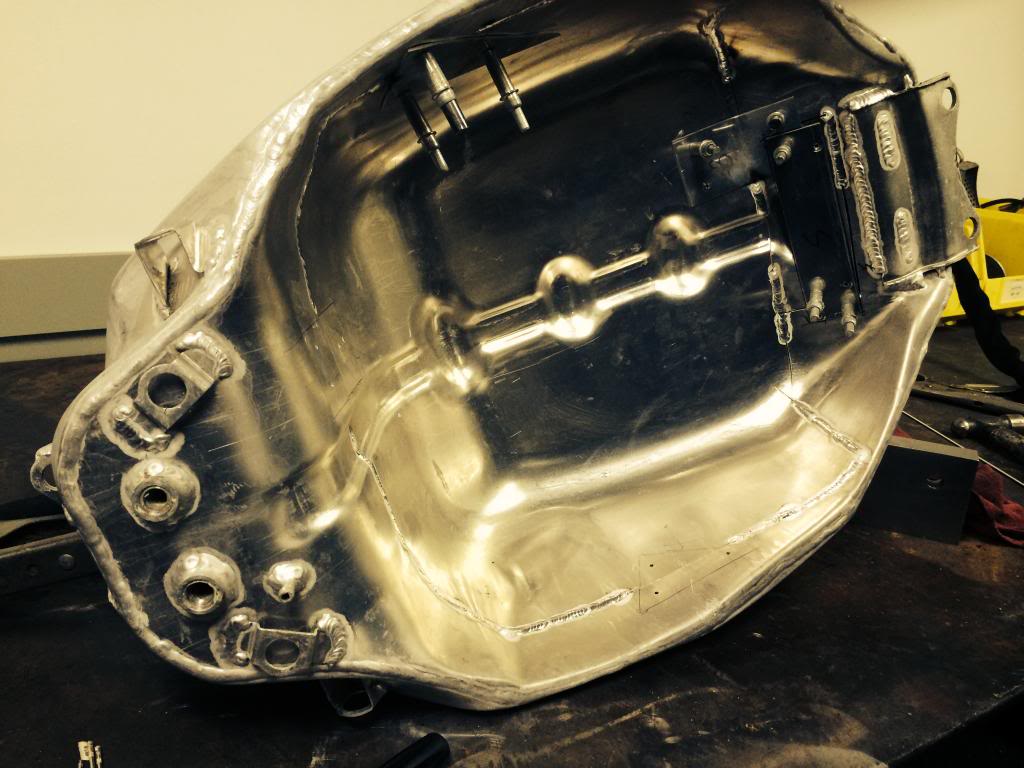

That makes one less thing left to do.
While I was away my brother managed to weld my fuel tank back together for me.


That makes one less thing left to do.

