
My Spare Parts Project

Thread Starter
|
Senior Member
1st Gear Member
Joined: Sep 2012
Posts: 326
From: Ohio
1st Gear Member
For the past several months I've been working on an idea in my head for a build and in the last couple weeks it's really come together (in my head) as to how I want to build it. I started tinkering on it a week ago and I had inspiration hit me this week that put this idea into overdrive so I'm gonna share some of it with you all before my head explodes.
I'm not gonna spill the beans on everything about it, but I think it'll be a cool bike when it's done and it's based on my other M model ZX7R. My brother and I are going to fabricate alot of stuff that will be unique to this bike. In fact we've already started that part. I plan to utilize a machine shop and sheet metal fab shop for much of this thing and if I'm lucky, I'll even have access to a composite shop for a couple small projects for this bike. The horsepower (I'm hoping there will be alot of it) will be traditional Kawasaki (no ZX10R swap or turbo's) and it'll have 39mm FCR's feeding it.
Here's some teaser photos for you:
I'll be using quite a few original ZX7R parts:
We will be fabbing quite a few trinkets:


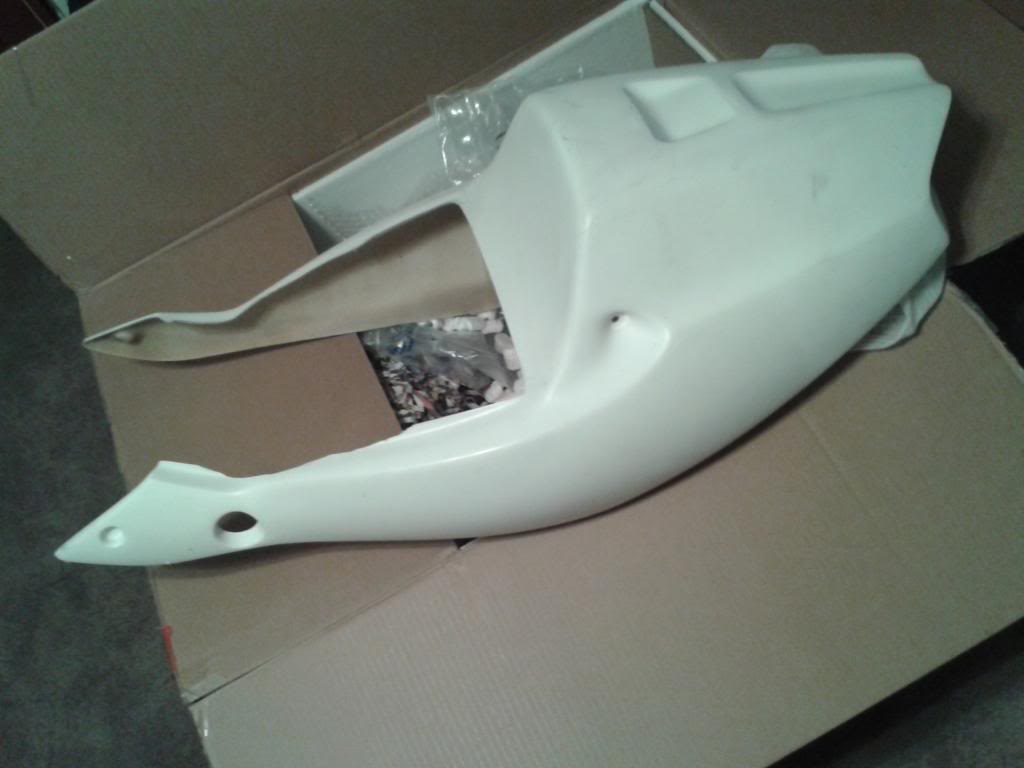
And covering it with some traditional bodywork:
I'm not gonna spill the beans on everything about it, but I think it'll be a cool bike when it's done and it's based on my other M model ZX7R. My brother and I are going to fabricate alot of stuff that will be unique to this bike. In fact we've already started that part. I plan to utilize a machine shop and sheet metal fab shop for much of this thing and if I'm lucky, I'll even have access to a composite shop for a couple small projects for this bike. The horsepower (I'm hoping there will be alot of it) will be traditional Kawasaki (no ZX10R swap or turbo's) and it'll have 39mm FCR's feeding it.
Here's some teaser photos for you:
I'll be using quite a few original ZX7R parts:

We will be fabbing quite a few trinkets:


And covering it with some traditional bodywork:


Thread Starter
|
Senior Member
1st Gear Member
Joined: Sep 2012
Posts: 326
From: Ohio
1st Gear Member
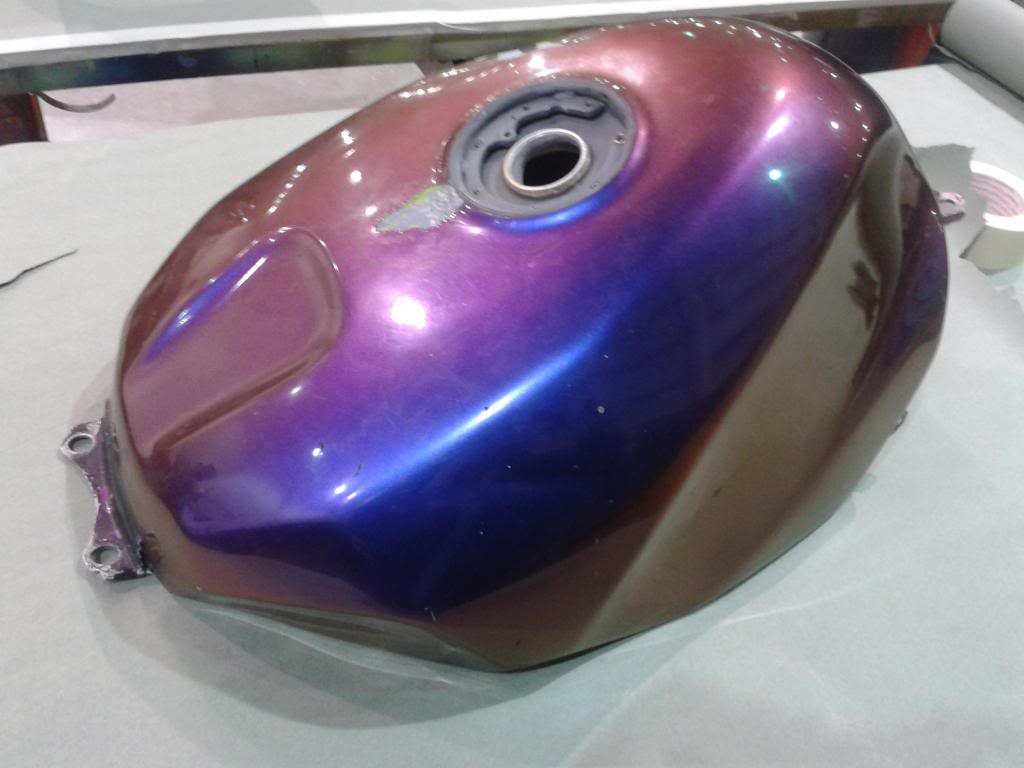
Oneof the first projects I did for this build was to rework the fuel tank to get it ready for paint.
This is how it looked when I bought it. It was in decent shape but had several dents so I decided to strip it and do what was necessary to remove the dents.
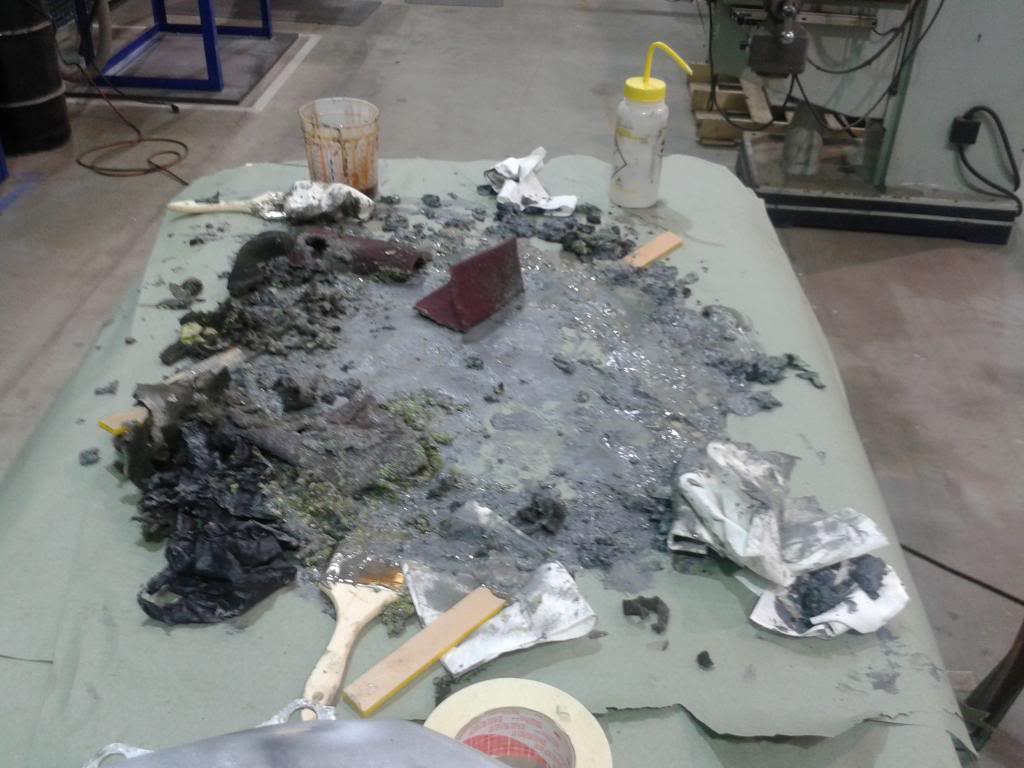
Here's the mess I had when I was done:
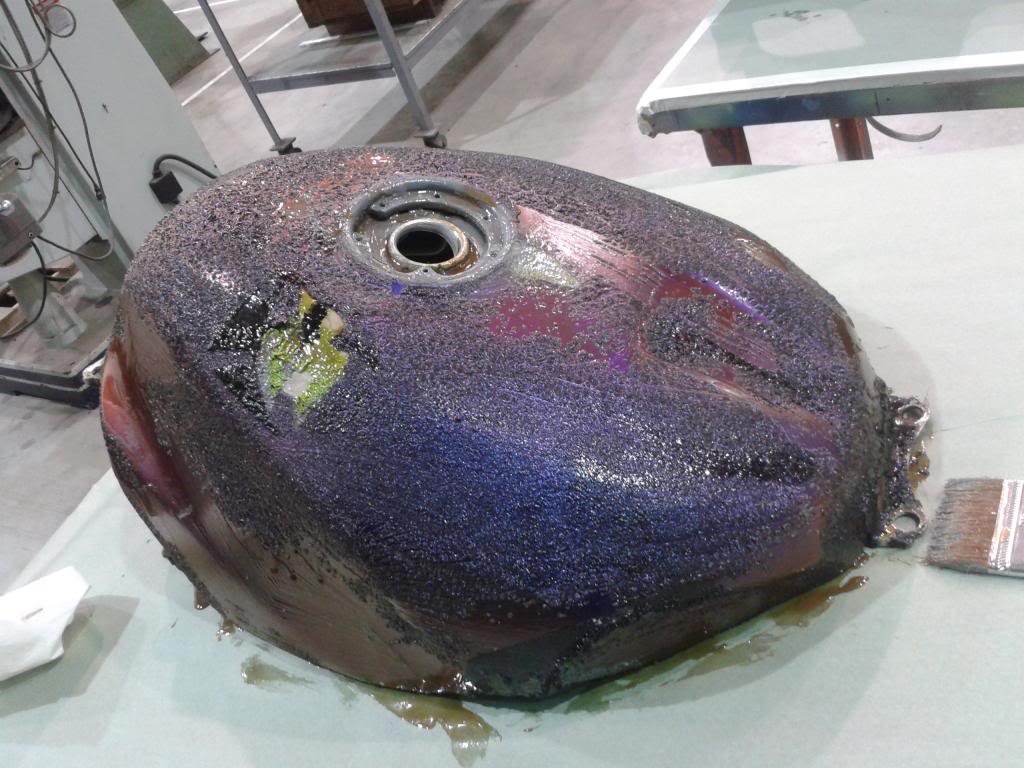
After I stripped it I got a good look at all the damage:
There were some other dents as well but they don't show in photos, but you get the idea.
This is how it looked when I bought it. It was in decent shape but had several dents so I decided to strip it and do what was necessary to remove the dents.


Here's the mess I had when I was done:

After I stripped it I got a good look at all the damage:


There were some other dents as well but they don't show in photos, but you get the idea.
Thread Starter
|
Senior Member
1st Gear Member
Joined: Sep 2012
Posts: 326
From: Ohio
1st Gear Member
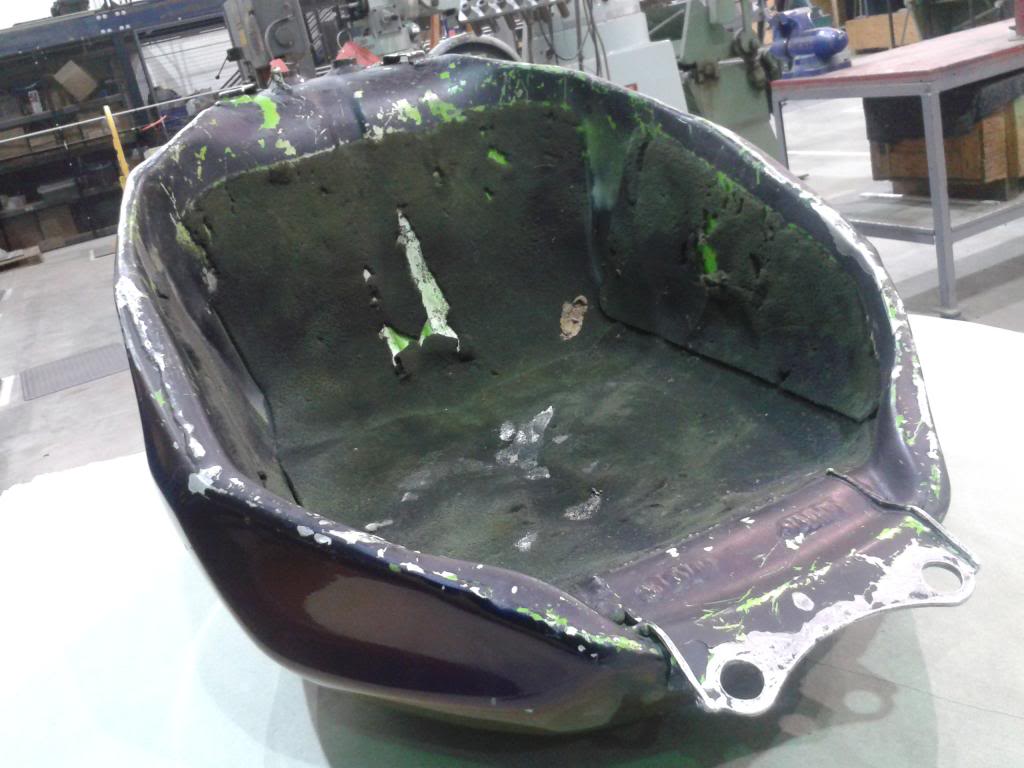
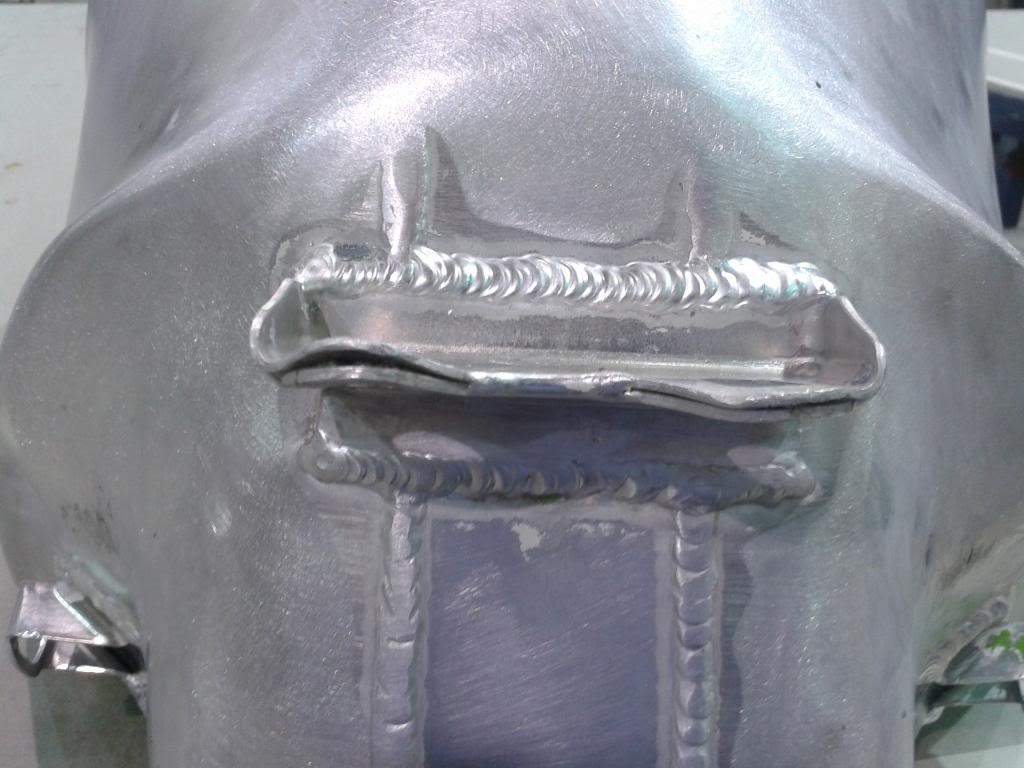
The best way for me to pull the dents is simply to cut the tank open. I know alot of people would do it differently and I know there's more than one body and paint guy here who's probably cringing right now, but this is how I did it.
I cut the bottom out of the tank and used a hammer and dolly to work the dents out. It some places I used a sand bag as well to work the dents.
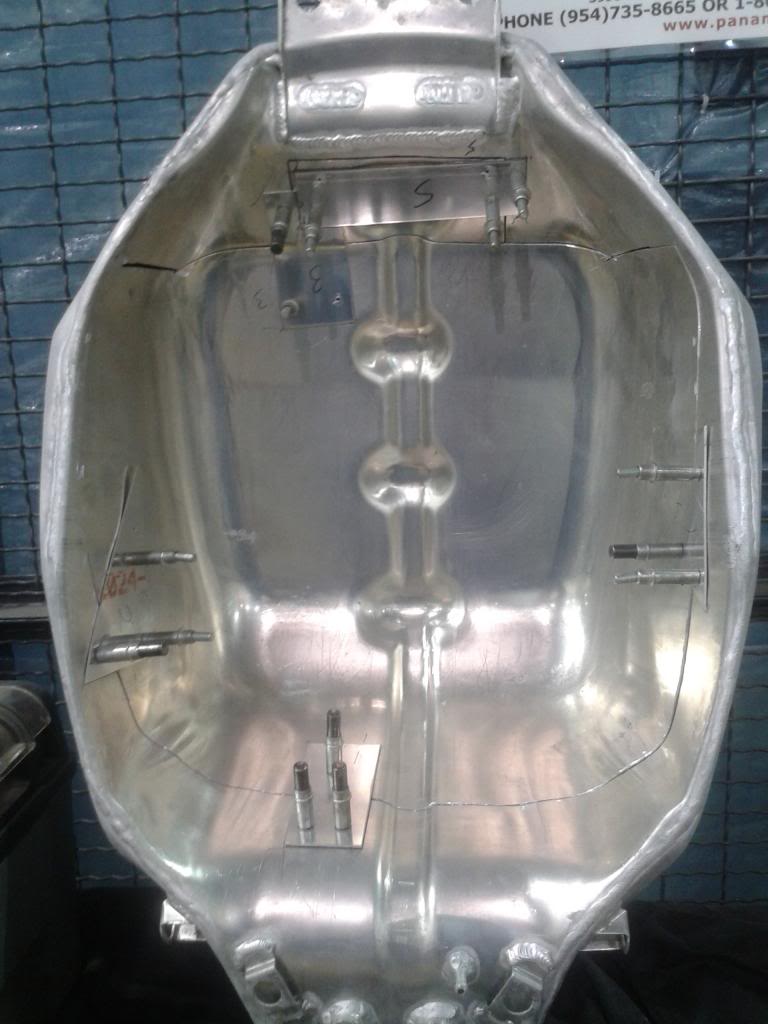
Before I actually cut anything I cut some small pieces of aluminum to use to locate the bottom for re-installation. Then I drilled them to the appropriate size with the fuel tank and attached them with clecos. These are used for sheetmetal work in many industries. The two that come to mind are aviation and Nascar.
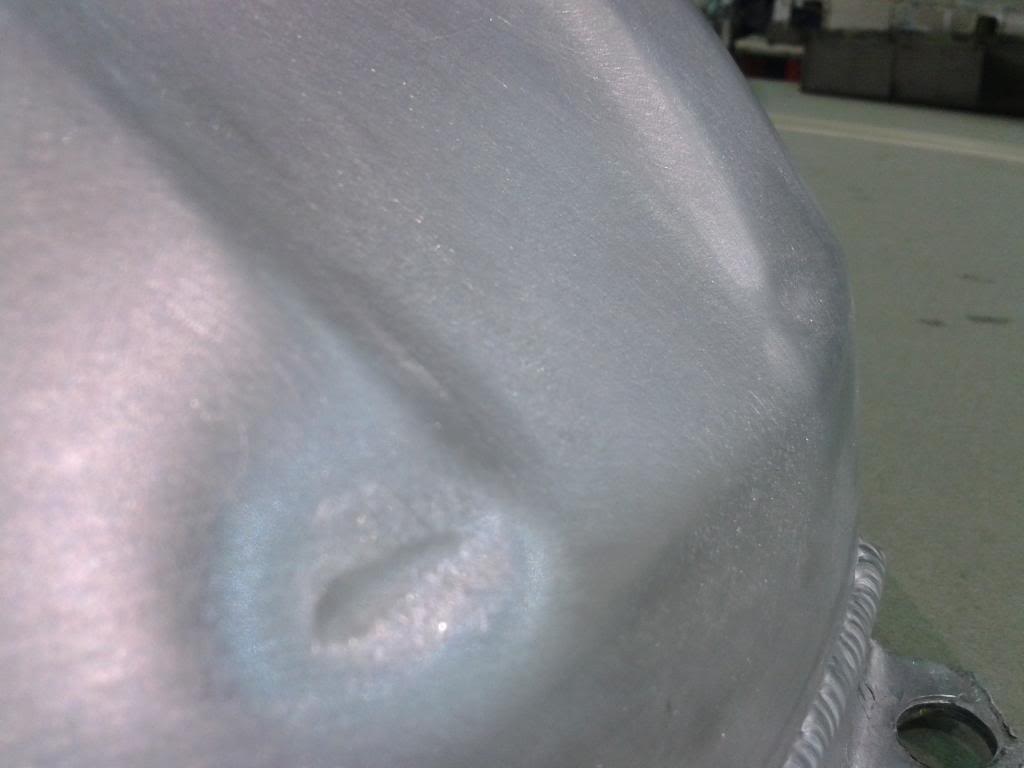
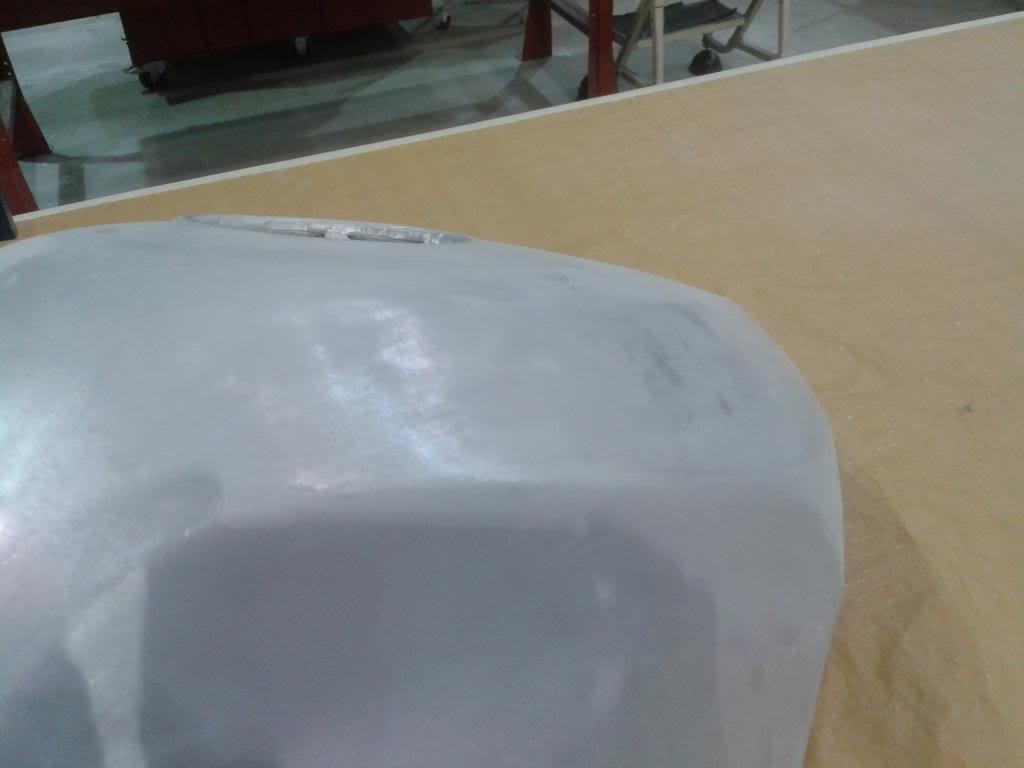
Here's an after photo or two:
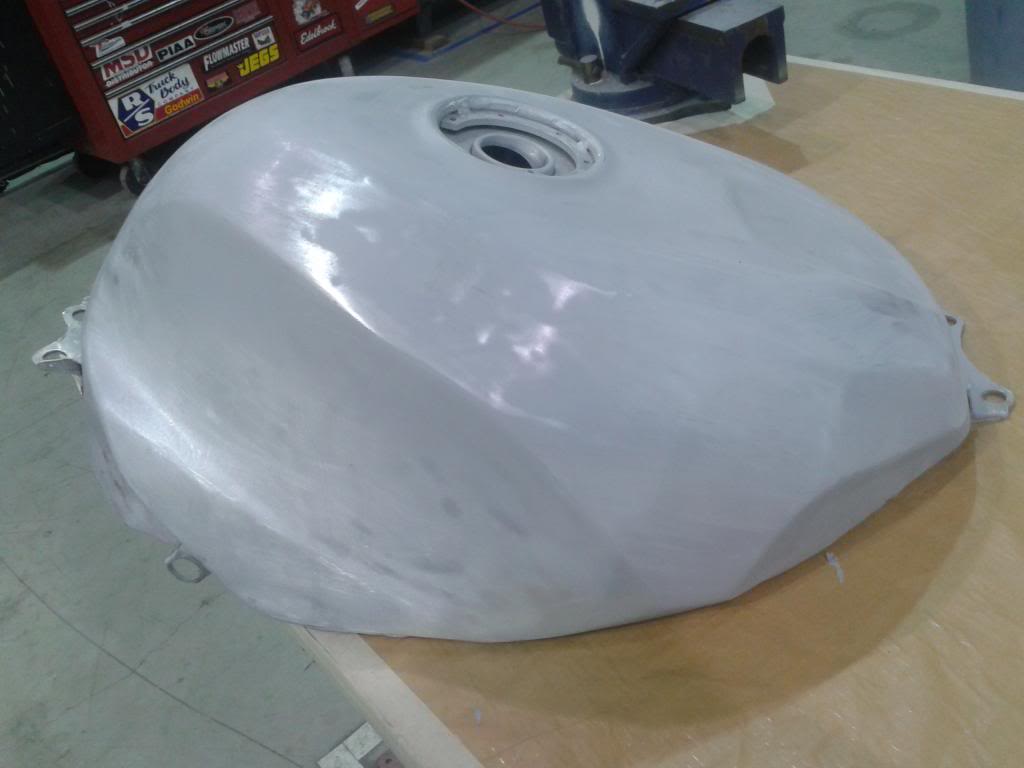
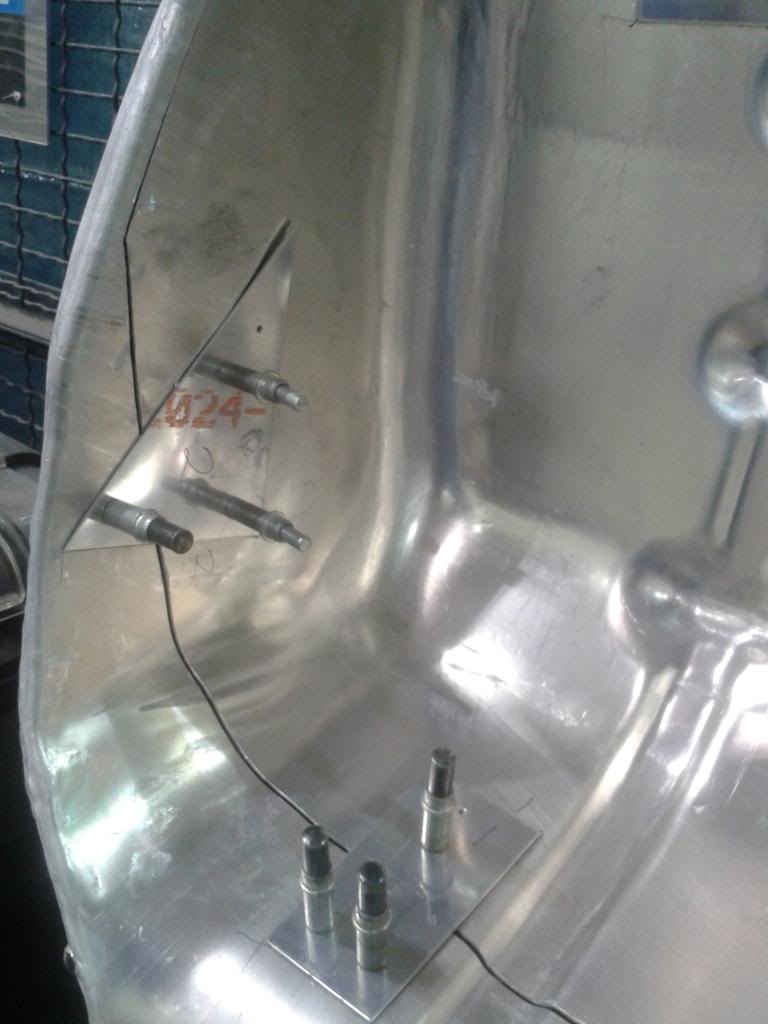
This is a view of the front of the tank where a couple good sized dents were on either side of the indention:
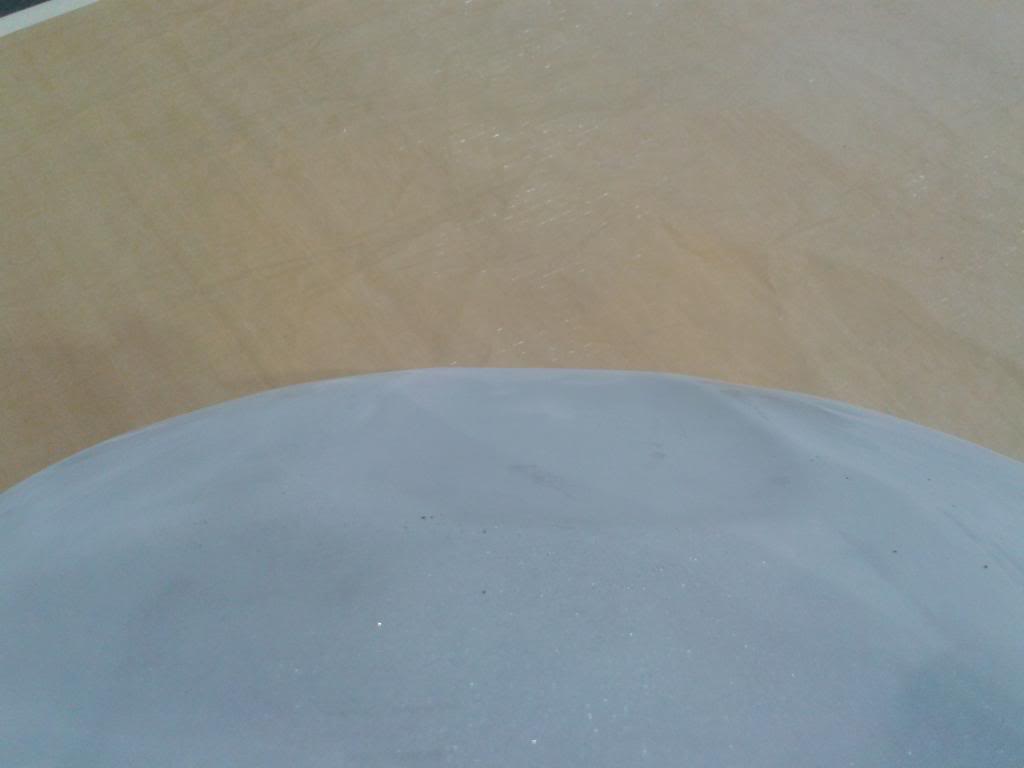
This side had a fairly nasty dent that I worked out:
The tank is all done and sitting in my garage waiting to be welded back together.
I cut the bottom out of the tank and used a hammer and dolly to work the dents out. It some places I used a sand bag as well to work the dents.

Before I actually cut anything I cut some small pieces of aluminum to use to locate the bottom for re-installation. Then I drilled them to the appropriate size with the fuel tank and attached them with clecos. These are used for sheetmetal work in many industries. The two that come to mind are aviation and Nascar.

Here's an after photo or two:

This is a view of the front of the tank where a couple good sized dents were on either side of the indention:

This side had a fairly nasty dent that I worked out:

The tank is all done and sitting in my garage waiting to be welded back together.
Thread Starter
|
Senior Member
1st Gear Member
Joined: Sep 2012
Posts: 326
From: Ohio
1st Gear Member
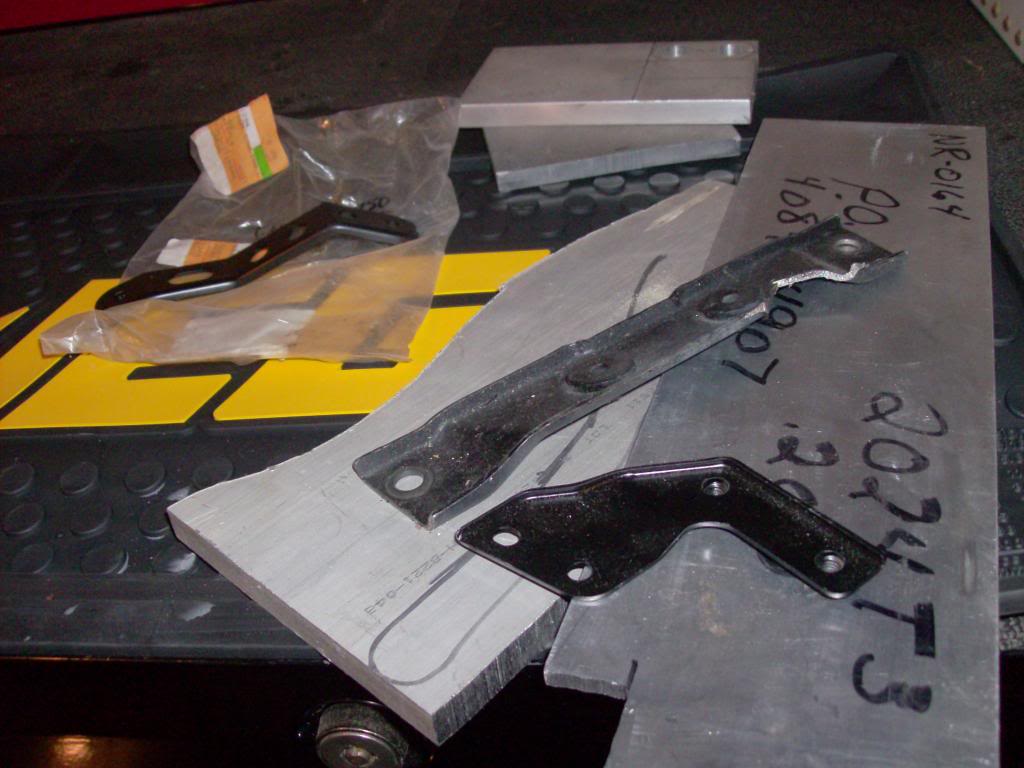
This picture is from my first post. It's one of the steel brackets getting re-made in aluminum.
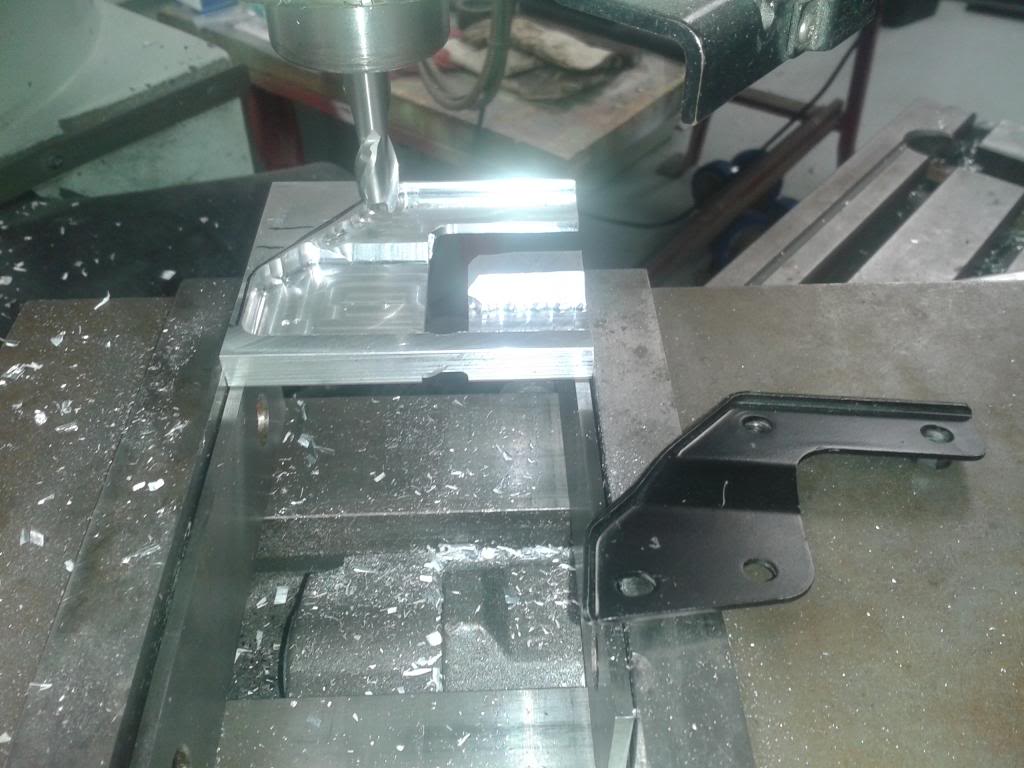
It had to be tapped for screws:
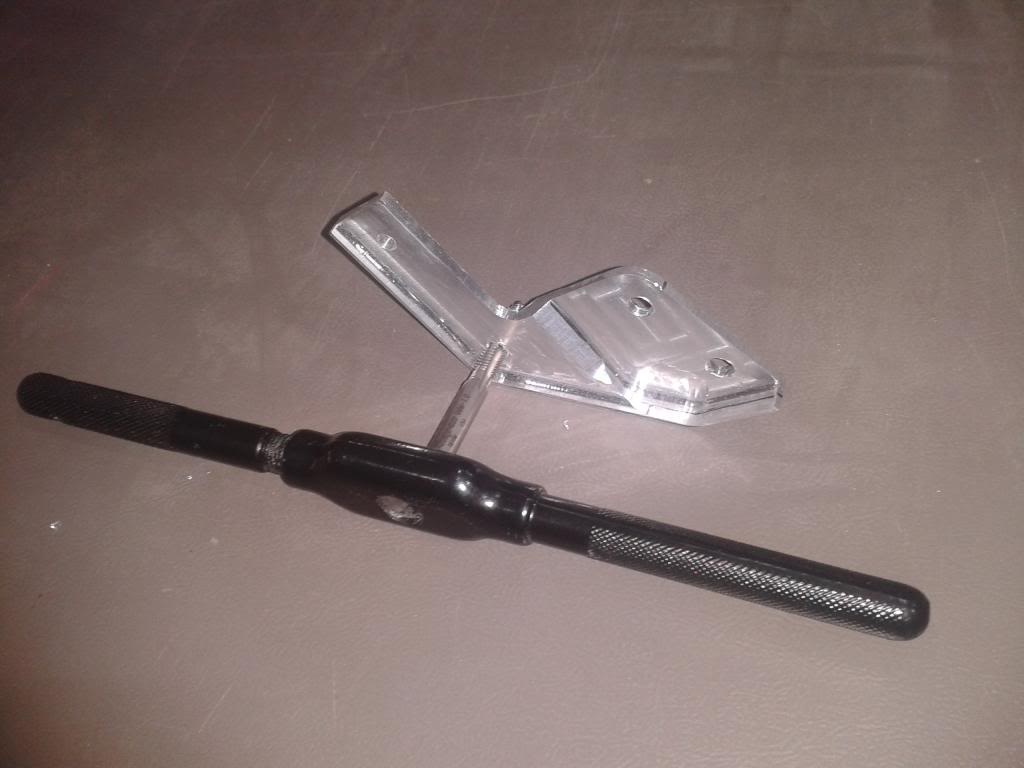
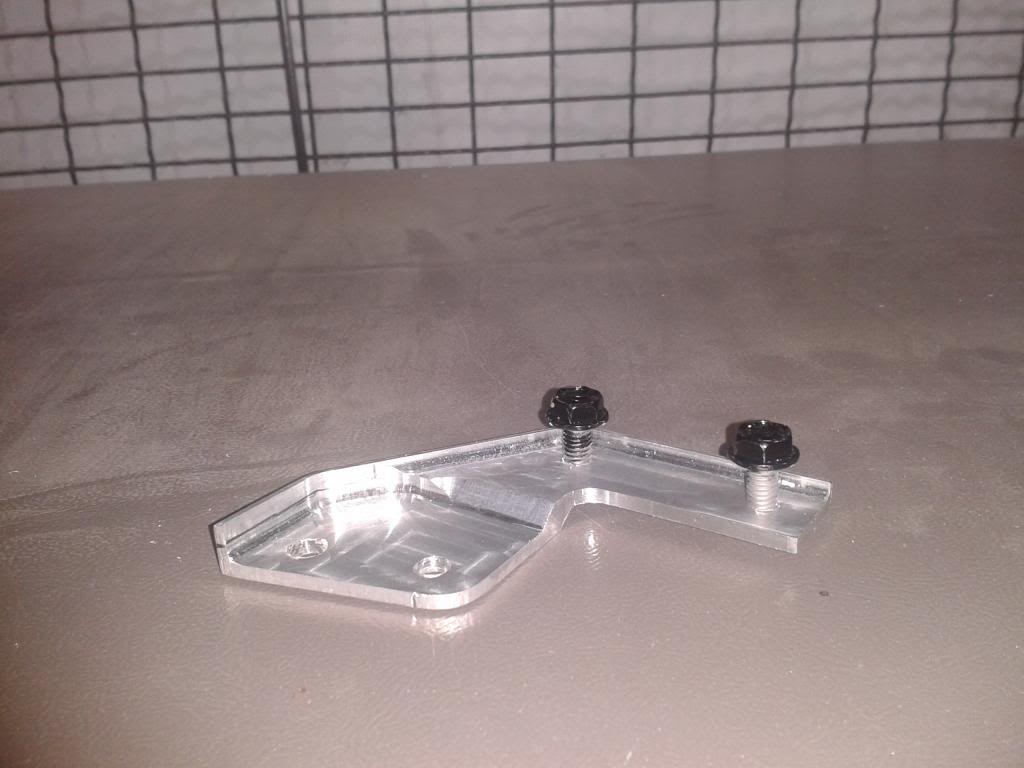
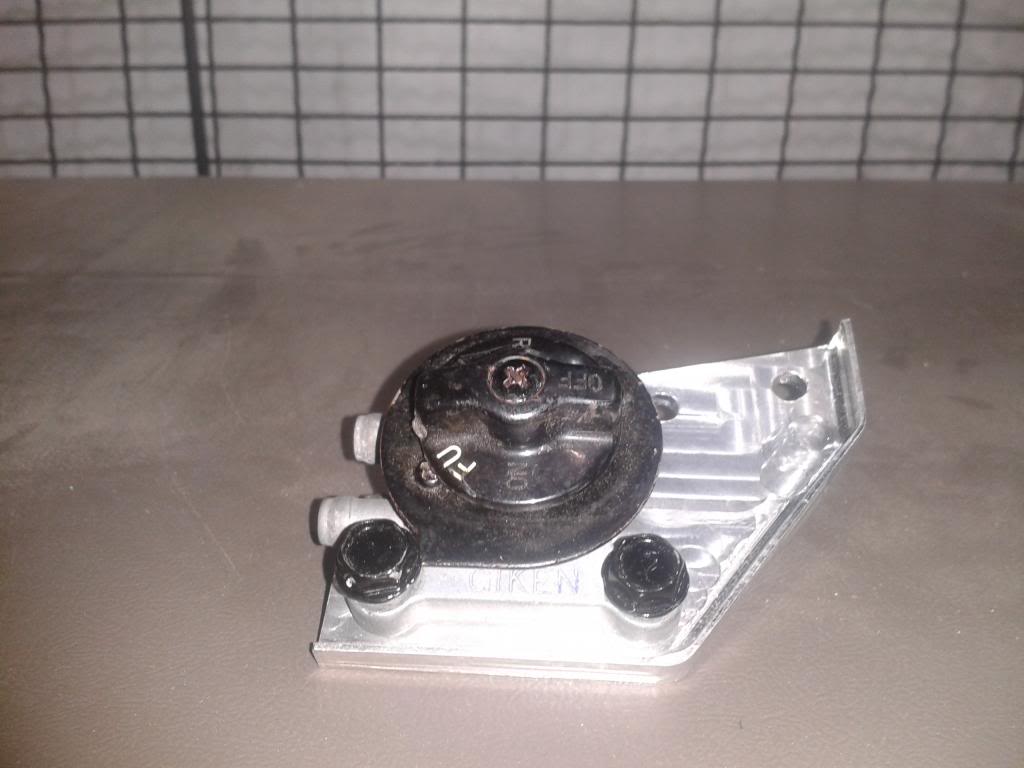
And here's where it goes:
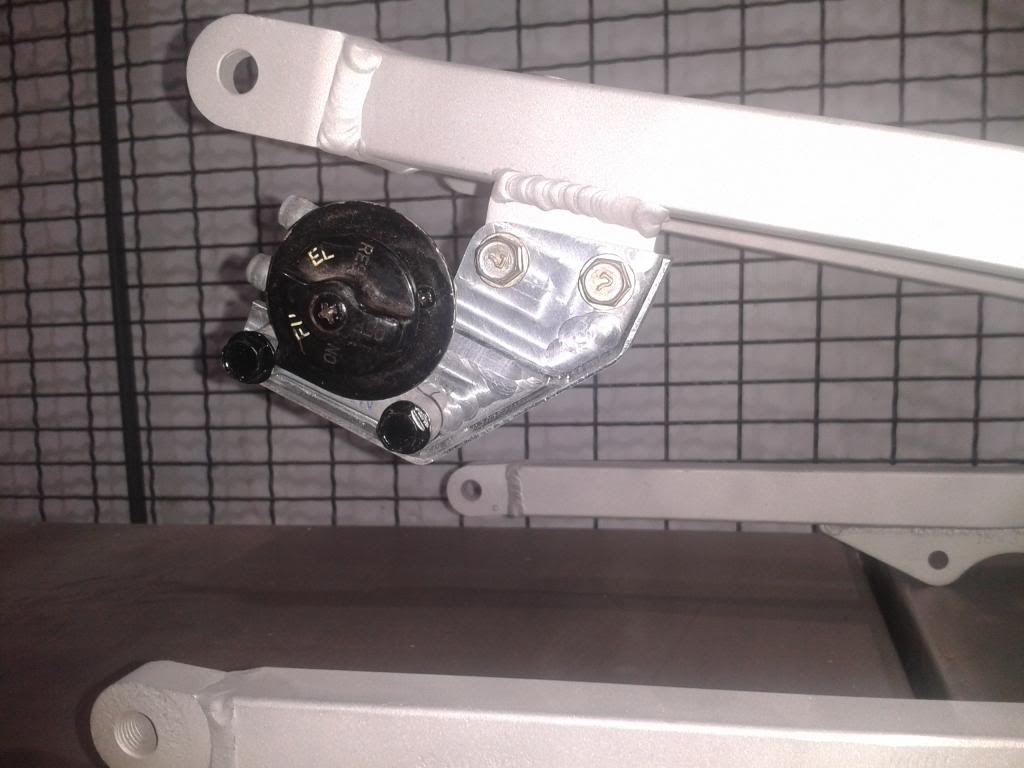
It's still rough and needs finish work but I posted it so you can see what's going on with the build. As I Progress through the build you'll see weight is a major issue with this project.
It had to be tapped for screws:


And here's where it goes:


It's still rough and needs finish work but I posted it so you can see what's going on with the build. As I Progress through the build you'll see weight is a major issue with this project.
Thread Starter
|
Senior Member
1st Gear Member
Joined: Sep 2012
Posts: 326
From: Ohio
1st Gear Member
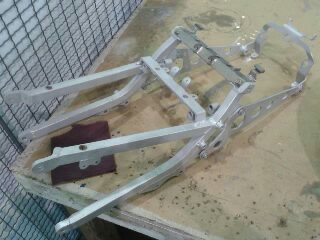
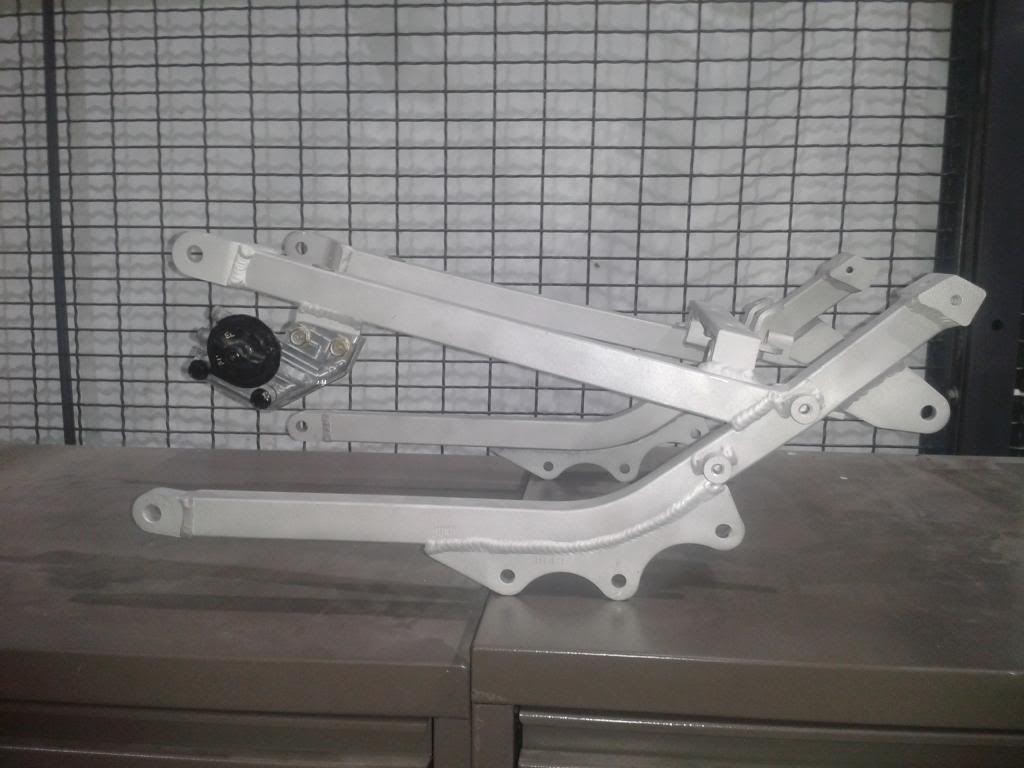
I'm spent today working on the frame and subframe. I'm still up in the air as to the finish they will have but I still have some work to do to them.
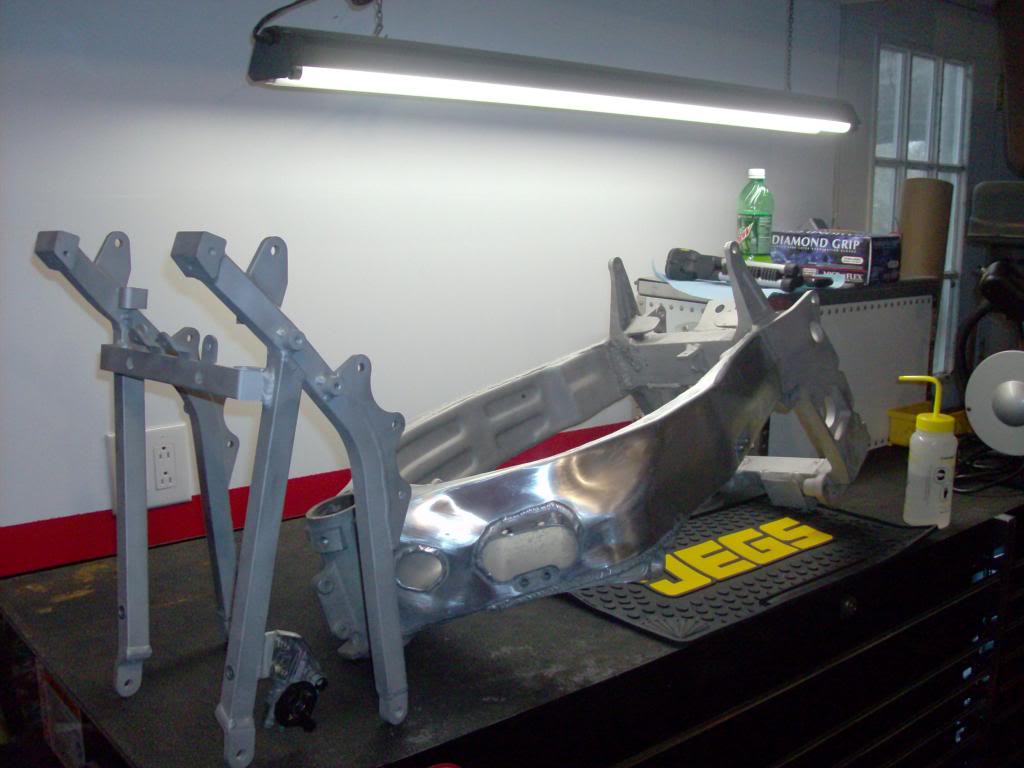
Yep, it's a real R frame.

Yep, it's a real R frame.

Thread Starter
|
Senior Member
1st Gear Member
Joined: Sep 2012
Posts: 326
From: Ohio
1st Gear Member
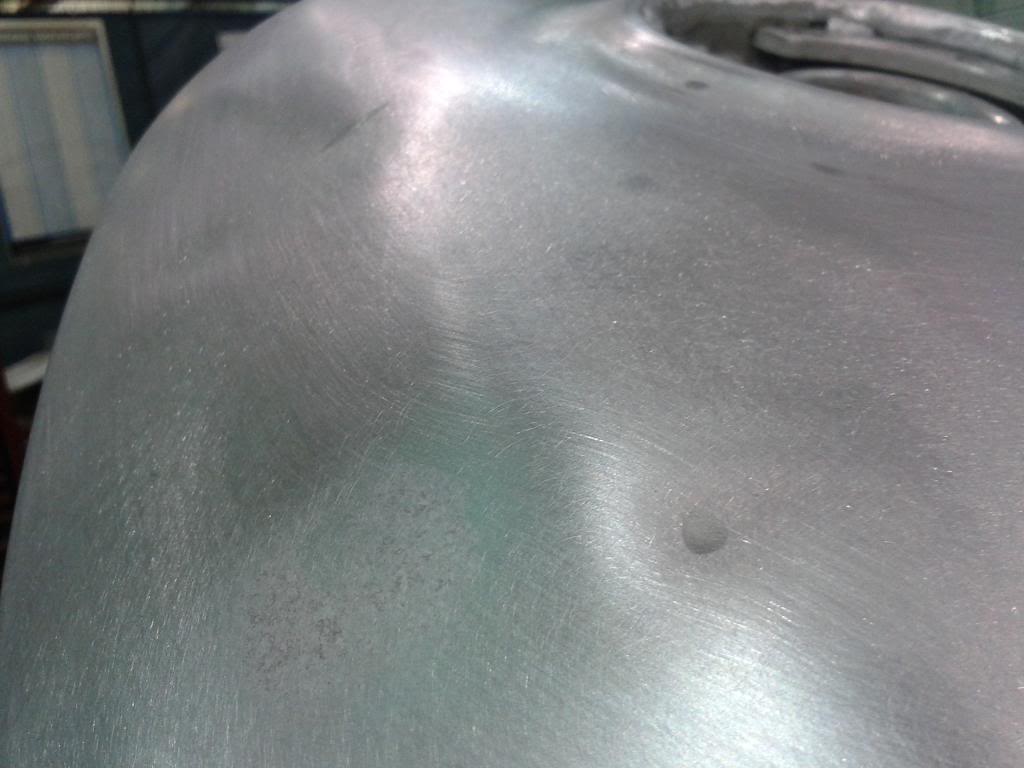
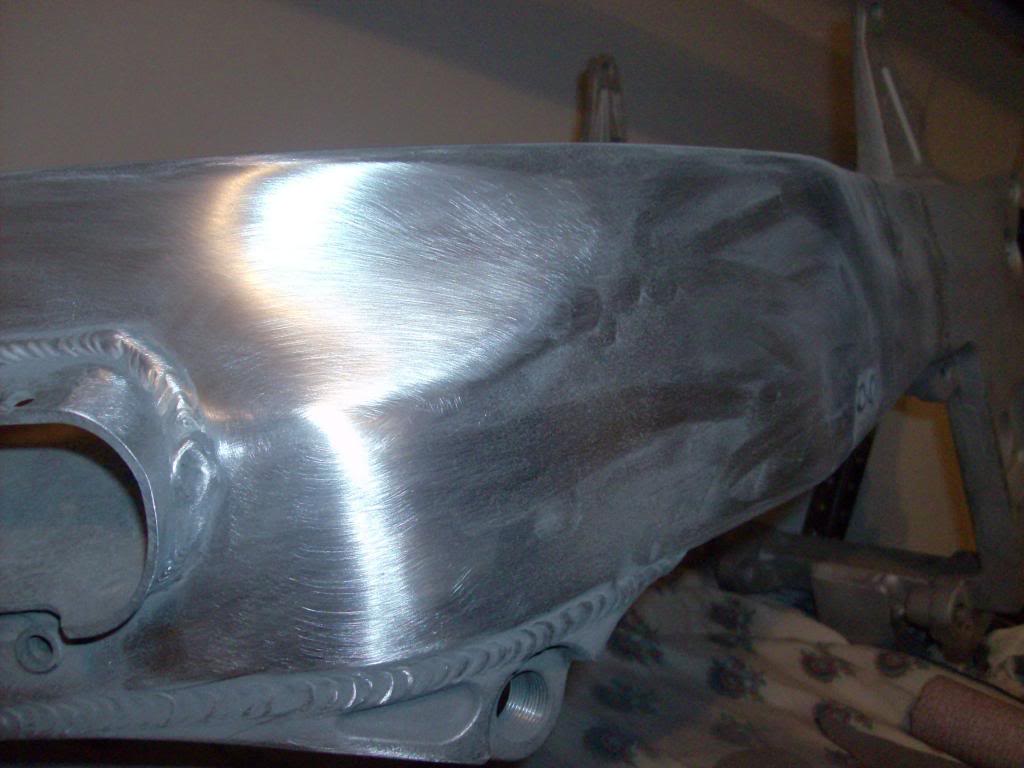
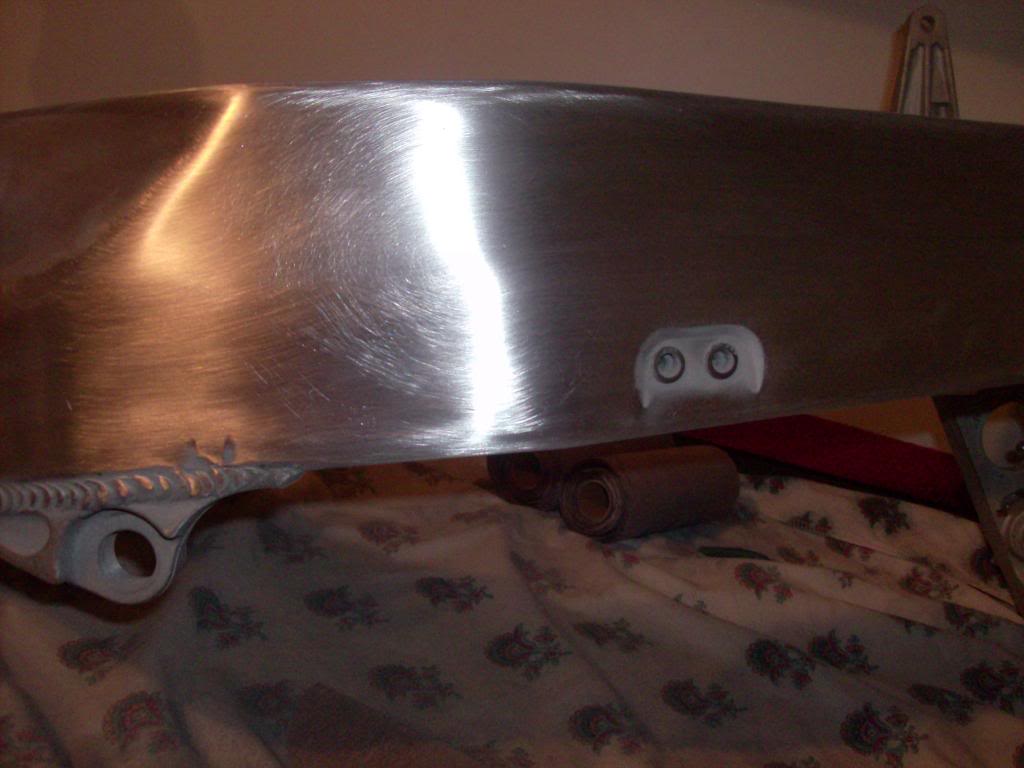
I started the work on the frame with clean up of the outer surfaces. There's a little corrosion and a couple scratches that I needed to remove.
If you look closely at the first pic you'll see small white spots on the frame. Those are corrosion spots.
They're minor and can be removed safely and completely by sanding lightly.
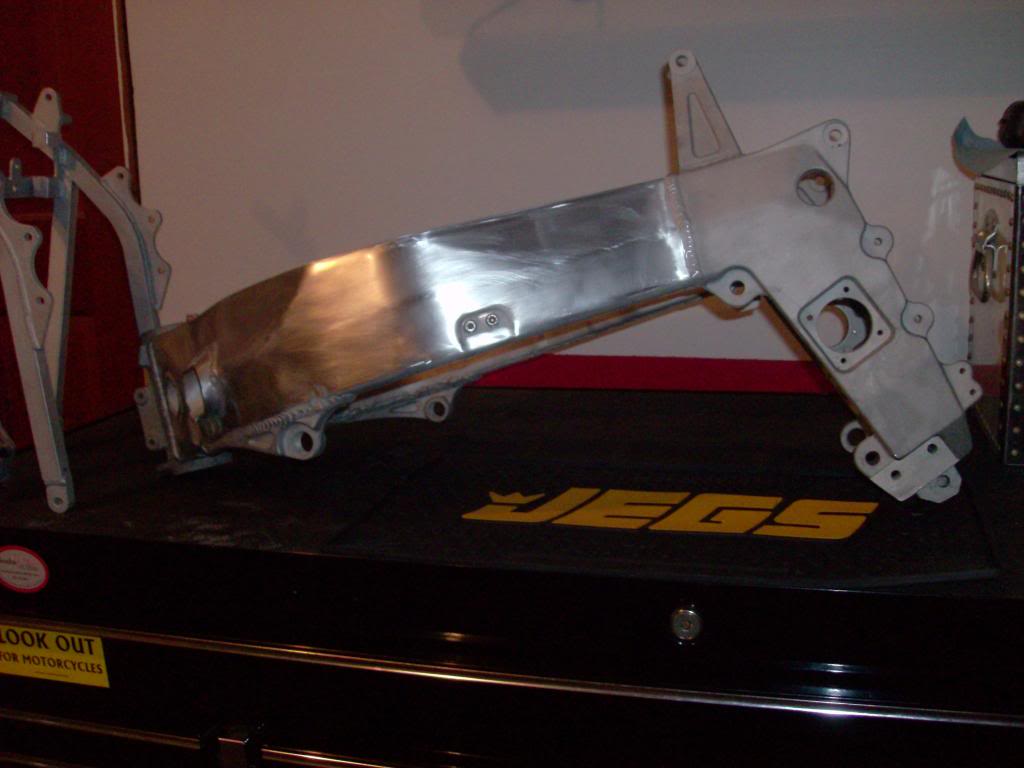
Here's the after photo:
If you look closely at the first pic you'll see small white spots on the frame. Those are corrosion spots.

They're minor and can be removed safely and completely by sanding lightly.
Here's the after photo:


Thread Starter
|
Senior Member
1st Gear Member
Joined: Sep 2012
Posts: 326
From: Ohio
1st Gear Member
It's the aluminum ZX7R tank. To cut it I used a die grinder and cut off wheel. I filled and rinsed it with water a couple times to nake sure it wouldn't explode when I cut into it. It just takes a fair amount of patience.