
The slow evolution of my ZX12R

Thread Starter
|
Senior Member
1st Gear Member
Joined: Sep 2012
Posts: 326
From: Ohio
1st Gear Member
I sometimes end up with a completely different configuration from what I started with so I use everything I have on hand first. Then when it's all done I beautify.
Thread Starter
|
Senior Member
1st Gear Member
Joined: Sep 2012
Posts: 326
From: Ohio
1st Gear Member
While doing the shifter I was reminded of something I did a long time ago and it illustrates that I'm a cheap b@$t@^d. I lowered the 12 for drag racing and when you do that you need lowering links; which I have on the bike:

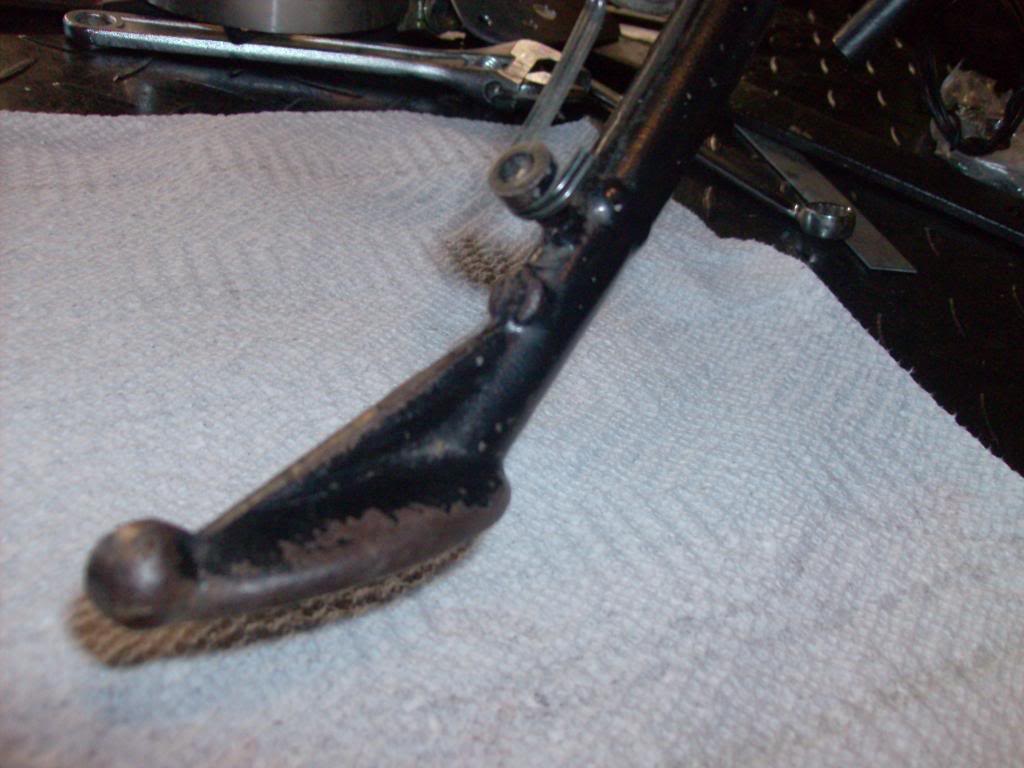
and you need a shorter kickstand. Several companies sell them for at least $100 each.
Kawasaki - Ninja ZX10 - Frame & Protection - Schnitz Racing
I went to a salvage yard and bought an old ZX7 kickstand, cut it to length and my brother welded it together. We had to add a spring mount to the kickstand as well, so I bought a bolt that we ground down and welded to it as the return spring mount. I painted it before installing it but the paint has faded and chipped in the last 10 years...Total cost to do the mod? about $12. This includes the bolt, kickstand and paint. You can see the weld bead in the photo:
Thread Starter
|
Senior Member
1st Gear Member
Joined: Sep 2012
Posts: 326
From: Ohio
1st Gear Member
I have pulled the undertail off the bike and painted it. I'll be seam sealing the edges to protect against water intrusion and it'll go back on the bike on Wednesday or Thursday ( whichever one is my next day off). Then I'll start with all the wiring. I also received an email that my turbo ducting parts are on the way and I should have them before Thursday. So I'll be working on that this weekend as well.
Thread Starter
|
Senior Member
1st Gear Member
Joined: Sep 2012
Posts: 326
From: Ohio
1st Gear Member
I have more parts so I can work on the Cruising Missile tomorrow. Yaaaaaaaaay!!
And I'm off work until next Monday!
Yes it is.
And I'm off work until next Monday!
Yes it is.
Thread Starter
|
Senior Member
1st Gear Member
Joined: Sep 2012
Posts: 326
From: Ohio
1st Gear Member
I started today kind of slow. Somebody asked for details on my undertail so I measured it's dimensions, etc.. for him. I got it installed on the bike and now I need to start sorting the wiring. Here's pictures of the miniscule progress this morning:
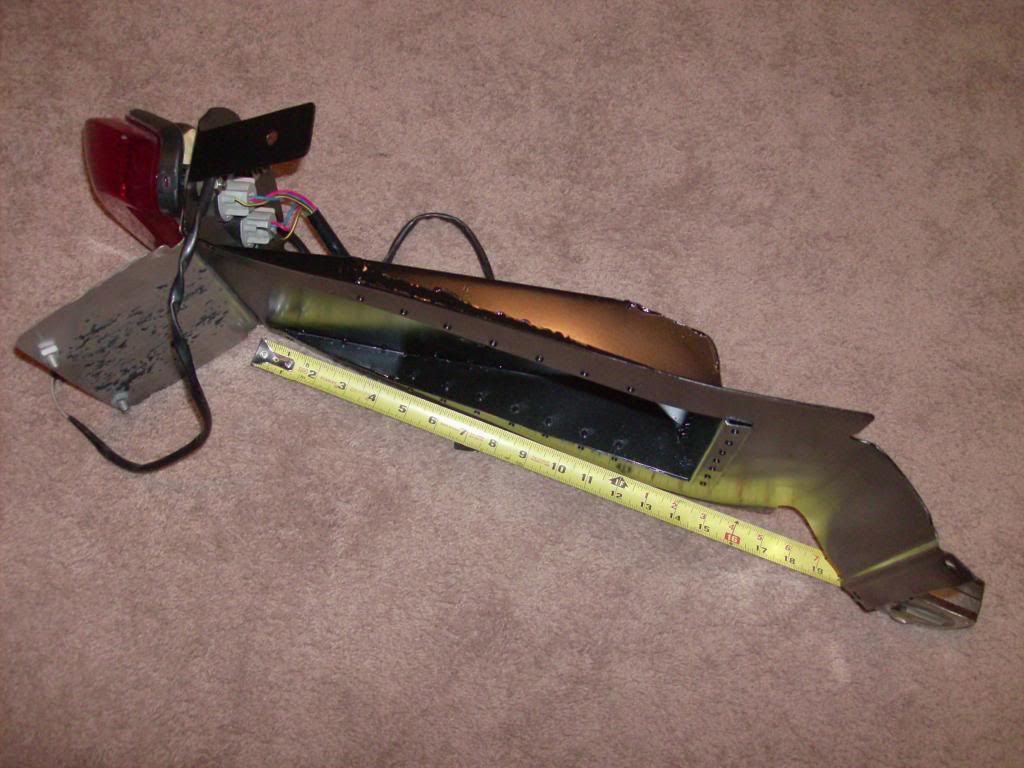
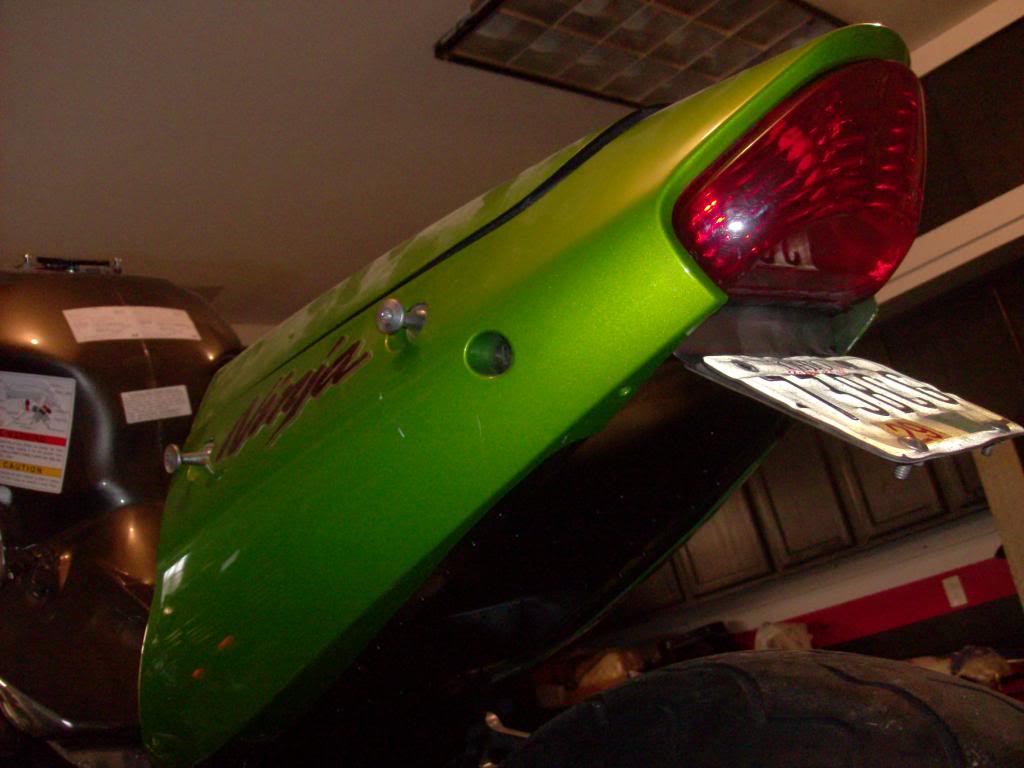


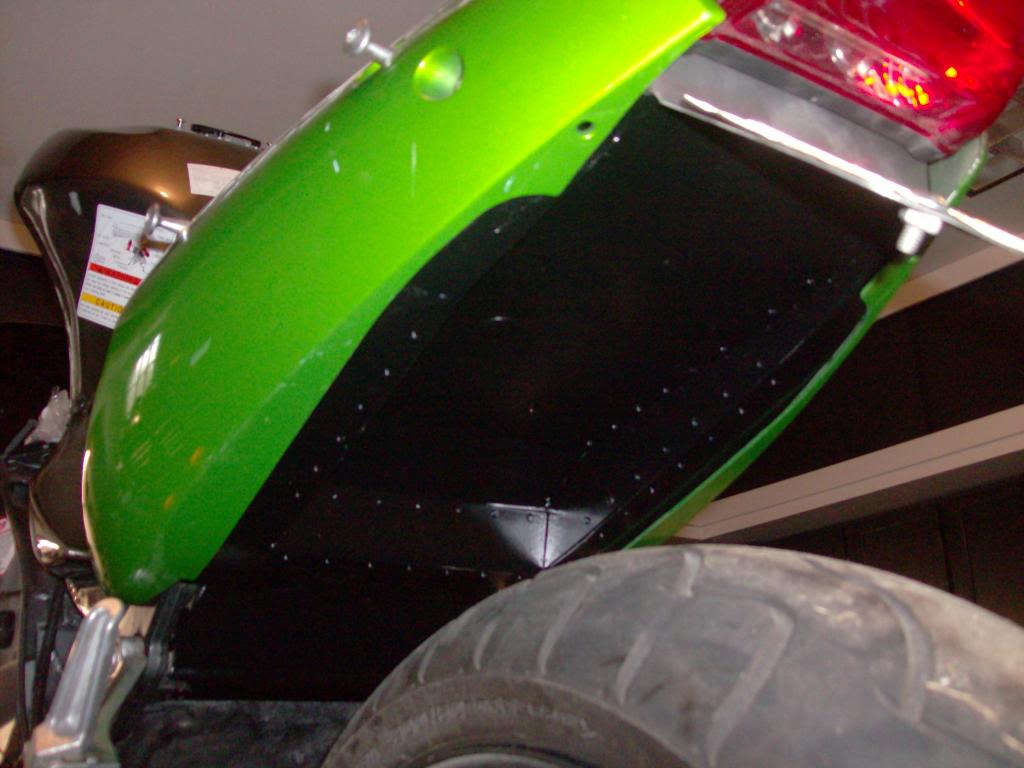
The pictures aren't that great due to lighting. The innerfender follows the frame contour for a nice clean look underneath the tail.
The pictures aren't that great due to lighting. The innerfender follows the frame contour for a nice clean look underneath the tail.
Thread Starter
|
Senior Member
1st Gear Member
Joined: Sep 2012
Posts: 326
From: Ohio
1st Gear Member
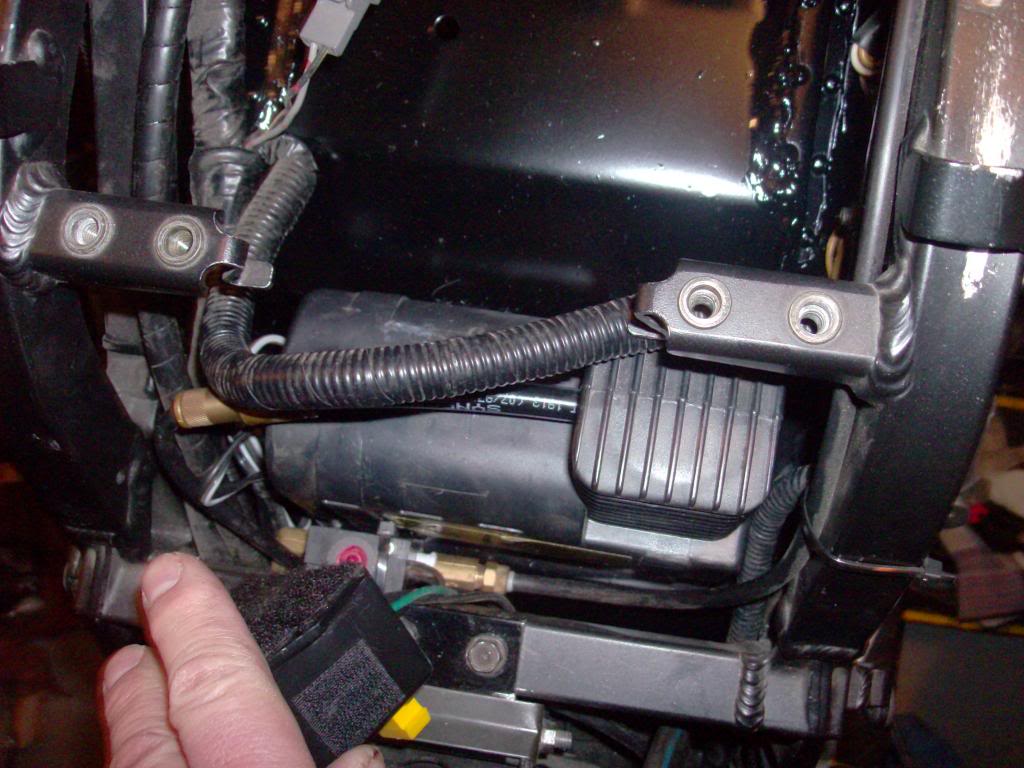
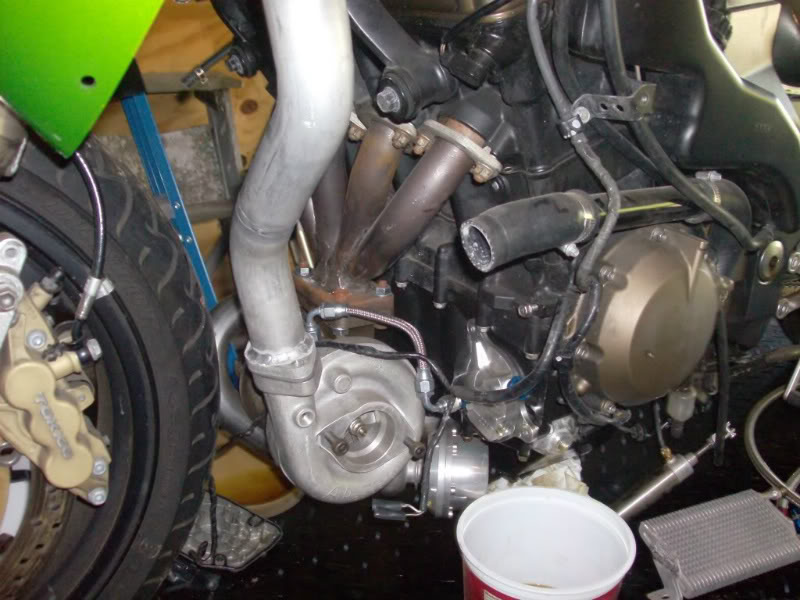
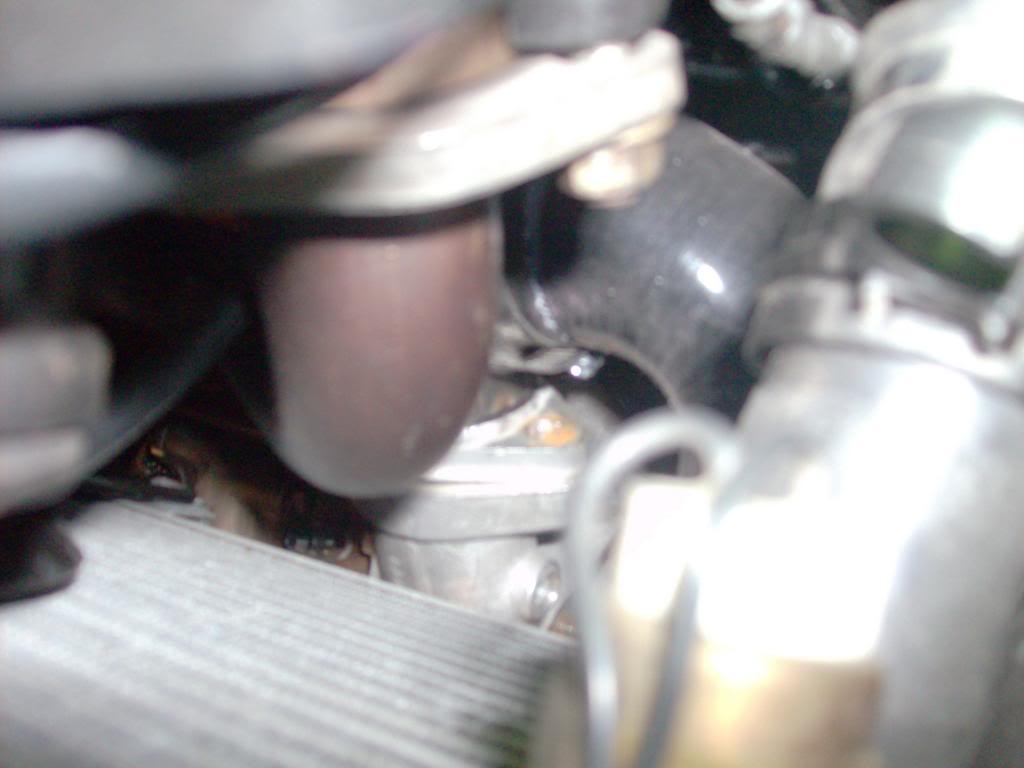
This afternoon I spent my time trying to work out the routing of the charge pipe for the turbo. If you look at the first picture there's all the room in the world to run it. But as you look at the rest of the photos you'll see the open space goes away quickly. I'm not done with it yet and the last photo in the sequence shows where it's at tonight. Tomorrow I'll attack it again and try to finish routing it. The good news is that I believe I have everything I need to finish that part of the project.
The black hose with the blue inside is the charge air hose. It needs to turn and go straight up in front of the radiator.
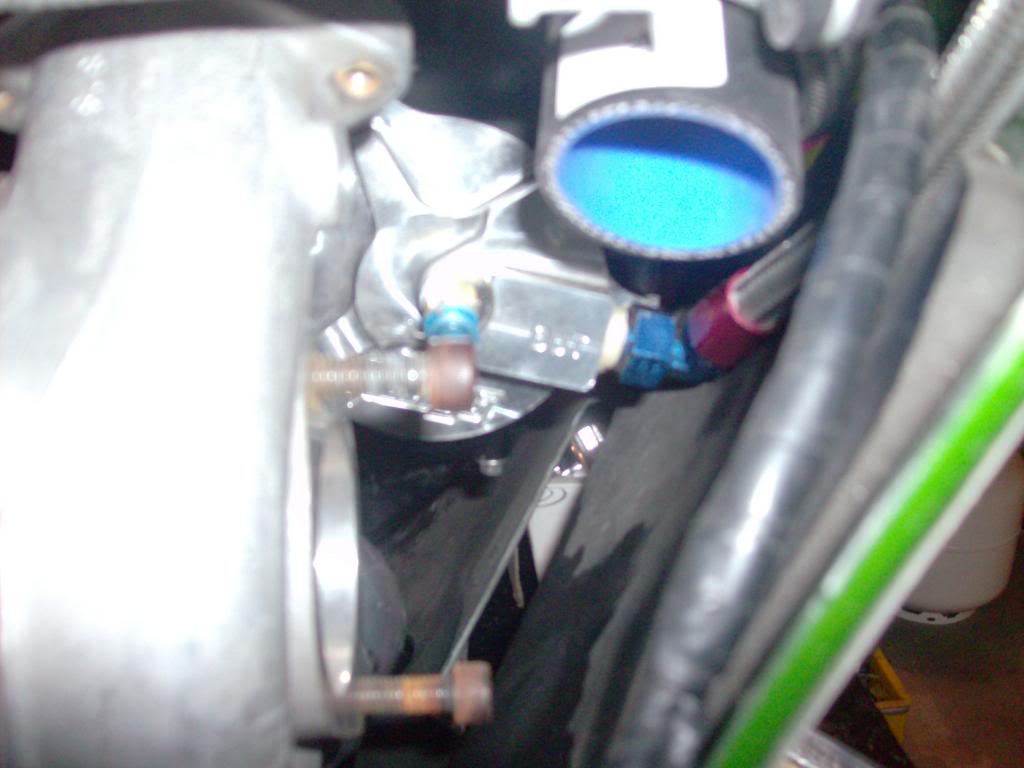


And this shot is the view from above. Again, the black hose is the charge air tubing.
As you can see, keeping everything inside the fairing and hidden will be a nightmare but I believe I can accomplish it.
The black hose with the blue inside is the charge air hose. It needs to turn and go straight up in front of the radiator.
And this shot is the view from above. Again, the black hose is the charge air tubing.
As you can see, keeping everything inside the fairing and hidden will be a nightmare but I believe I can accomplish it.
Thread Starter
|
Senior Member
1st Gear Member
Joined: Sep 2012
Posts: 326
From: Ohio
1st Gear Member
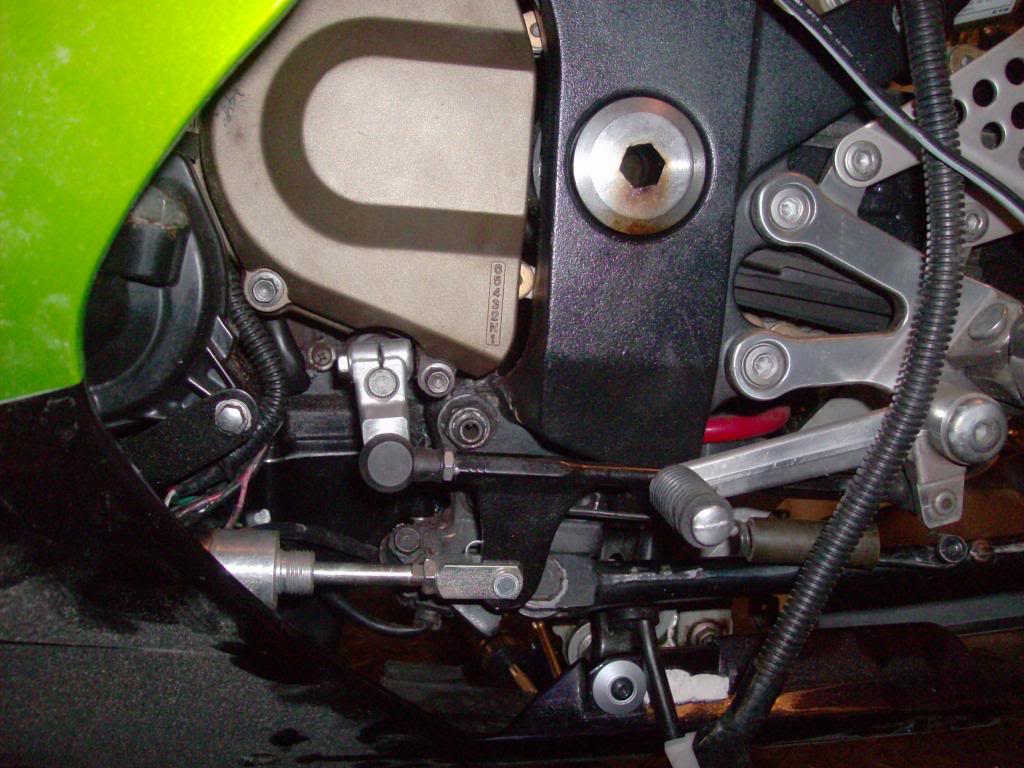
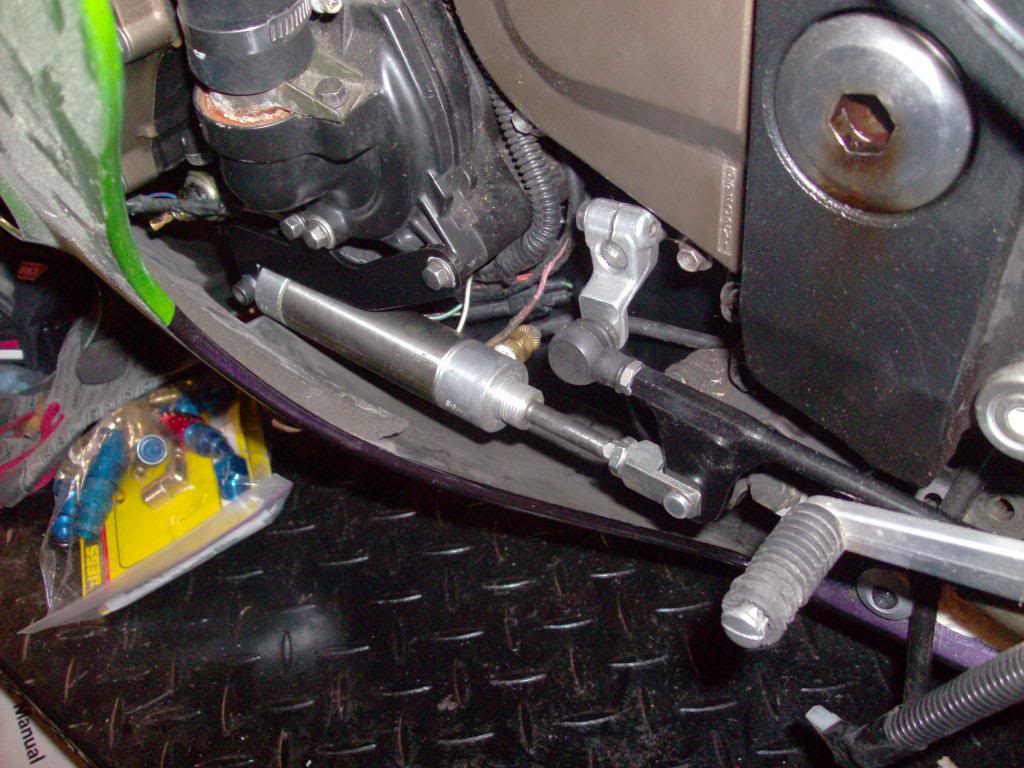
Since I had to hang the left lower fairing for working on the turbo piping I decided to take a few photos of the air shifter to show how it clears everything with the bodywork on.

Thread Starter
|
Senior Member
1st Gear Member
Joined: Sep 2012
Posts: 326
From: Ohio
1st Gear Member
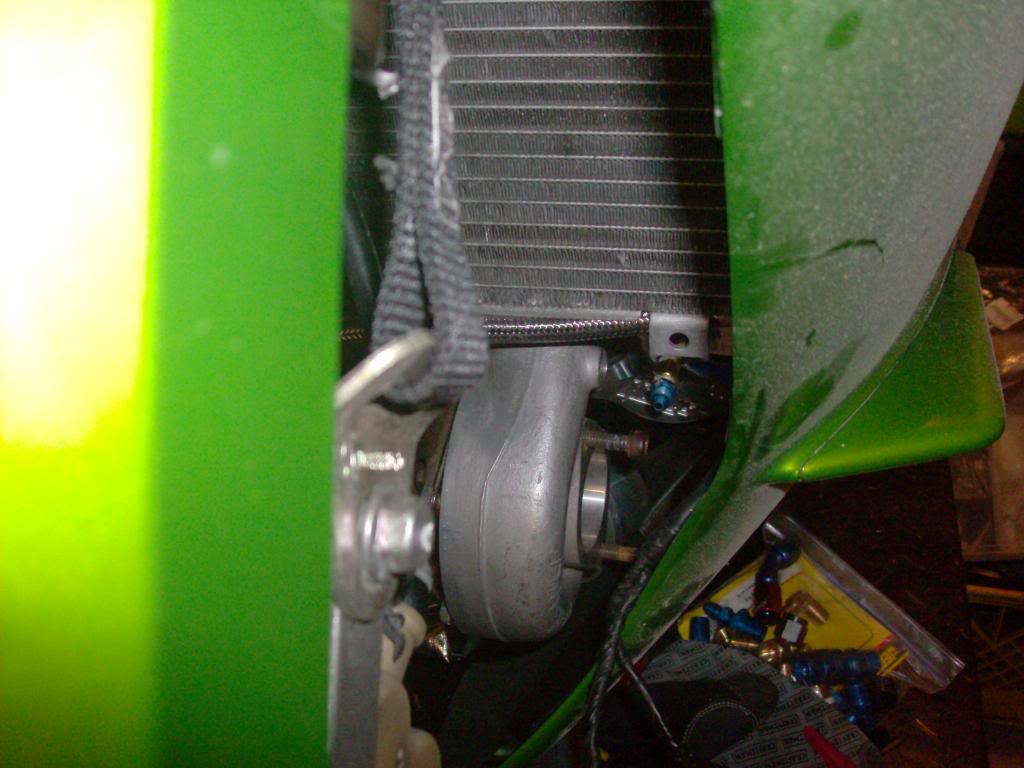
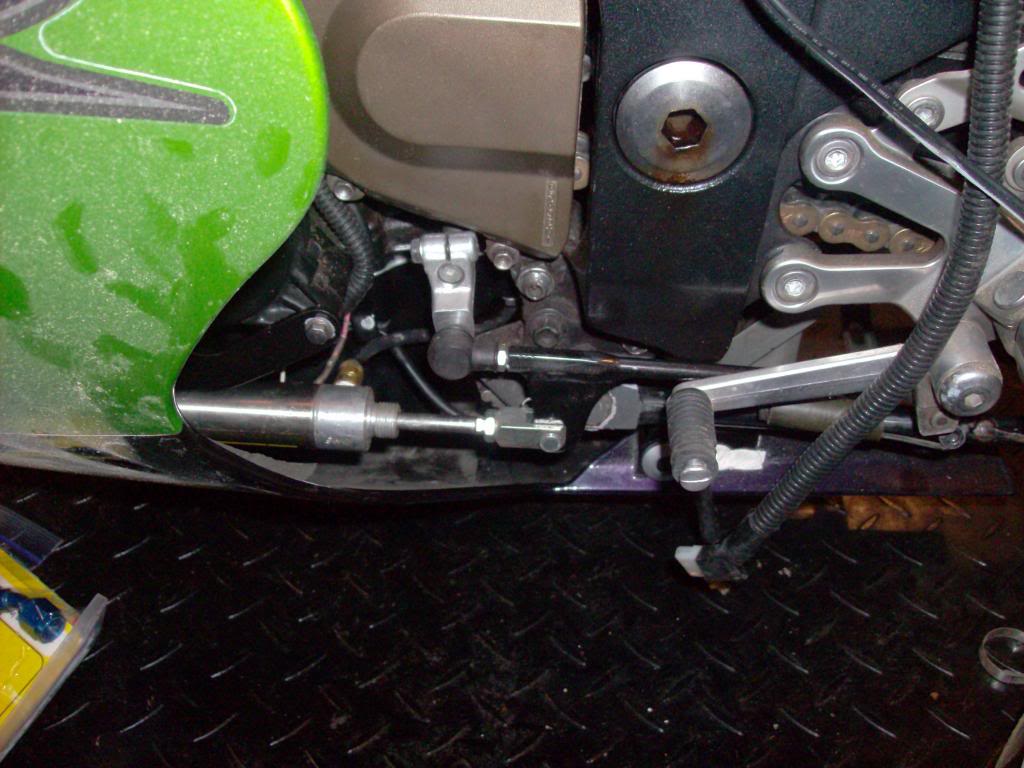
Good news! The re-routing of the piping will work the way I want it.
The elbow turning the duct upward is in place in this picture:

and it's hidden behind the fairing! YAAAAAAAAAAAAAAYYYYYYYY!!!!!!


Here's the top view:

I need to connect it now but that's not a big deal. Life is good for the fat kid!
The elbow turning the duct upward is in place in this picture:
and it's hidden behind the fairing! YAAAAAAAAAAAAAAYYYYYYYY!!!!!!
Here's the top view:
I need to connect it now but that's not a big deal. Life is good for the fat kid!