
The slow evolution of my ZX12R

Thread Starter
|
Senior Member
1st Gear Member
Joined: Sep 2012
Posts: 326
From: Ohio
1st Gear Member
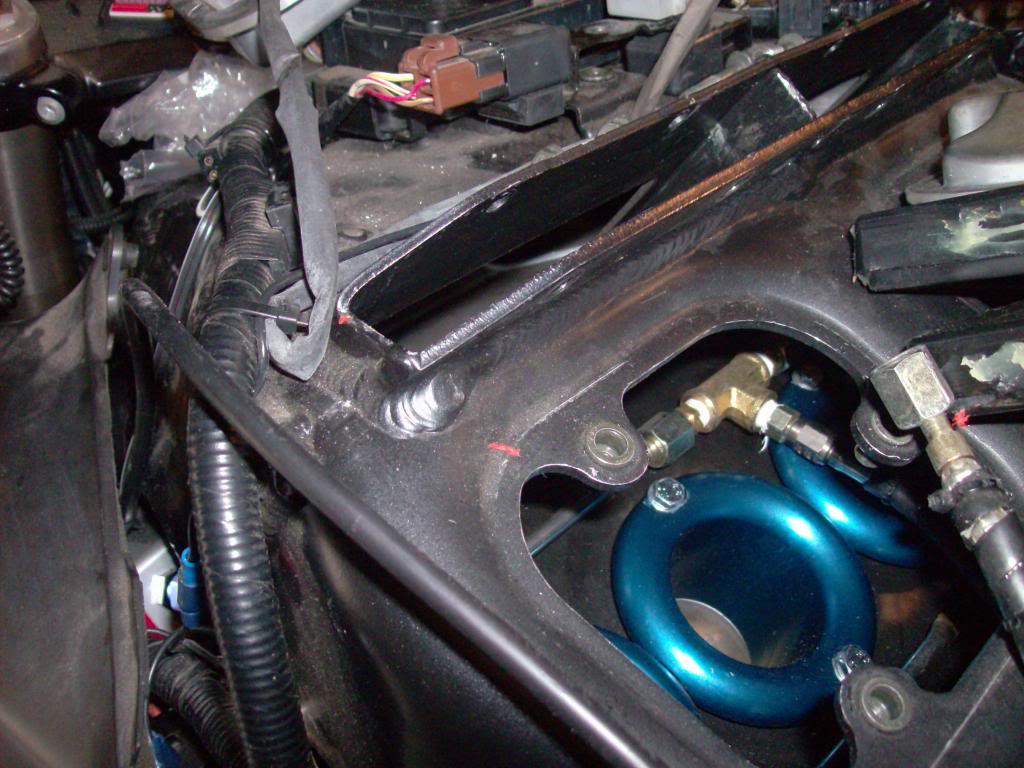
Here's a couple more pictures of the charge pipe routing.
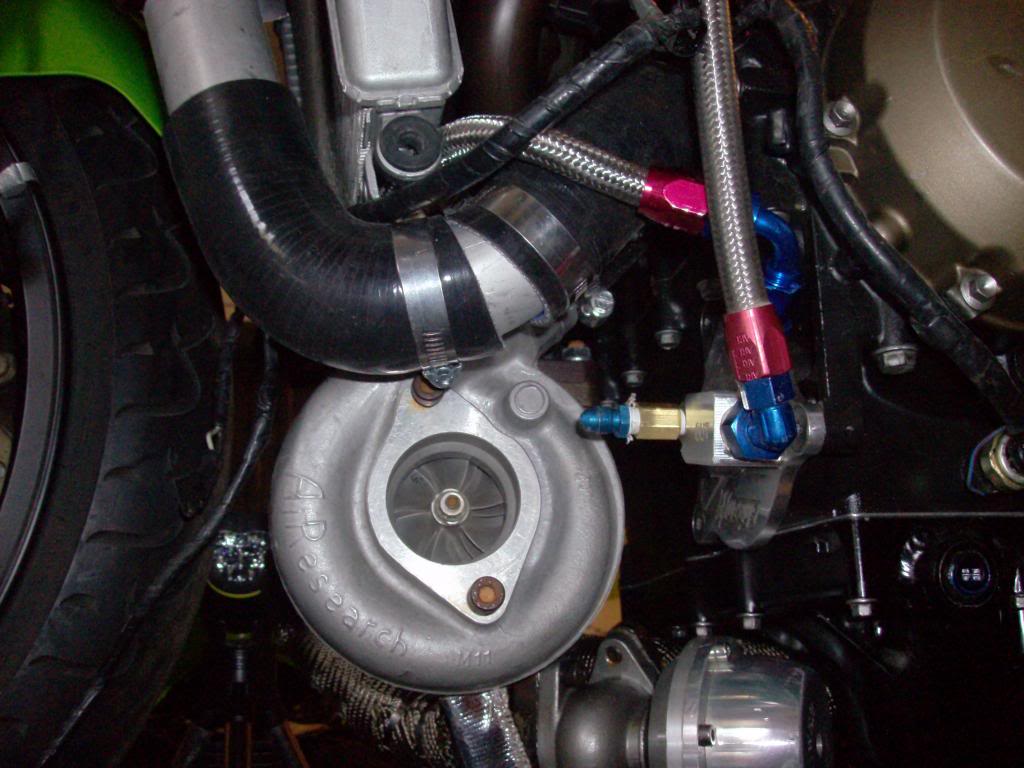


I ended up having to order a 45* elbow to finish the charge pipe. With luck I might have it tomorrow. If not I'll have it by next weekend and I can wrap that all up.
I ended up having to order a 45* elbow to finish the charge pipe. With luck I might have it tomorrow. If not I'll have it by next weekend and I can wrap that all up.
Thread Starter
|
Senior Member
1st Gear Member
Joined: Sep 2012
Posts: 326
From: Ohio
1st Gear Member
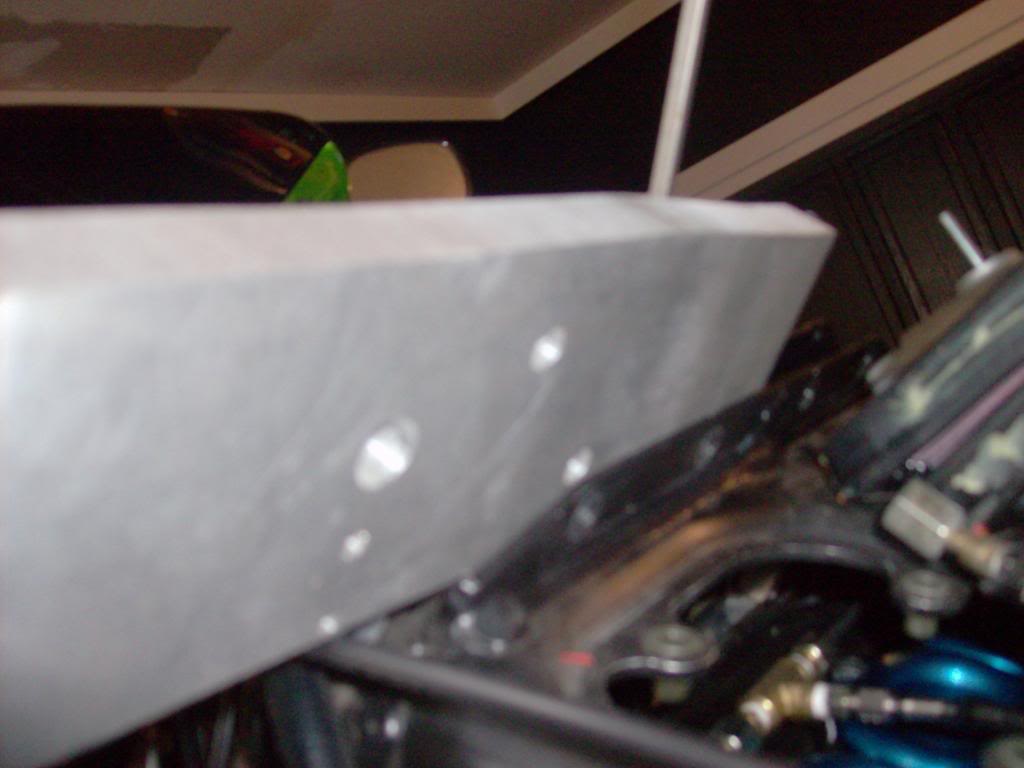
The next order of business is figuring out how to plug the airbox. The airbox is part of the frame on the 12 so you have to do this in order to make the turbo work. I looked around my scrap metal cabinet and found a piece of aluminum I'll machine into two plugs for the top of the airbox.
Now I'm off to make a couple drawings for the necessary machine work.

Now I'm off to make a couple drawings for the necessary machine work.
Last edited by 2fat2fly; Mar 28, 2013 at 05:45 PM.
Thread Starter
|
Senior Member
1st Gear Member
Joined: Sep 2012
Posts: 326
From: Ohio
1st Gear Member
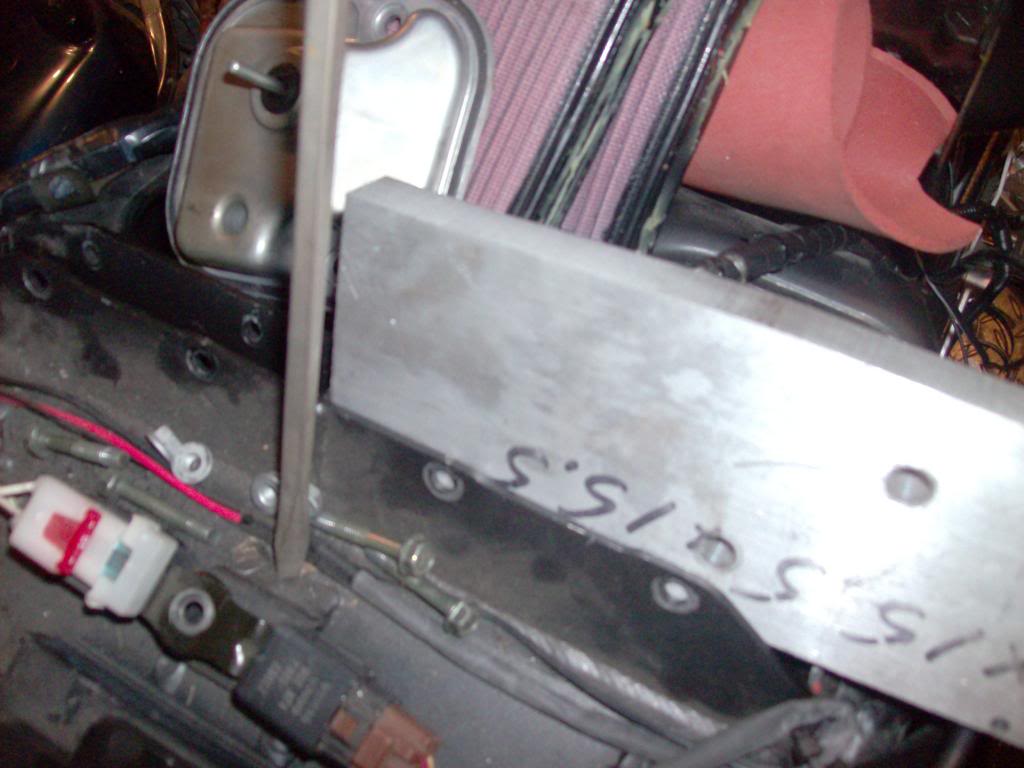
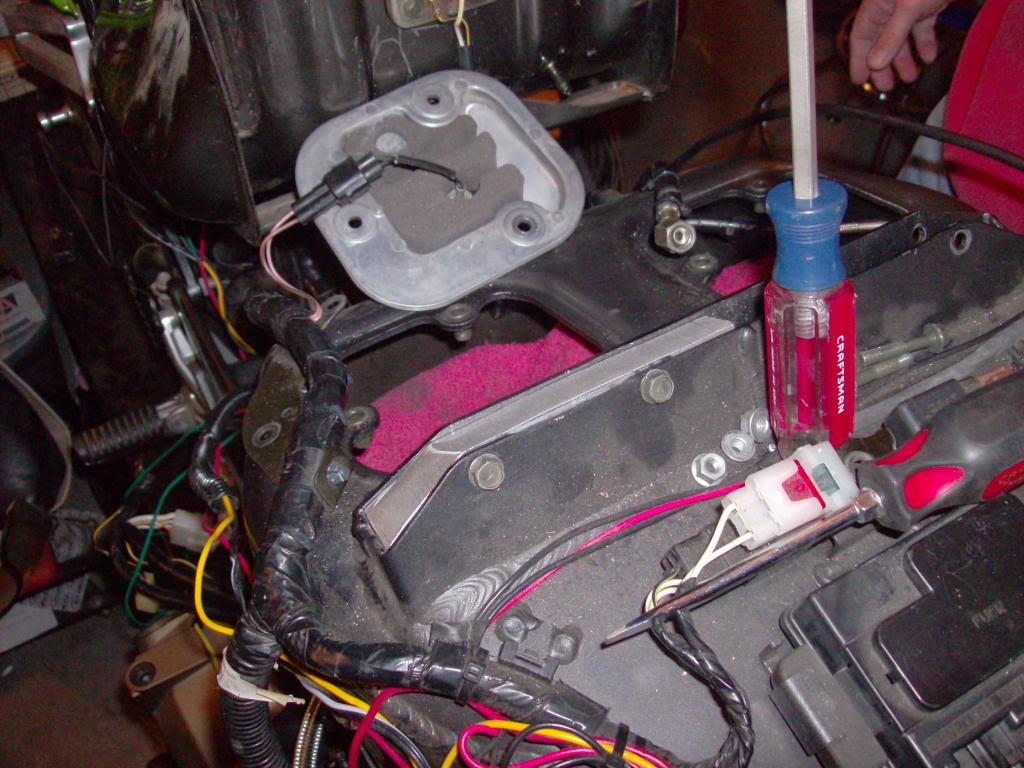
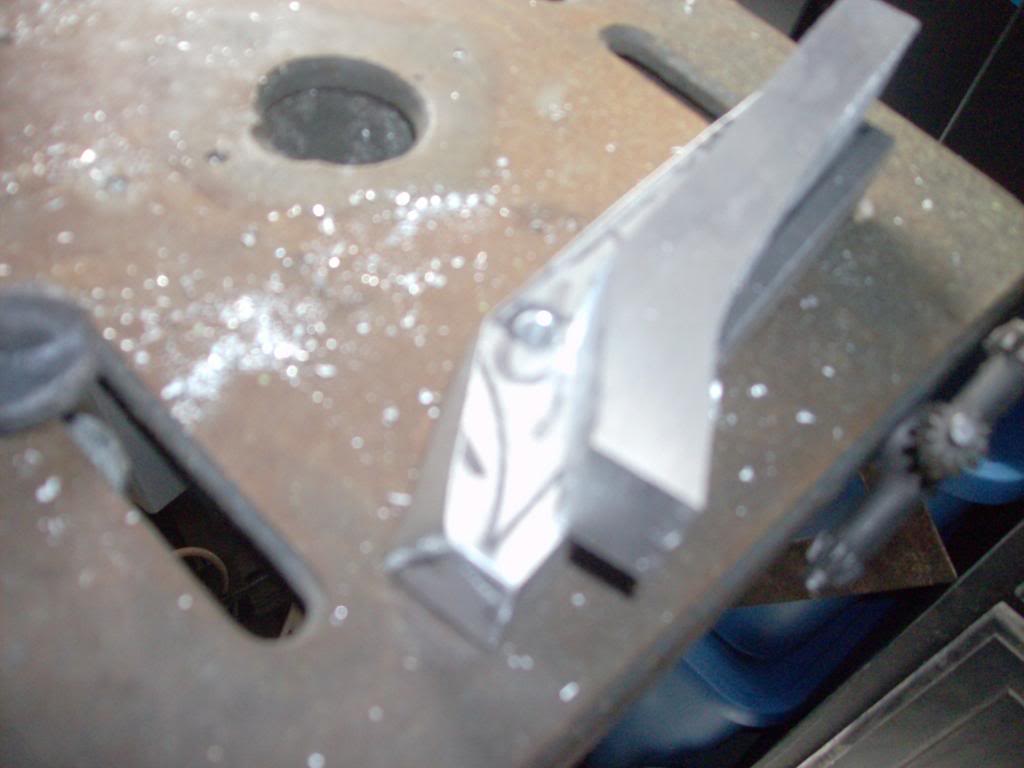
I decided on a pattern for the airbox plugs and I started making them. I got one rough cut out on the bandsaw before the wife said she wants to go out for supper. So this is where I'm at for the day:
One side is partially made. Still needs holes drilled and finish formed/sanded into shape.
What's left of the donor material:

Where it's going:

Still needs final fab work to fit properly, but you get the idea:
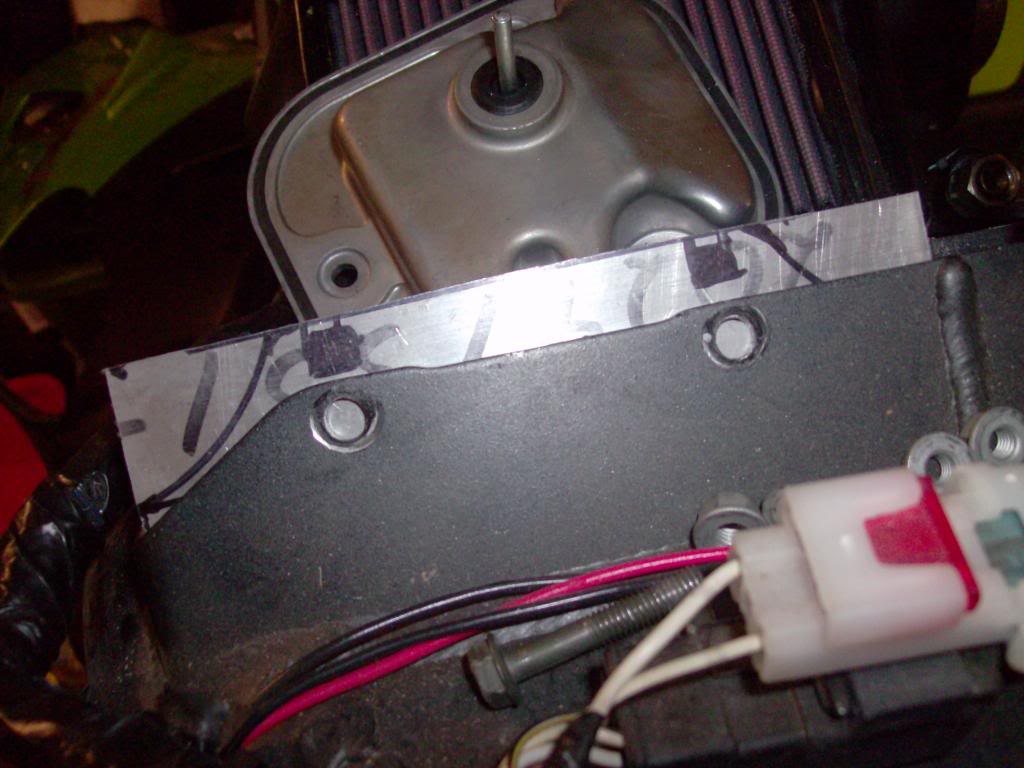
It will be slid all the way in to where nothing sticks out of the slot when it's done.
One side is partially made. Still needs holes drilled and finish formed/sanded into shape.
What's left of the donor material:
Where it's going:
Still needs final fab work to fit properly, but you get the idea:
It will be slid all the way in to where nothing sticks out of the slot when it's done.
hmm, on the air box/frame stuff. First thought is to just TIG a cover in place. Second thought, weld up an ABS cover that will use those same bolt hole patterns making it sit inside of the frame with a nice silicone sealer on the outside of the insert to assist in sealing when the bolts are in place. Heck even if you welded up some sheet metal instead of the abs to fill the gaps, that should be ahelluva lot lighter than the billet pieces. I could be viewing this idea wrong, but just tossin' stuff out there.
edit: I am not dissin' your bro's welding per say, but he needs more practice. OK, maybe I am because those welds are rough!
edit: I am not dissin' your bro's welding per say, but he needs more practice. OK, maybe I am because those welds are rough!
Thread Starter
|
Senior Member
1st Gear Member
Joined: Sep 2012
Posts: 326
From: Ohio
1st Gear Member
I'm back at it this morning. After my wife left for work I went to the garage to play. I have the first plug drilled and fitted. I have not trimmed the bottom down yet. I'll do that after I get the other one fitted and drilled. I don't have a Bridgeport at my disposal so I have to do this all with a bandsaw, drill press and dye-grinder so this will take longer than the preferred method. I'm not complaining, in fact I'm quite thankful I have these tools in my garage.
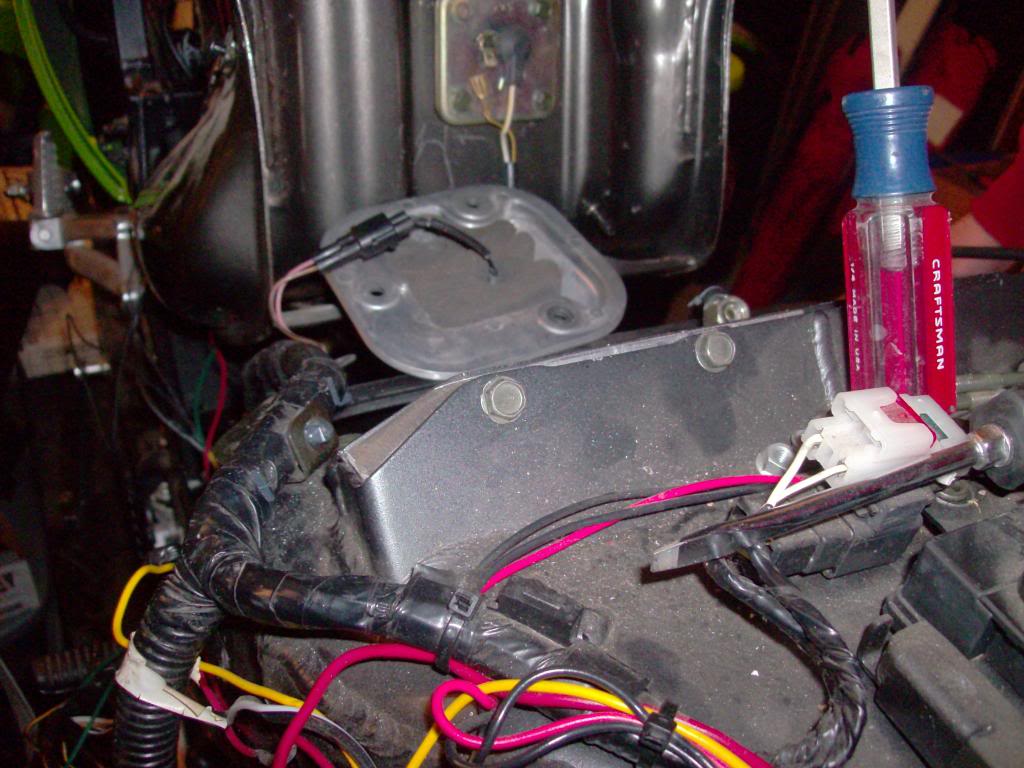
Time to make the next one.
After I get them made I will install them with aircraft fuel tank sealant to seal the top of the airbox.
3M AC TECH CLASS B FUEL TANK AND FUSELAGE SEALANT AC-236 (1/2 HOUR) from Aircraft Spruce
Time to make the next one.
After I get them made I will install them with aircraft fuel tank sealant to seal the top of the airbox.
3M AC TECH CLASS B FUEL TANK AND FUSELAGE SEALANT AC-236 (1/2 HOUR) from Aircraft Spruce
Thread Starter
|
Senior Member
1st Gear Member
Joined: Sep 2012
Posts: 326
From: Ohio
1st Gear Member
If this doesn't work I will put a single piece of rubber across the top of the plugs I made and a thin piece of stainless or aluminum with screws threaded into the plugs to seal it all from the top. That's why I'm contouring the plugs to the top of the airfilter slots (so I don't waste aluminum and have to make a second set).
Thread Starter
|
Senior Member
1st Gear Member
Joined: Sep 2012
Posts: 326
From: Ohio
1st Gear Member
Didn't get anything accomplished today other than washing the missile in anticipation of riding it soon.


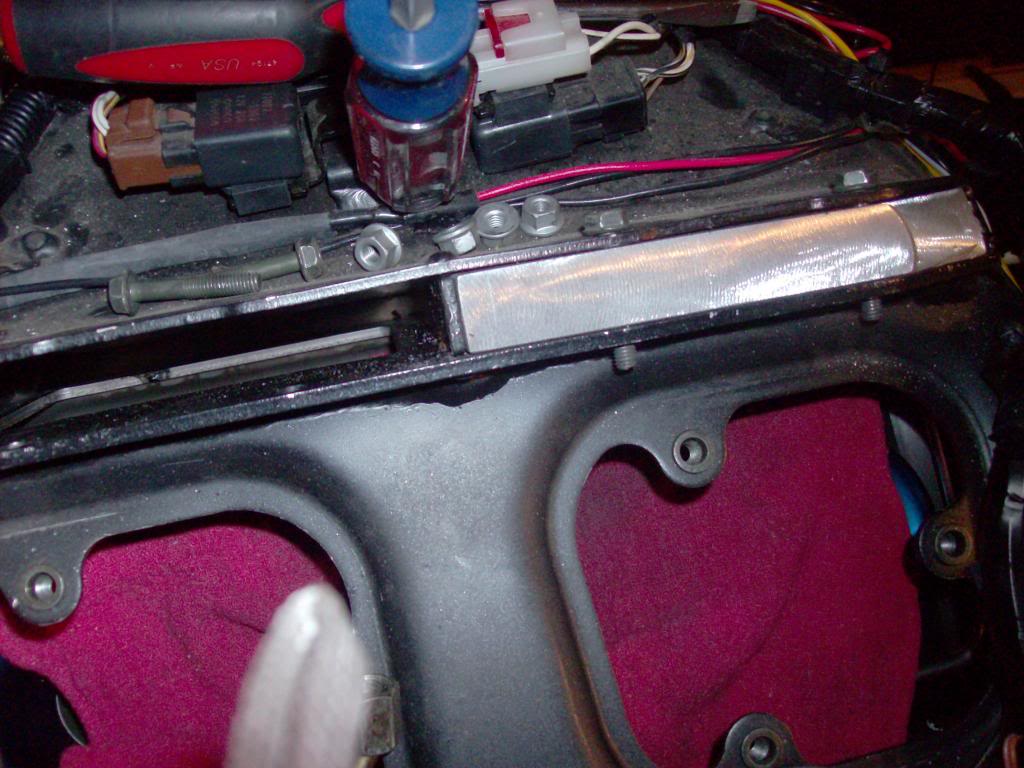
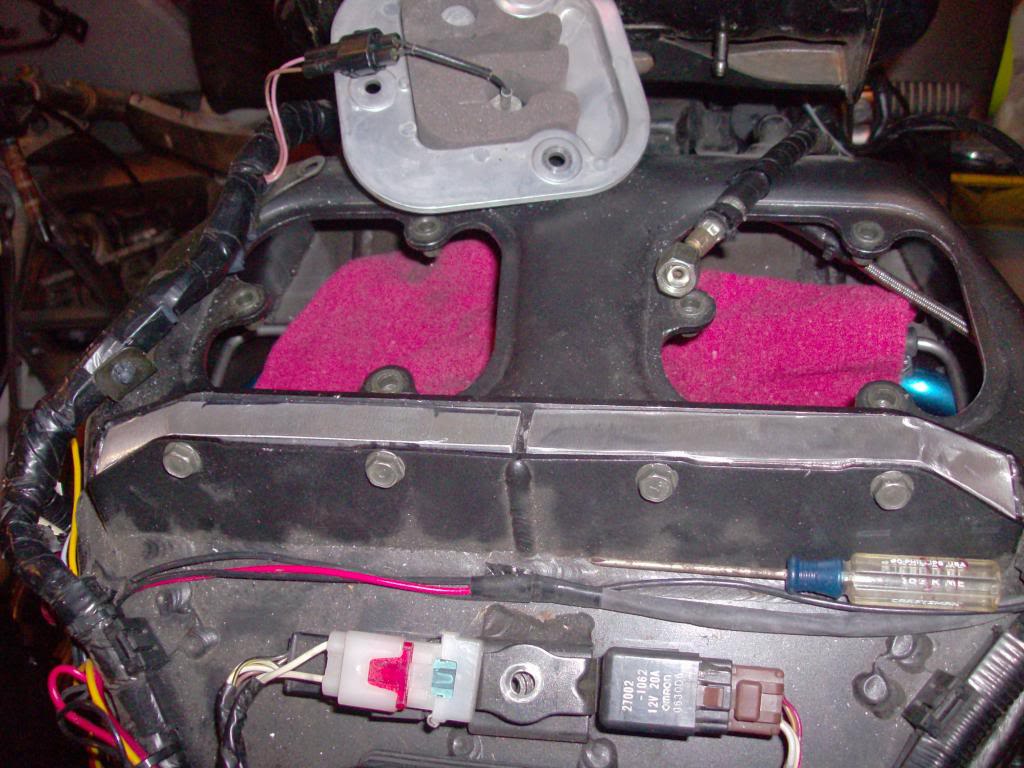
And here's a look at the final shape of the airbox plugs I made:
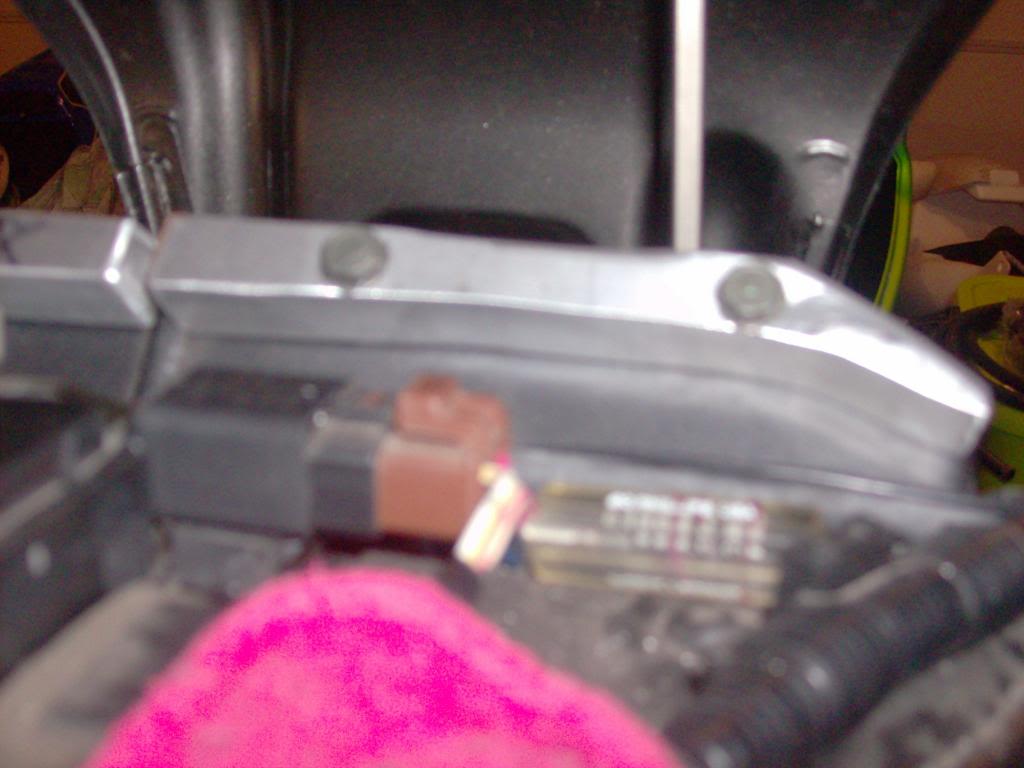
They look kind of irregular across the top but that's because I tried to follow the contour of the top of the airbox slots where they sit. They are bolted to the front of the airbox slots so you get an idea of how they sit in the airbox.
And here's a look at the final shape of the airbox plugs I made:
They look kind of irregular across the top but that's because I tried to follow the contour of the top of the airbox slots where they sit. They are bolted to the front of the airbox slots so you get an idea of how they sit in the airbox.
Thread Starter
|
Senior Member
1st Gear Member
Joined: Sep 2012
Posts: 326
From: Ohio
1st Gear Member
This is all the progress for this week. I won't touch it again until next Thursday because tomorrow is Easter and my work schedule for the rest of the week blows goats. The upside is that I have more parts ordered and they should all be here by Thursday at the latest. Next weekend will be busy.