The slow evolution of my ZX12R
#11
 03-16-2013, 05:32 PM

Join Date: Sep 2012
Location: Ohio
Posts: 326
Today's plan is to mount the scavenge pump and lay out all the brackets I need to make. Tomorrow I'll go to work a little early and make the brackets. I'll be able to prep and paint them on my breaks so they'll be ready to take home at the end of the day. It's not exciting and there will be very little visual progress but it's still forward progress.
#12
03-16-2013, 07:06 PM
Join Date: Sep 2012
Location: Ohio
Posts: 326
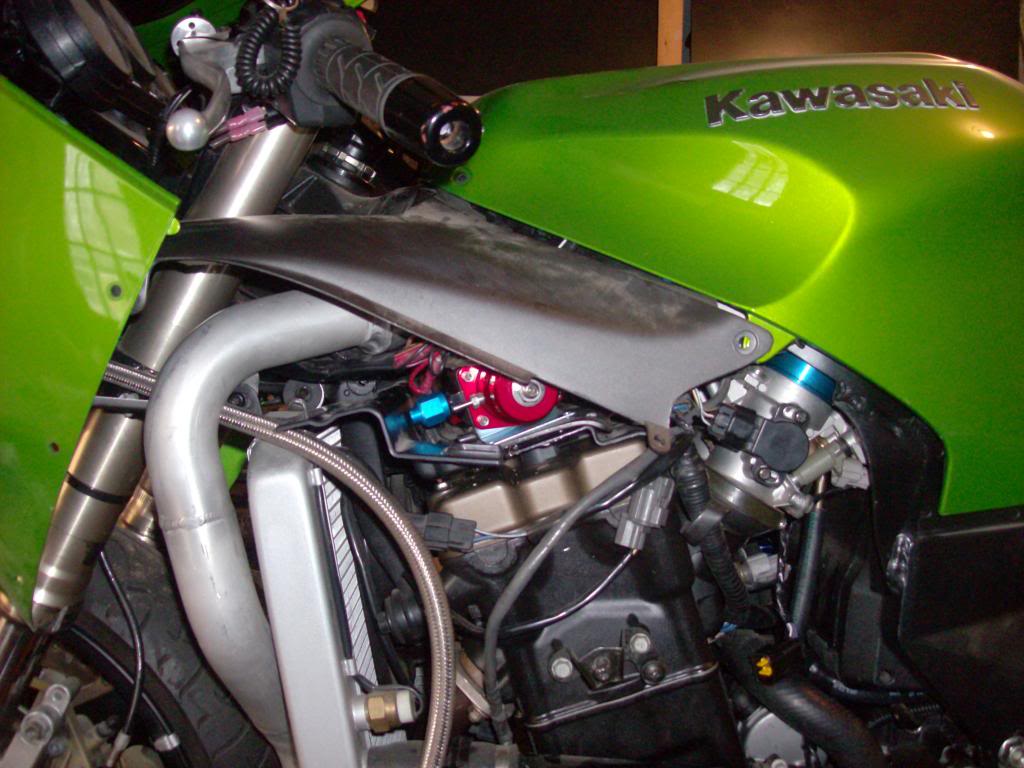
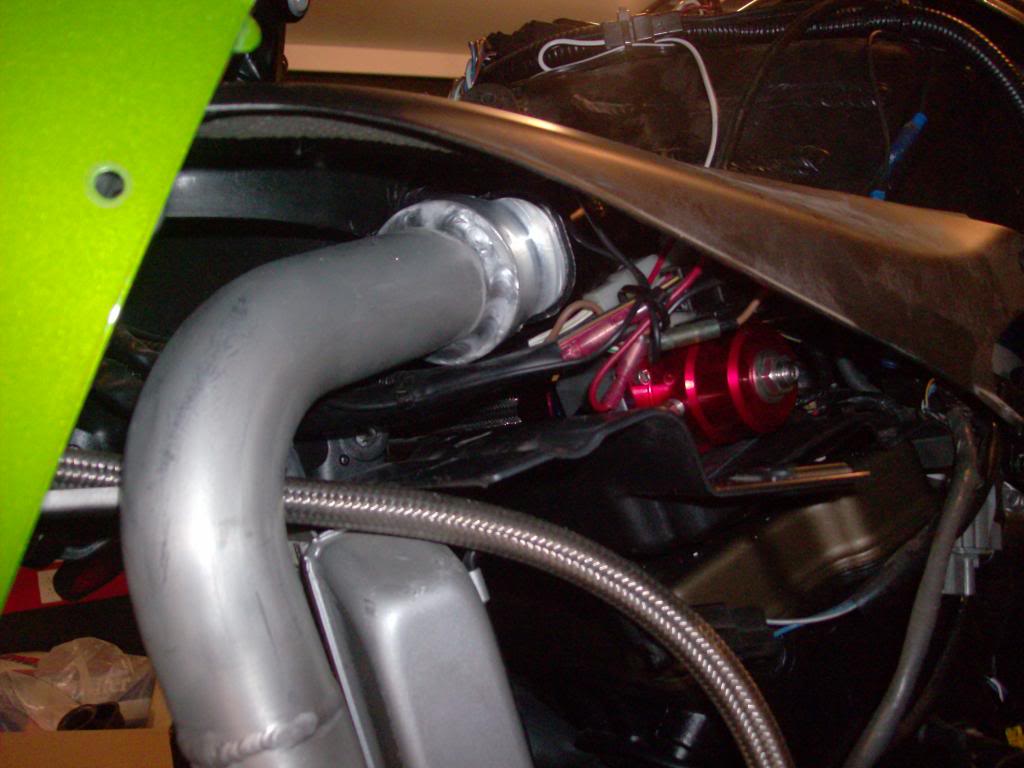
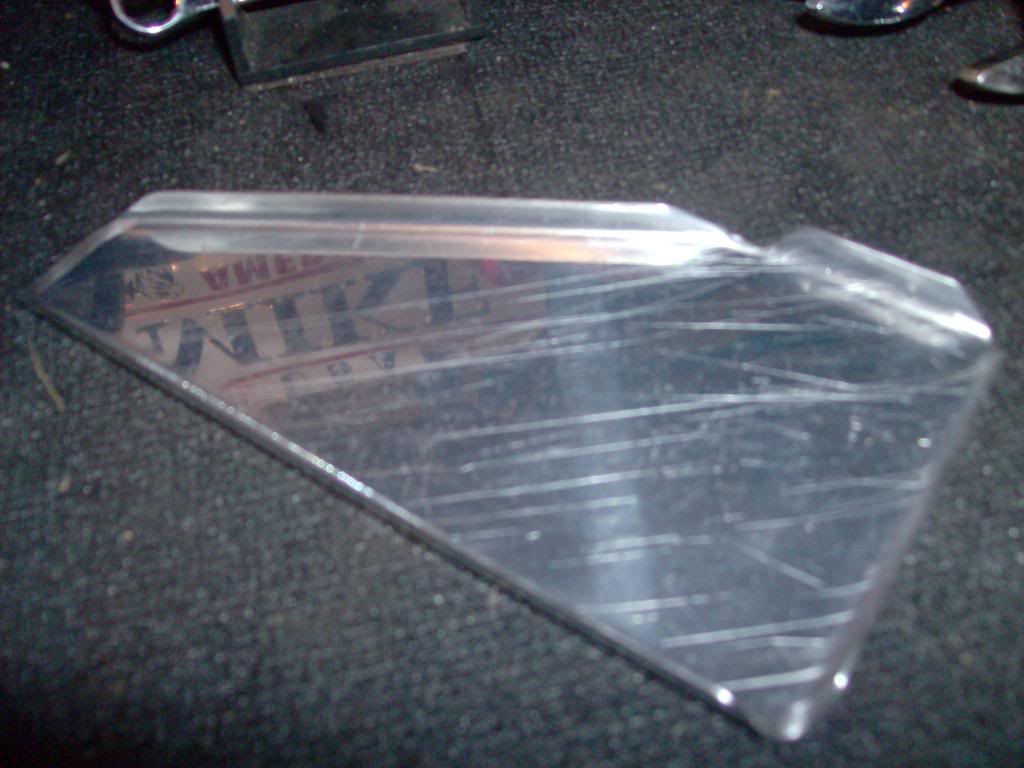
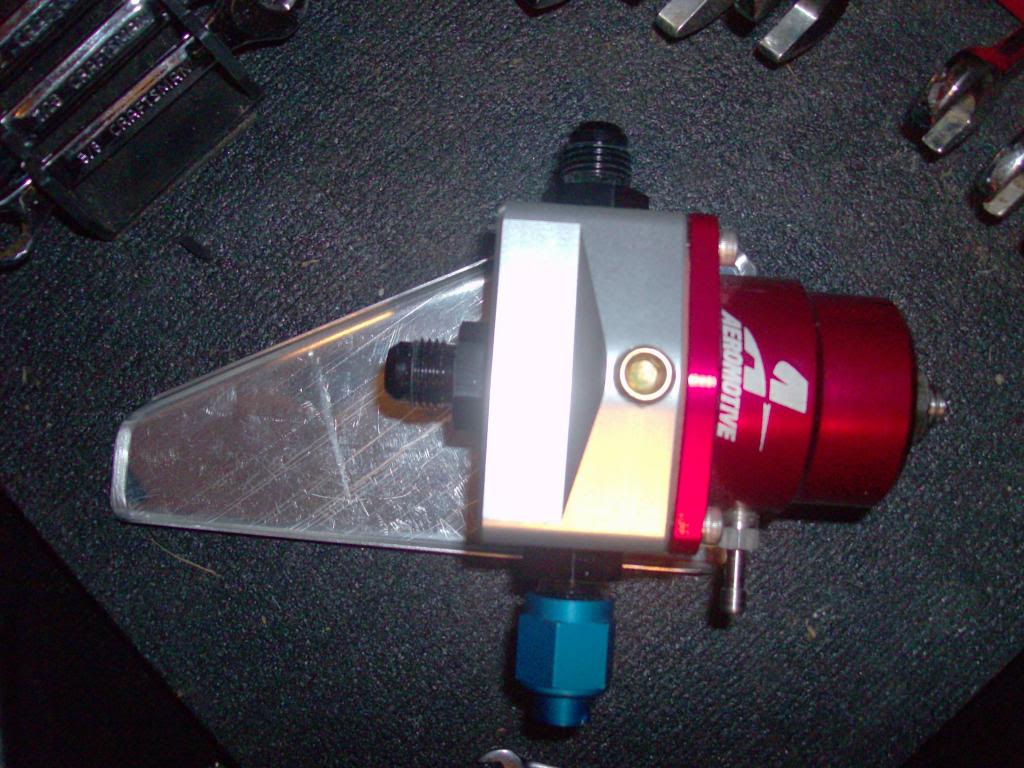
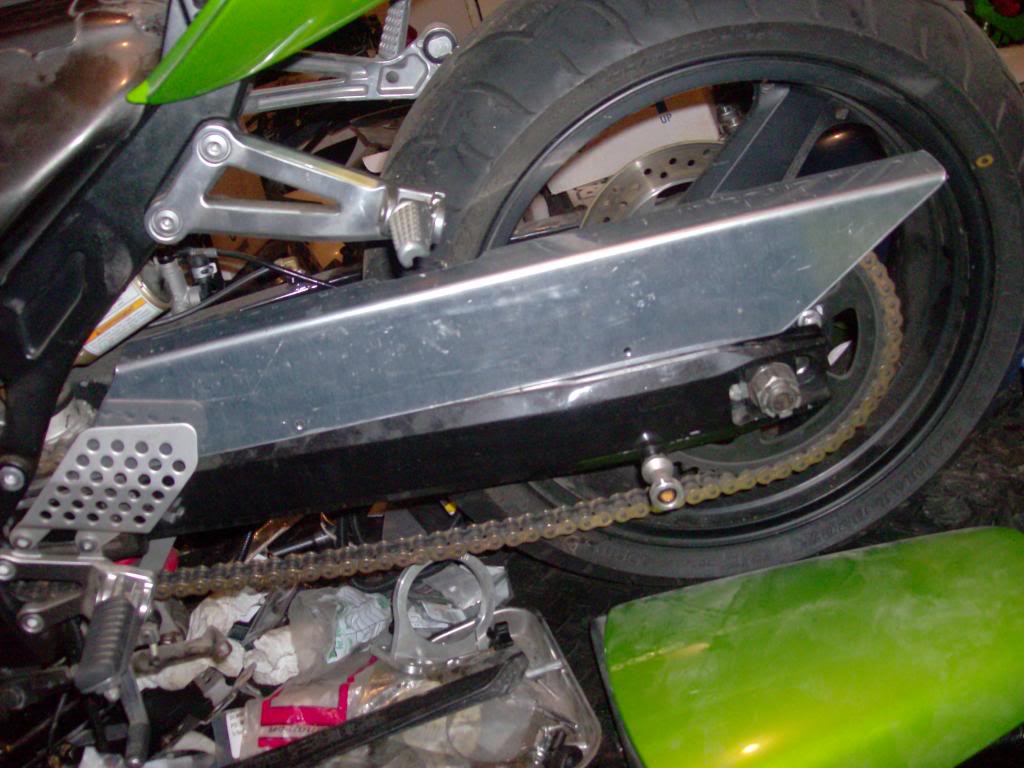
Scavenge pump is physically installed but not wired in yet.I'm waiting to do all the wiring in on shot. I still have some electronic goodies to install and 3 gauges, si I'll wire it all at once. Here's the pictures of it:
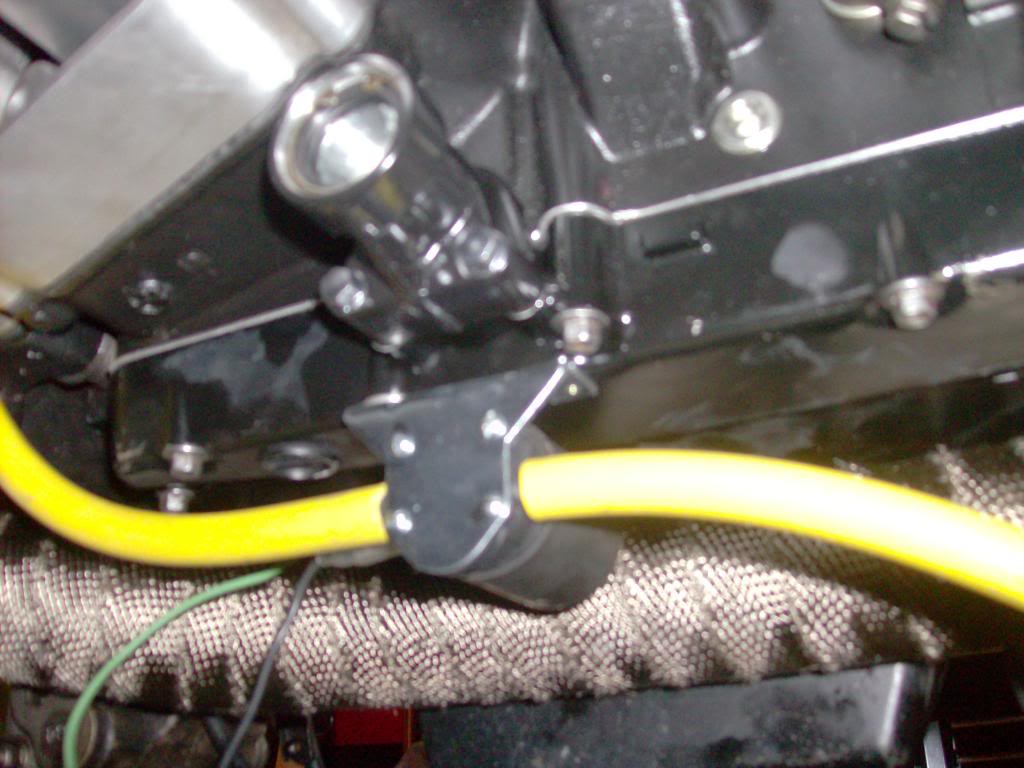
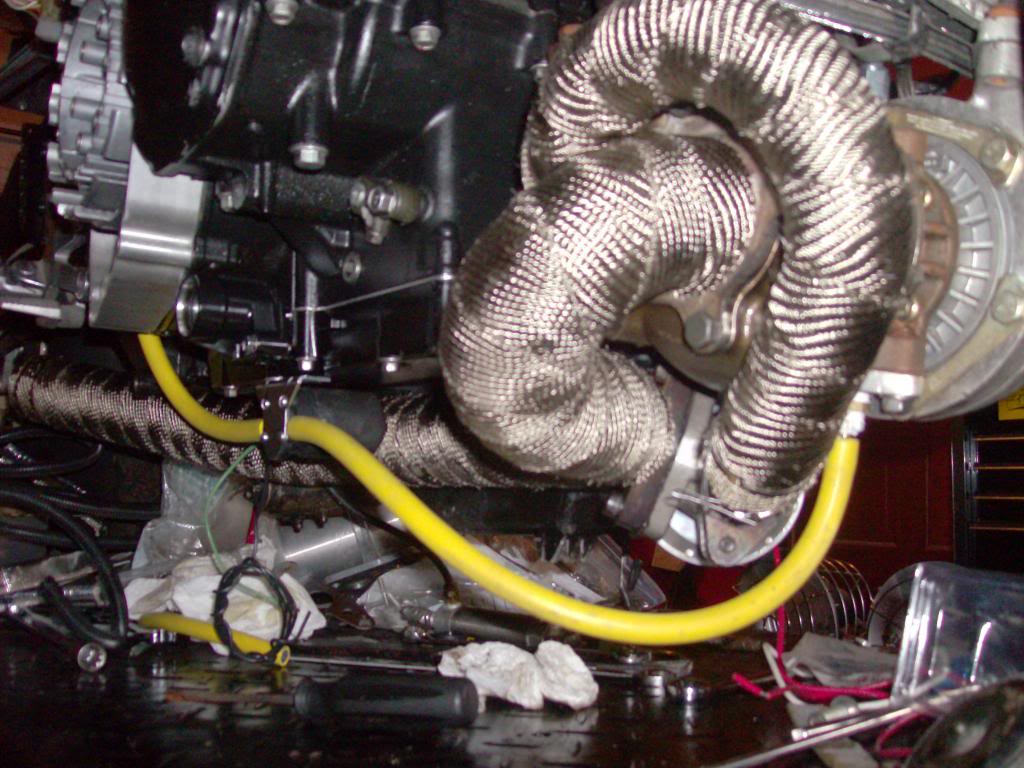
I will slide the rubber scavenge pump hose in a heat sleeve next weekend. I got the wrong size on my previous trip to Jeg's so I have to wait until later this week to get the right size.
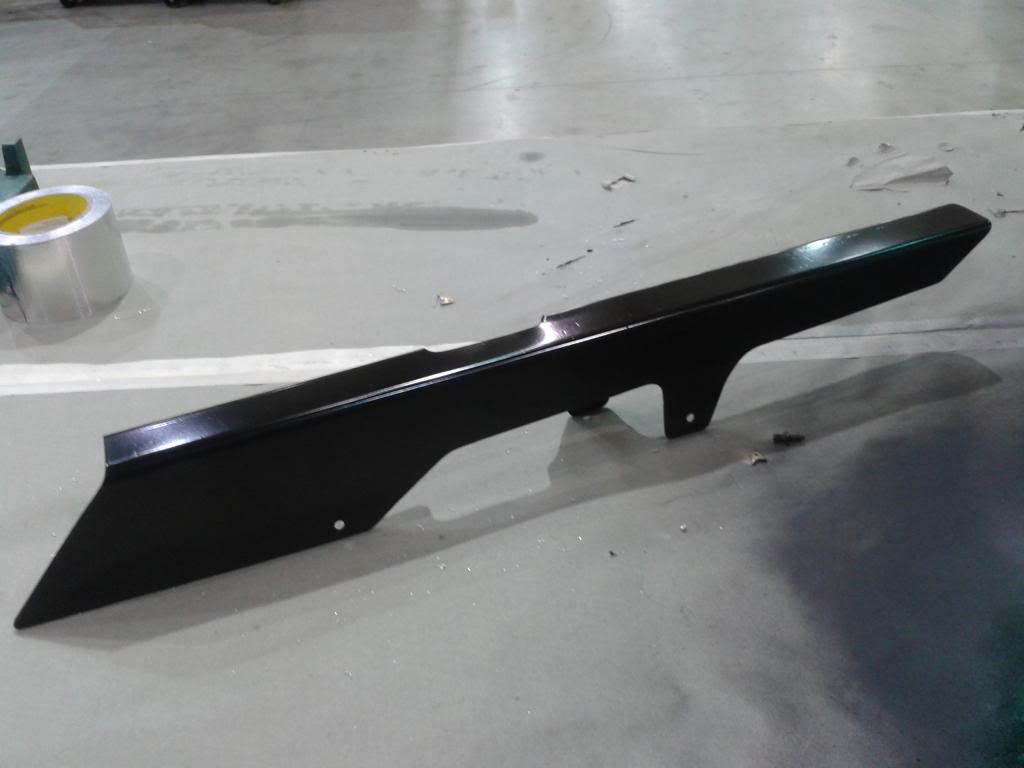
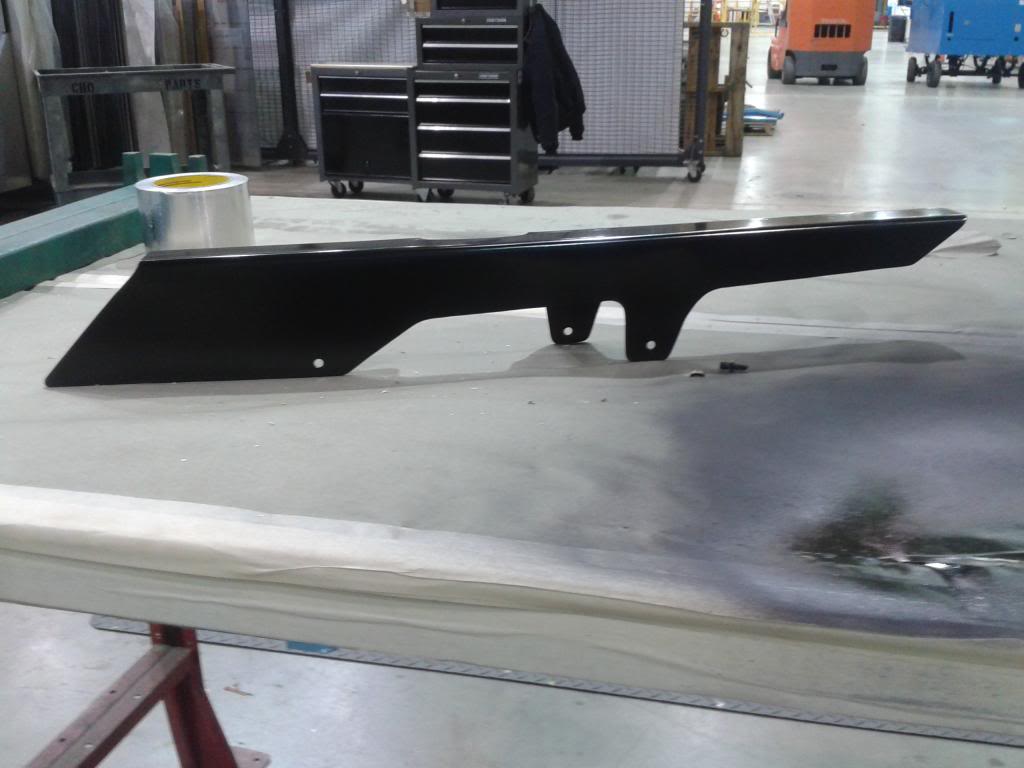
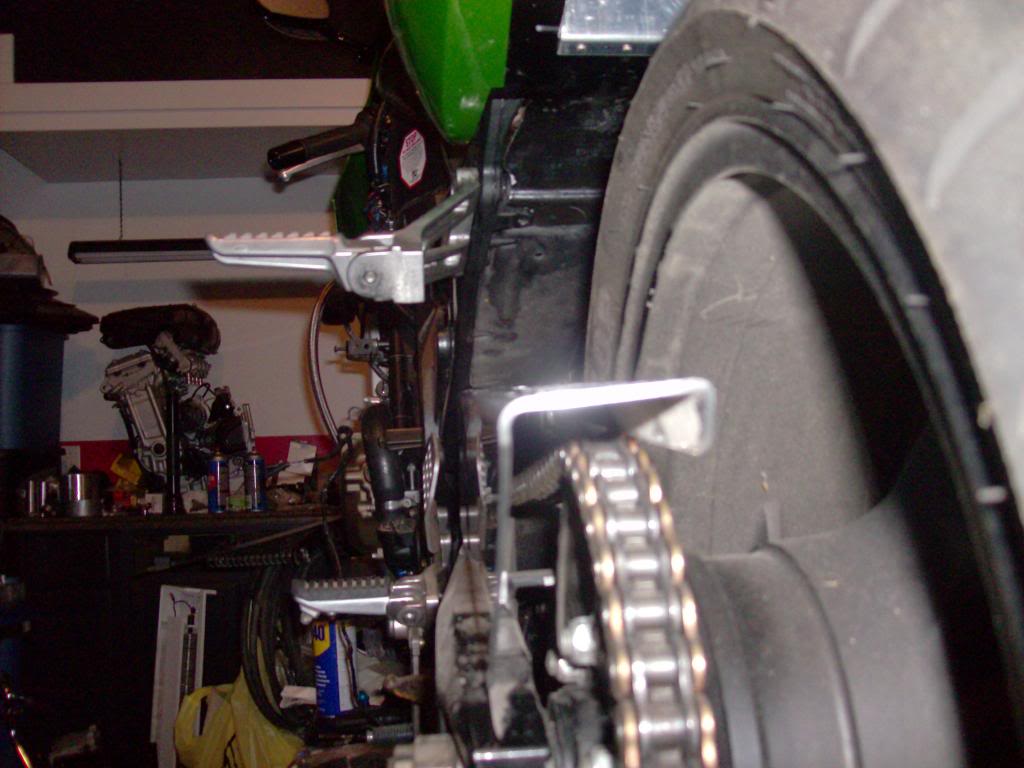
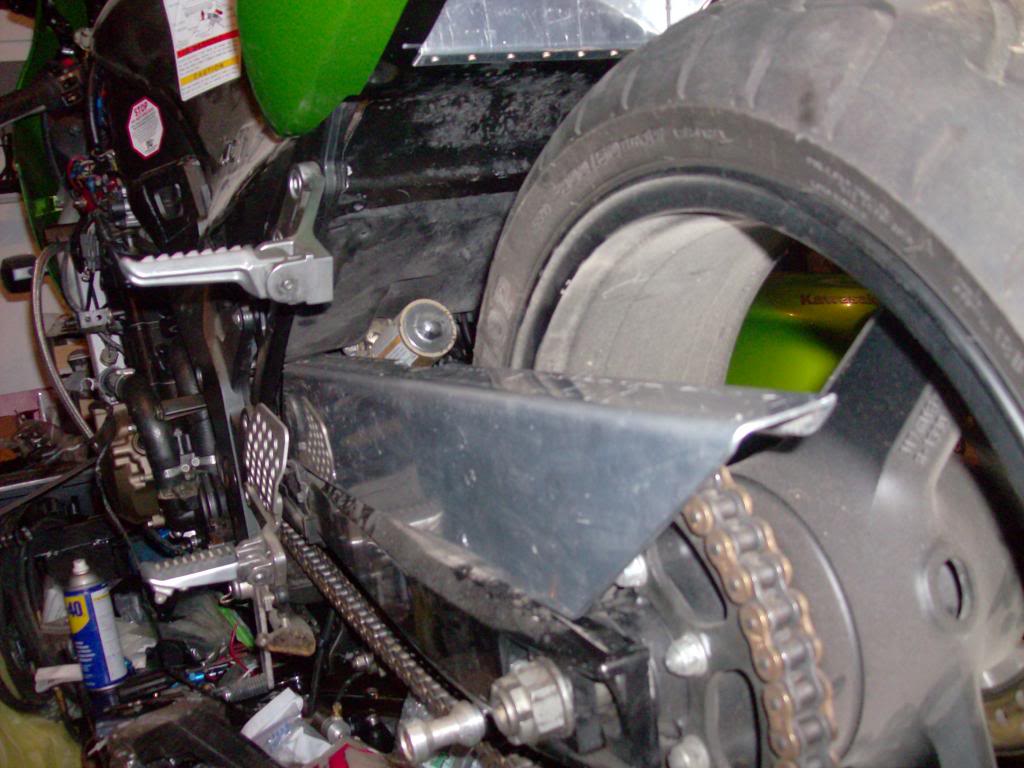
While laying out the brackets I need to fab I put some of the bodywork on the bike to make sure everything will disappear once it's all together. Here's some shots of that:
I will slide the rubber scavenge pump hose in a heat sleeve next weekend. I got the wrong size on my previous trip to Jeg's so I have to wait until later this week to get the right size.
While laying out the brackets I need to fab I put some of the bodywork on the bike to make sure everything will disappear once it's all together. Here's some shots of that:
#13
03-16-2013, 07:30 PM
Join Date: Sep 2012
Location: Ohio
Posts: 326
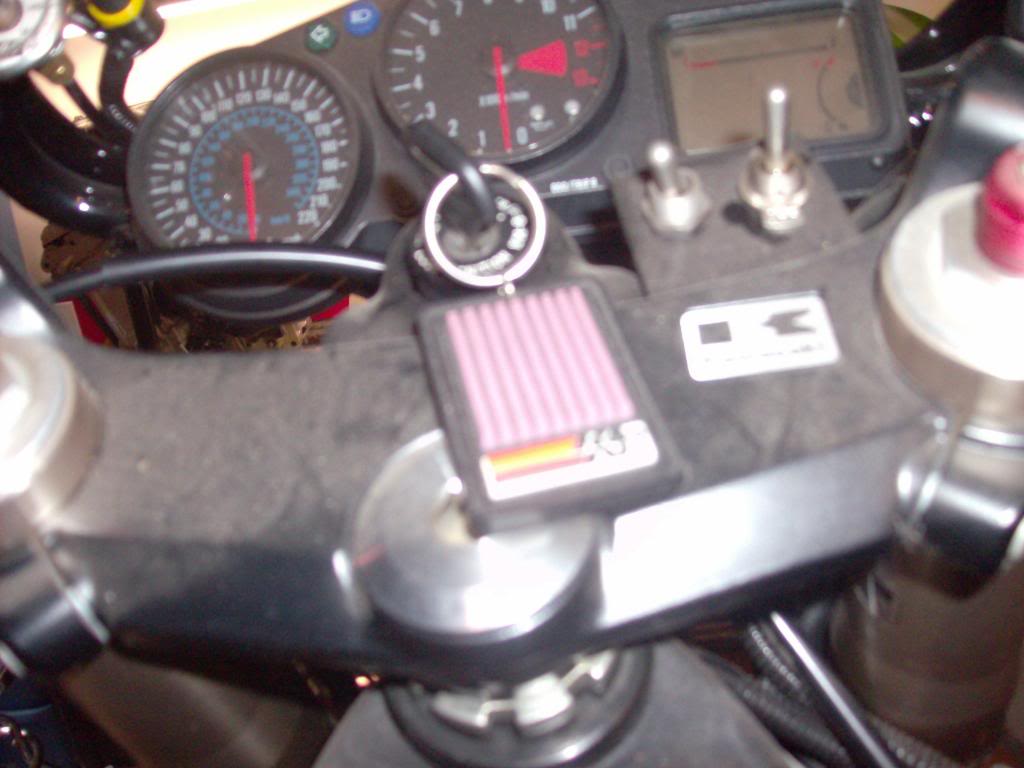
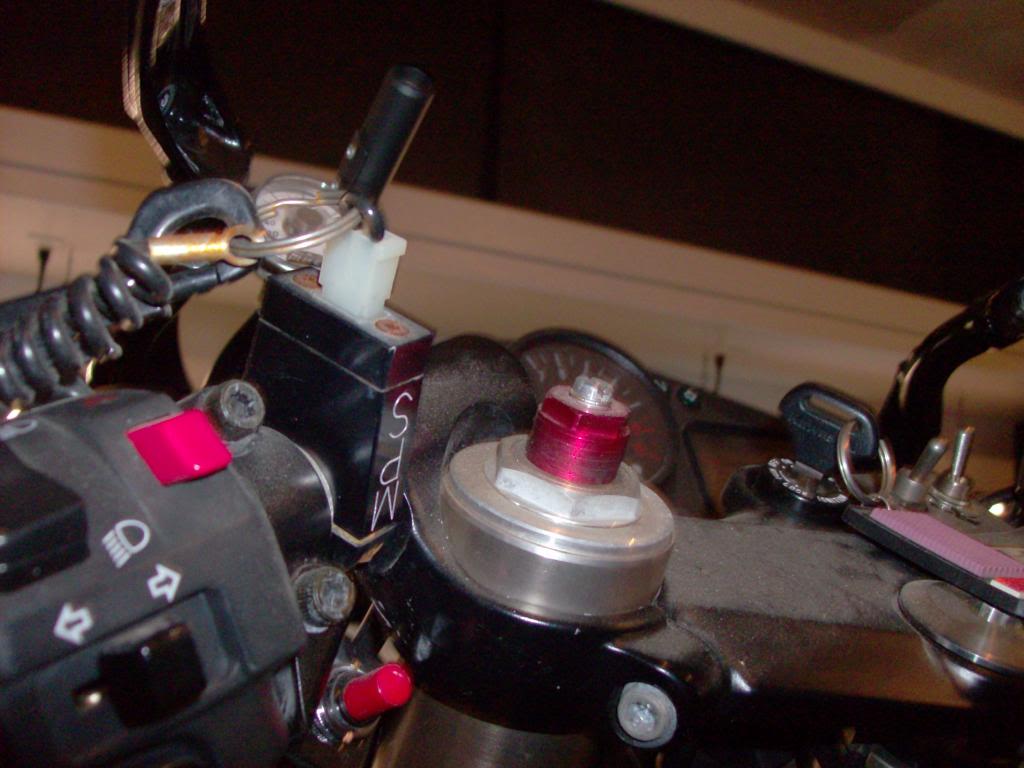
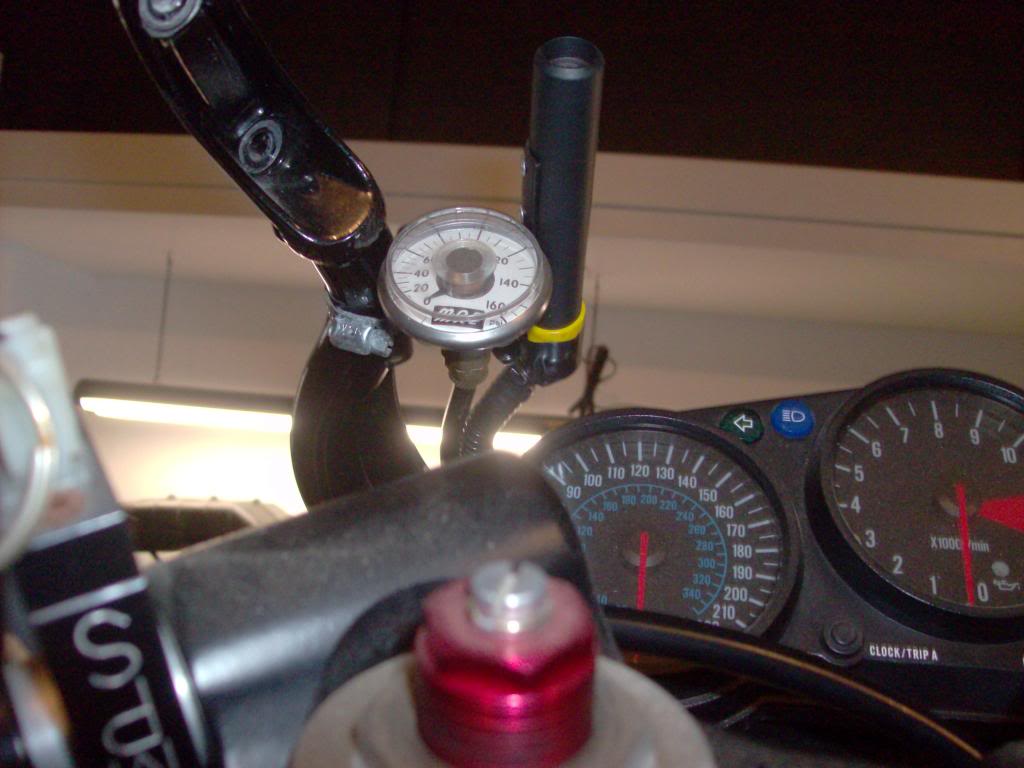
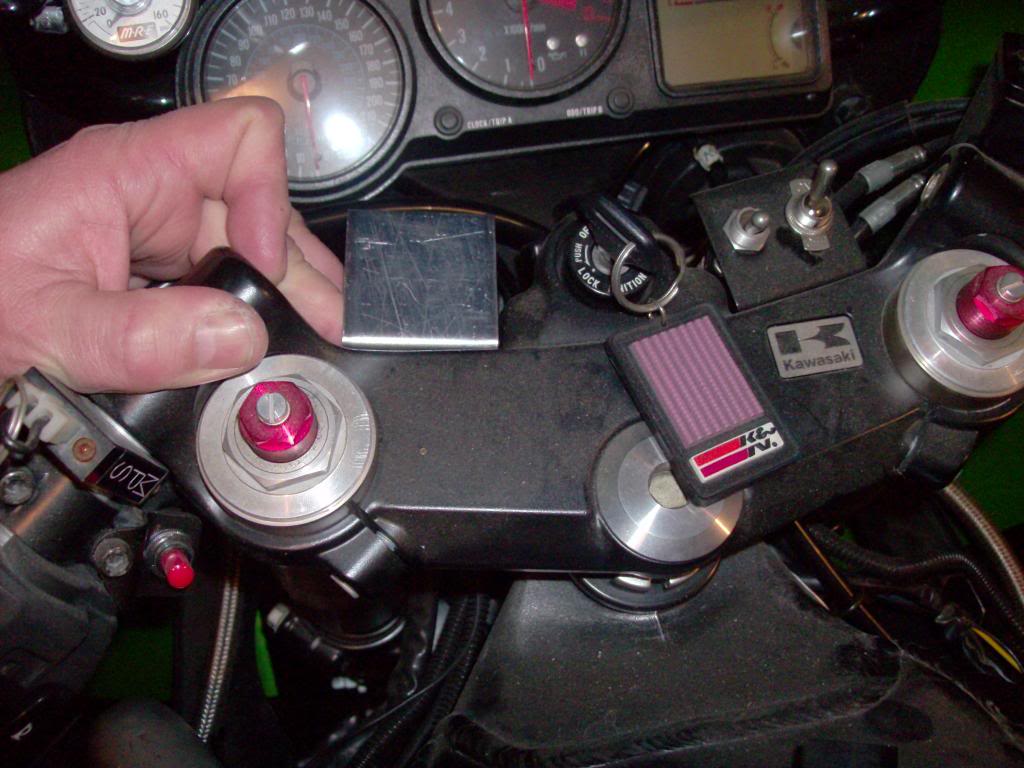
When I address the wiring I'm going to add a toggle switch to the left side of the triple clamps. There are already 2 on the right side. One is for arming the nitrous and the other is for arming the air shifter. The airshifter, when armed, uses the horn button as the shifter. The nitrous, when armed, uses the starter button as the nitrous button. You can see the toggles in the next photo. The red button on the left, just inboard of the left controls, is for the air compressor to fill the air tank. The swing arm is pressurized and used as the air tank.The bracket that has "MPS" on it is the kill switch for drag racing. The last photo shows the air pressure gauge for the shifter and the Autometer shift light.

#14
03-17-2013, 11:55 PM
Join Date: Sep 2012
Location: Ohio
Posts: 326
Today I got the oil cooler ready for final installation, The spacer ring for the lock up clutch painted , the chain guard mounting holes drilled and the brackets fabbed for the FPR and the scavenge pump toggle switch. I will be able to press on this weekend with assembly.
#15
03-18-2013, 12:25 AM
An MPS is needed for a 12 second bike? hmmm, go figure lol
I am digging the memories on the 87 gsxr750 though. Even though I did not ride one, I rode with them.
There are a lot of small details. Nicely done
I am digging the memories on the 87 gsxr750 though. Even though I did not ride one, I rode with them.
There are a lot of small details. Nicely done

#19
03-19-2013, 09:55 AM
Join Date: Sep 2012
Location: Ohio
Posts: 326
You're right. I have no access to a waterjet, unfortunately. So I modded the chain guard so it resembles the stock chain guard more closely using a dye grinder and a steady hand. I was looking at it as it was and it was acceptable, but it didn't follow my concept of a sleeper. It just didn't disappear into the bike the way I wanted.