
LETS POST SOME PIC OF YOUR BAD @$$ KLXs


Member
Joined: Jun 2014
Posts: 51
From: Detroit, MI
1st Gear Member

Can you tell me the width of your front tire? guessing its a 17, but looking for the width because im going to be changing mine soon.
Thank you.

Junior Member
Joined: Apr 2015
Posts: 4
For which bike? The klx250 im using stock tire 110/70/17, while for klx150 it wrap with 120/70/17
Member
Joined: Jun 2014
Posts: 51
From: Detroit, MI
1st Gear Member
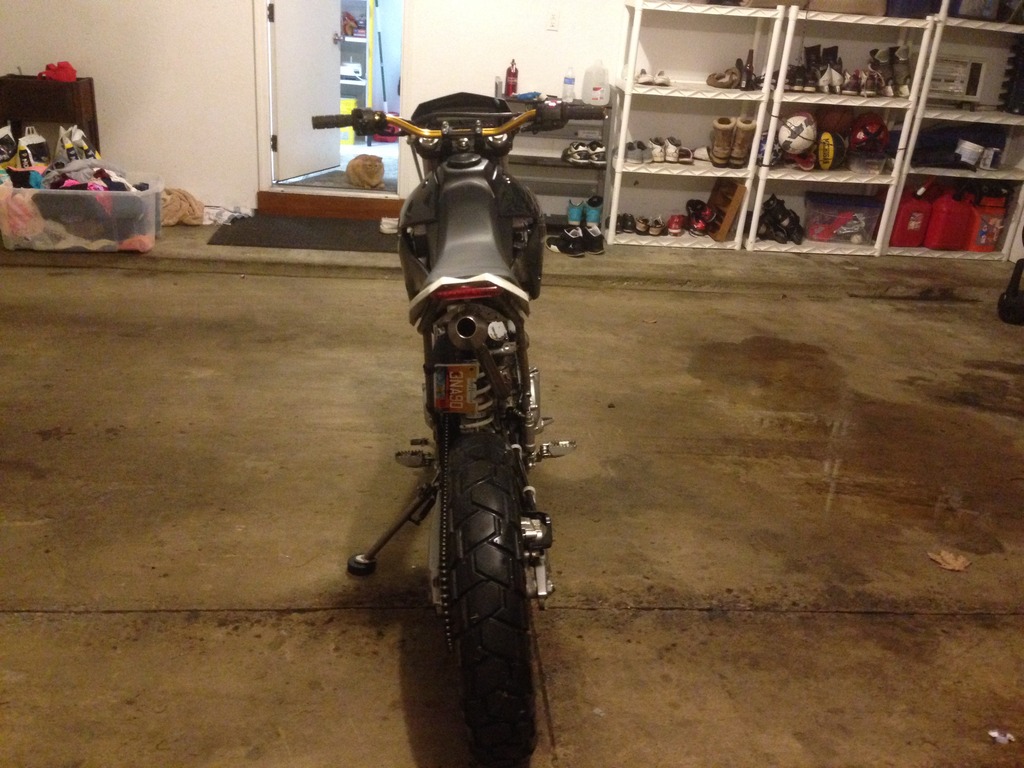
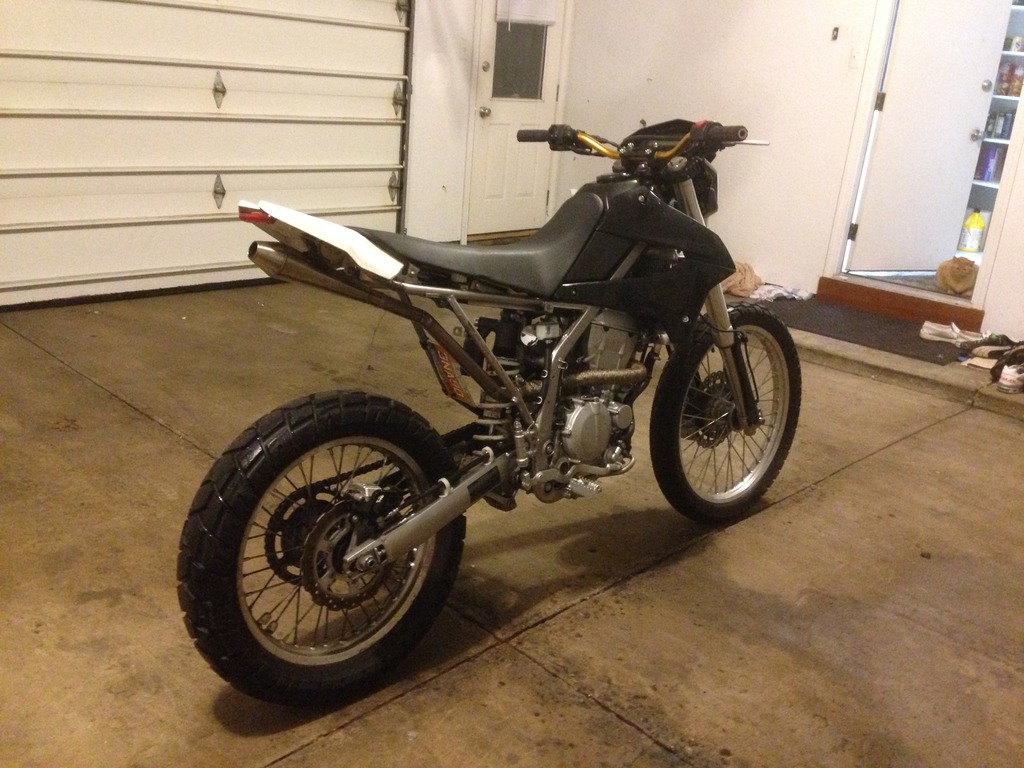
almost finished.....
still need to:
1. Figure out what front fender to use:
-Stock
-Short supermoto style
-Minimalist cafe style (would attach to the bottom of the shocks, ride with the wheel, small piece of metal)
-No fender at all ahaha
2. Mount the bark busters with front turn signals. Mount the rear turn signals. (after paint)
3. Find a better way to mount the plate.
4. Strip everything away from the tail end and paint the frame, put everything back together.
5. Eventually get a 18inch front rim to match the rear.


Member
Joined: Jun 2014
Posts: 51
From: Detroit, MI
1st Gear Member
@Tacoma660
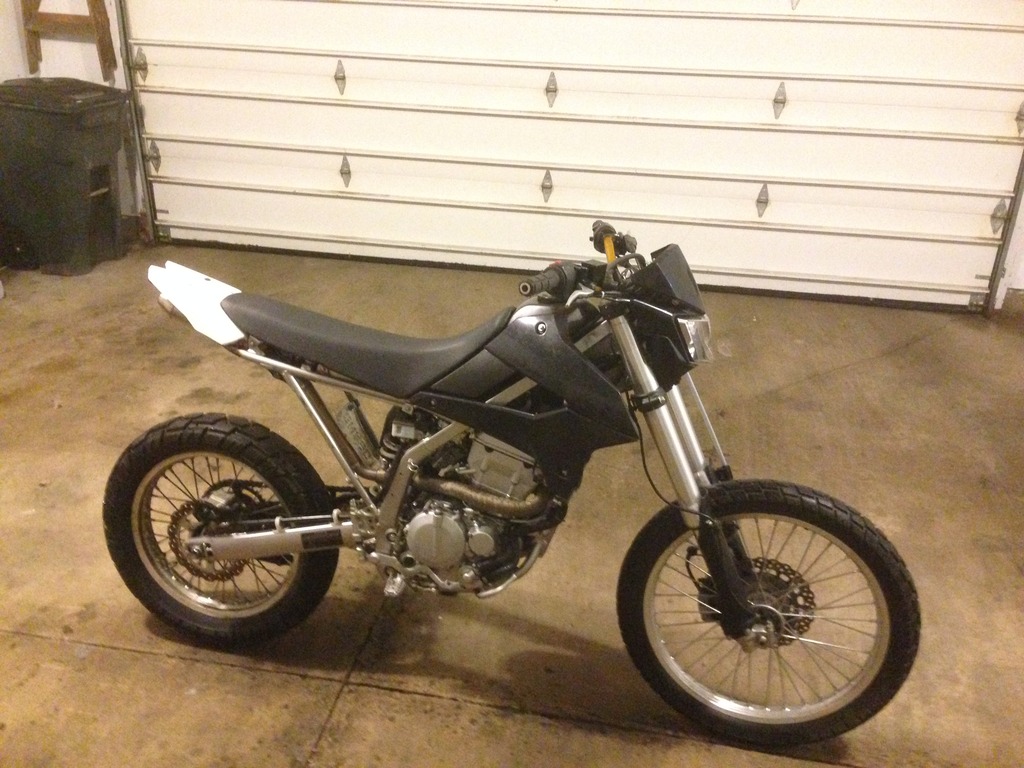
i want to...i think ill do something like this:
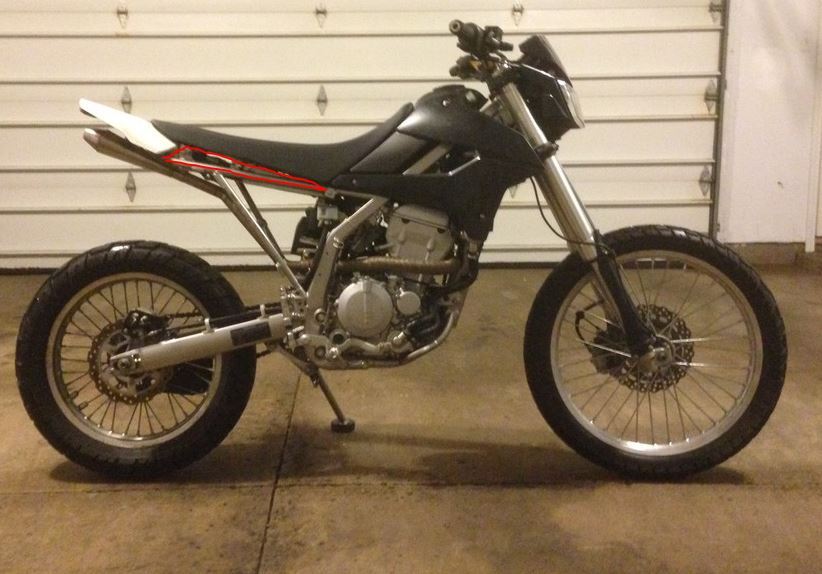
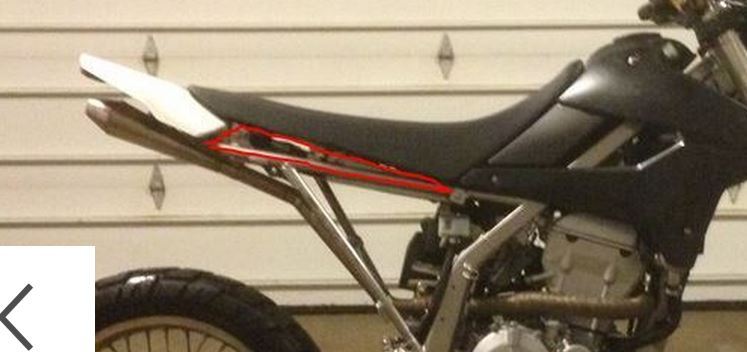
Im thinking of doing them out of aluminum, I have some experience with aluminum, but not plastic.
Open to any ideas though to be honest. If anyone has any feel free to shout em out.
i want to...i think ill do something like this:


Im thinking of doing them out of aluminum, I have some experience with aluminum, but not plastic.
Open to any ideas though to be honest. If anyone has any feel free to shout em out.
Member
Joined: Jun 2014
Posts: 51
From: Detroit, MI
1st Gear Member
@CoastieAM
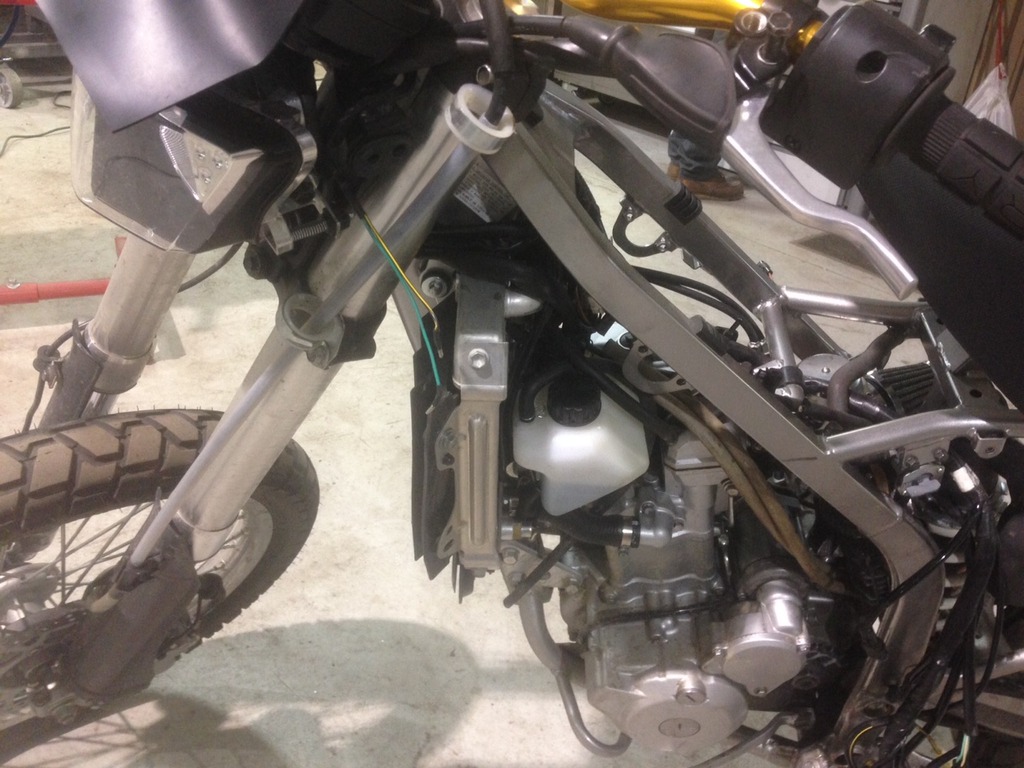
PMed me about where the battery and coolant res were at.....Figured if someone asked there are other people out there who are wondering the same for their bikes.
I put the coolant res right behind the radiator. At first it sounds like a stupid idea because of the heat, but i made sure i checked how hot it got before i moved it. I checked it a bunch of times, but i was sold after a really hot summer day where we had been riding short distances stopping and going a lot. i could put my hand on the radiator and not get burnt so i figured it wouldnt mess with the plastic....i have a few hundred miles on that setup (one of my first mods, did it before i overhauled the bike) and it hasn't gotten too hot yet. i actually made a bad *** looking bracket for it even though you cant even see it. I took the left radiator off, made a template, cut the metal bent it and drilled holes accordingly and mounted everything back up. didnt take more than an hour or so.

^^^ i made a bracket that looks like this, bent it at the two blue lines. Drilled holes at the red circles.
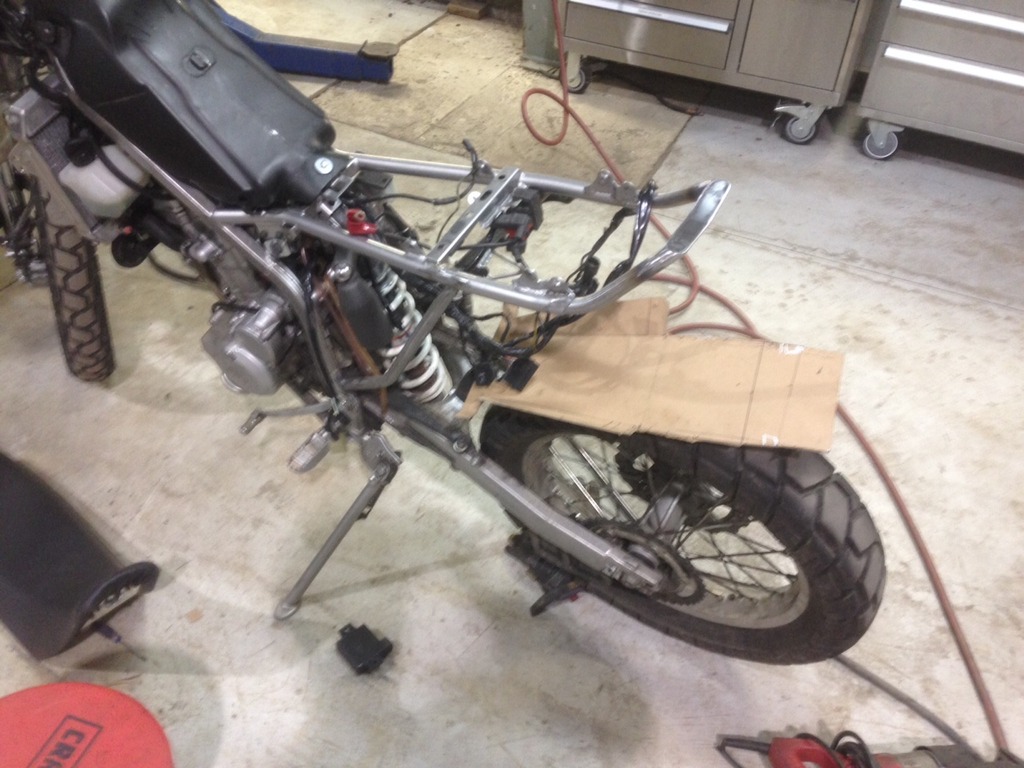
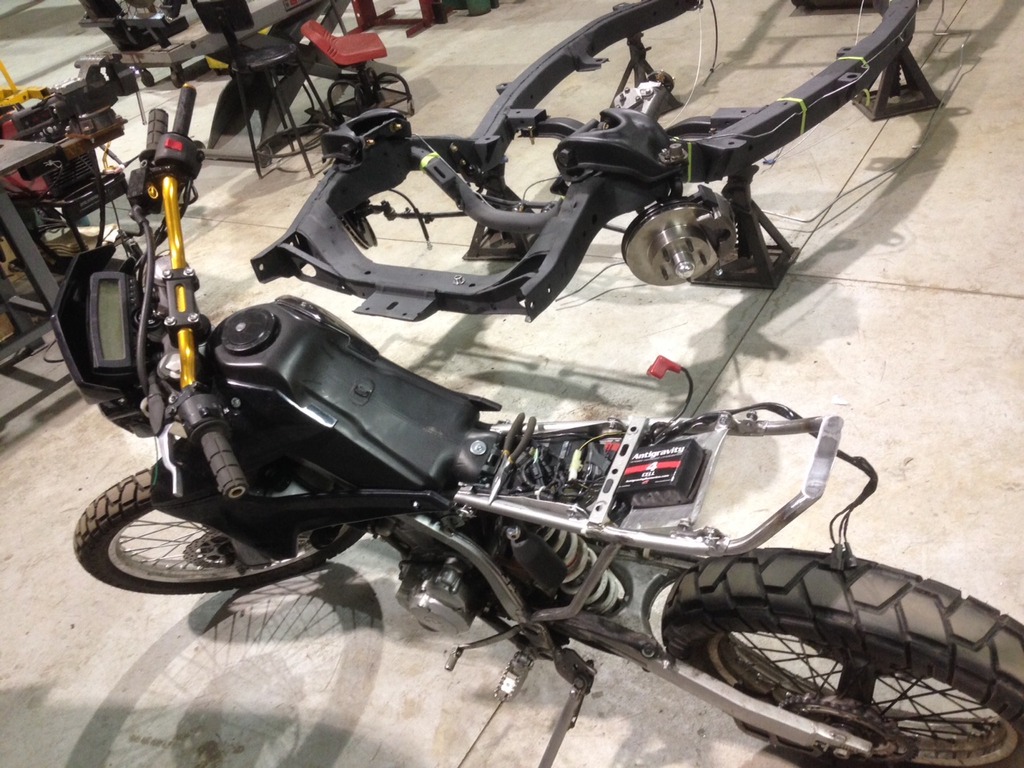
wires and battery tray
Template out of cardboard
used the template to make an aluminum tray.

Put all the wires in the first part of the tray, then the smaller battery in the second part. Used an AntiGravity 4 cell batter. seems like it works better than my stock battery and its soooo much smaller. I love it.
PMed me about where the battery and coolant res were at.....Figured if someone asked there are other people out there who are wondering the same for their bikes.
I put the coolant res right behind the radiator. At first it sounds like a stupid idea because of the heat, but i made sure i checked how hot it got before i moved it. I checked it a bunch of times, but i was sold after a really hot summer day where we had been riding short distances stopping and going a lot. i could put my hand on the radiator and not get burnt so i figured it wouldnt mess with the plastic....i have a few hundred miles on that setup (one of my first mods, did it before i overhauled the bike) and it hasn't gotten too hot yet. i actually made a bad *** looking bracket for it even though you cant even see it. I took the left radiator off, made a template, cut the metal bent it and drilled holes accordingly and mounted everything back up. didnt take more than an hour or so.


^^^ i made a bracket that looks like this, bent it at the two blue lines. Drilled holes at the red circles.
wires and battery tray
Template out of cardboard

used the template to make an aluminum tray.

Put all the wires in the first part of the tray, then the smaller battery in the second part. Used an AntiGravity 4 cell batter. seems like it works better than my stock battery and its soooo much smaller. I love it.
