
The slow evolution of my ZX12R

Thread Starter
|
Senior Member
1st Gear Member
Joined: Sep 2012
Posts: 326
From: Ohio
1st Gear Member
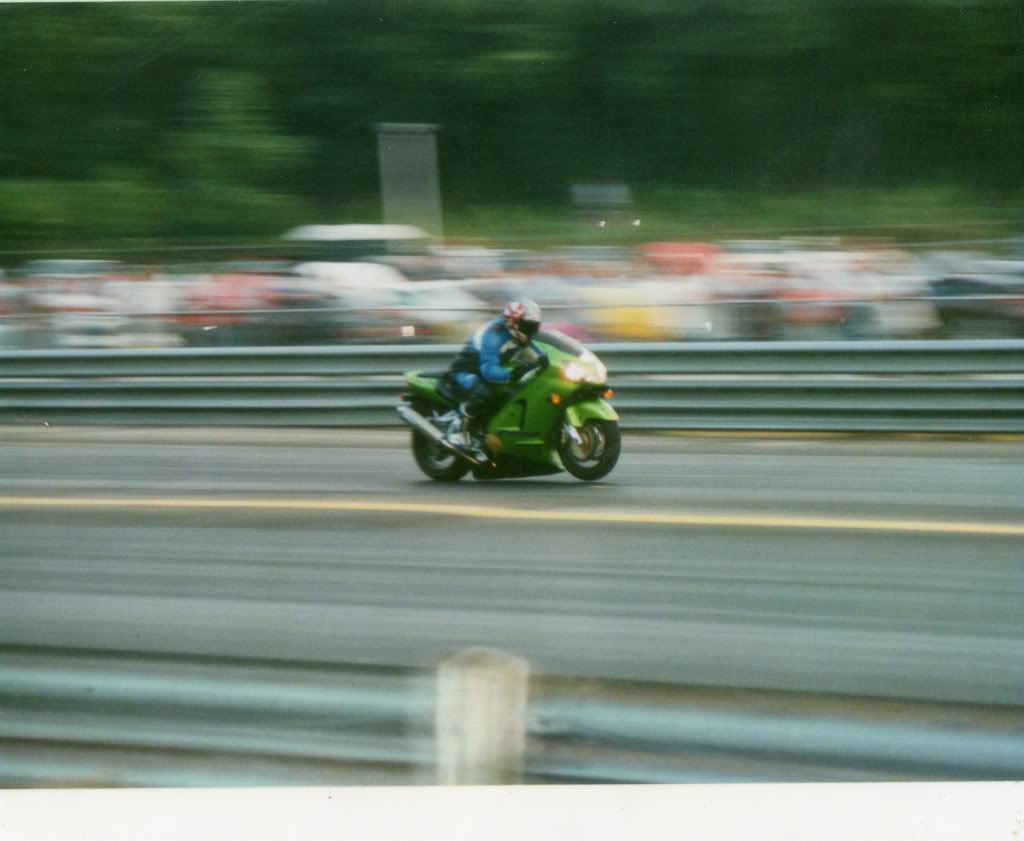
I'm the original owner of a 2000 ZX12R that I bought in April 2000. I saw pictures of the bike in the fall of 1999 and fell in love with them and then when I saw them in person in Gainesville,Florida at the spring Prostar race and then again a couple days later at Bikeweek in Daytona I decided I had to have one. When I got home from bike week I immediately put my 98 ZX9Rand my 87 GSXR 750 up for sale.
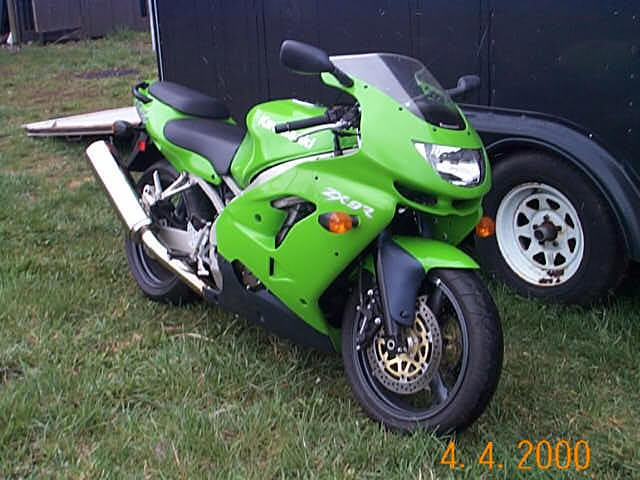
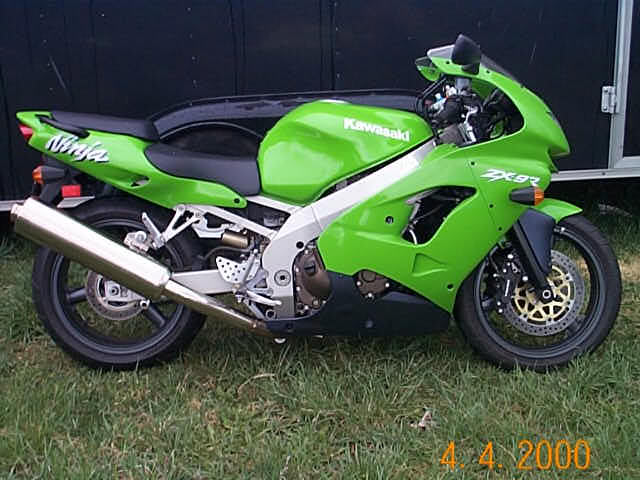
They both sold to the first person that looked at each one. I took the money and went & bought one of the first green ZX12R's that arrived in Southwest Ohio. The owner of the dealership is also an old friend so he gave me the list of bikes coming in and let me pick the VIN number I wanted. I rode it and raced it in various forms over the years.
That's me giving it the business:
Thread Starter
|
Senior Member
1st Gear Member
Joined: Sep 2012
Posts: 326
From: Ohio
1st Gear Member
I added different stuff to the bike over the years and a few years ago I started a turbo build. Now I'm finishing that build and I will be riding the beast this summer.
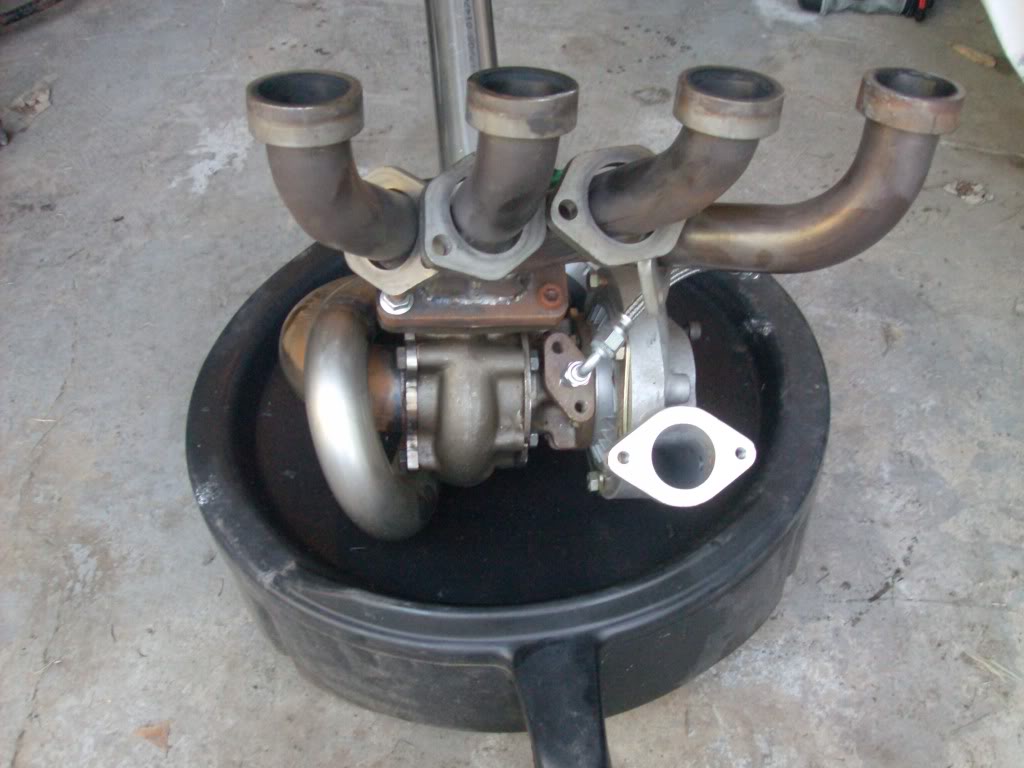
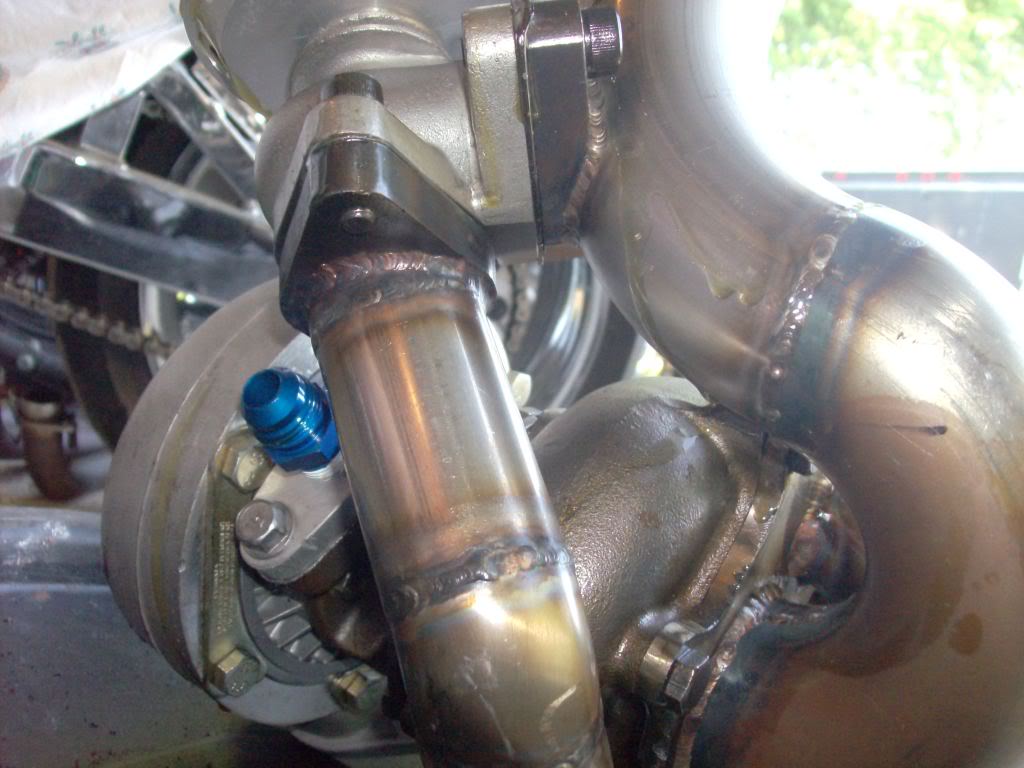
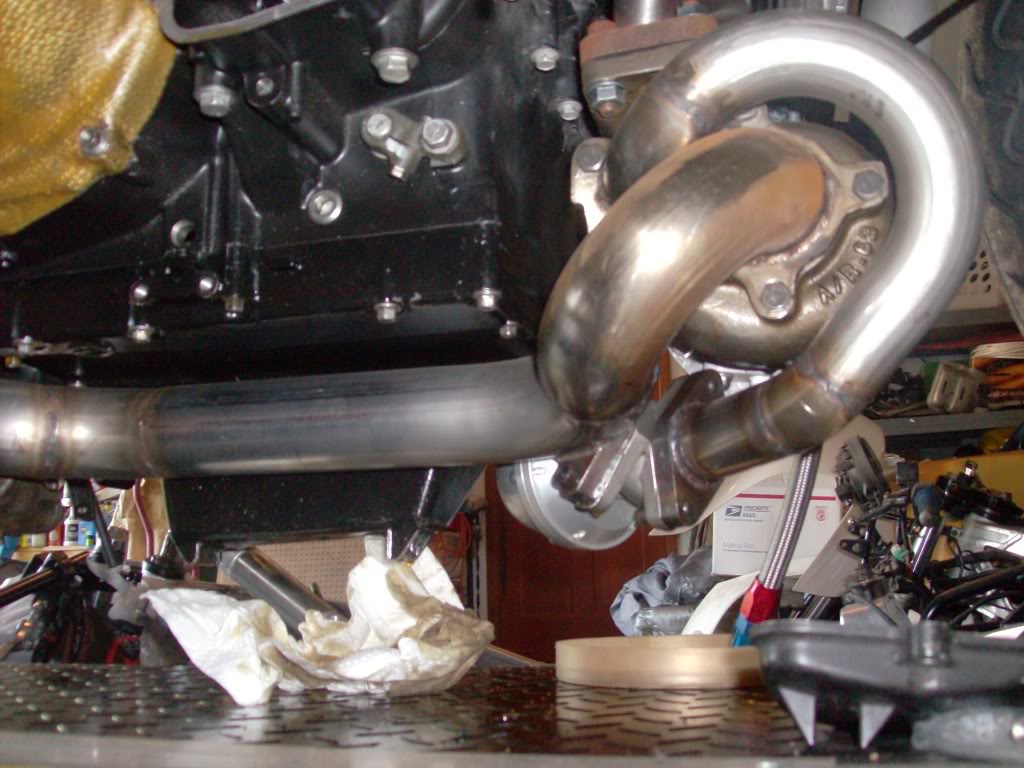
If the header looks familiar to some of you it's because it started life as a stock ZX12R exhaust.
This isn't an off-the-shelf-kit. I designed it in my head and my brother and I fabricated it.He's certified in every form of welding there is except for underwater (we have a cousin that does that). I'm an aircraft mechanic by trade (24+ years and counting) and my specialties are structures and sheetmetal fabrication. I'm going to try my best to keep this updated as things progress, so stay tuned.
Thread Starter
|
Senior Member
1st Gear Member
Joined: Sep 2012
Posts: 326
From: Ohio
1st Gear Member
It will see the dragstrip, but it has to completely and fully be able to perform on the street as well. All signals, lights, horn,etc must work as advertised. Basically I want a clean looking sleeper.
All the additional toys will be hidden inside the bodywork so the average Joe will not notice anything when looking at it. To the trained eye or anyone who knows ZX12's it will be obvious that things were done to it but it won't necessarily be obvious as to exactly what was done.
Oil cooler was relocated:
Thread Starter
|
Senior Member
1st Gear Member
Joined: Sep 2012
Posts: 326
From: Ohio
1st Gear Member
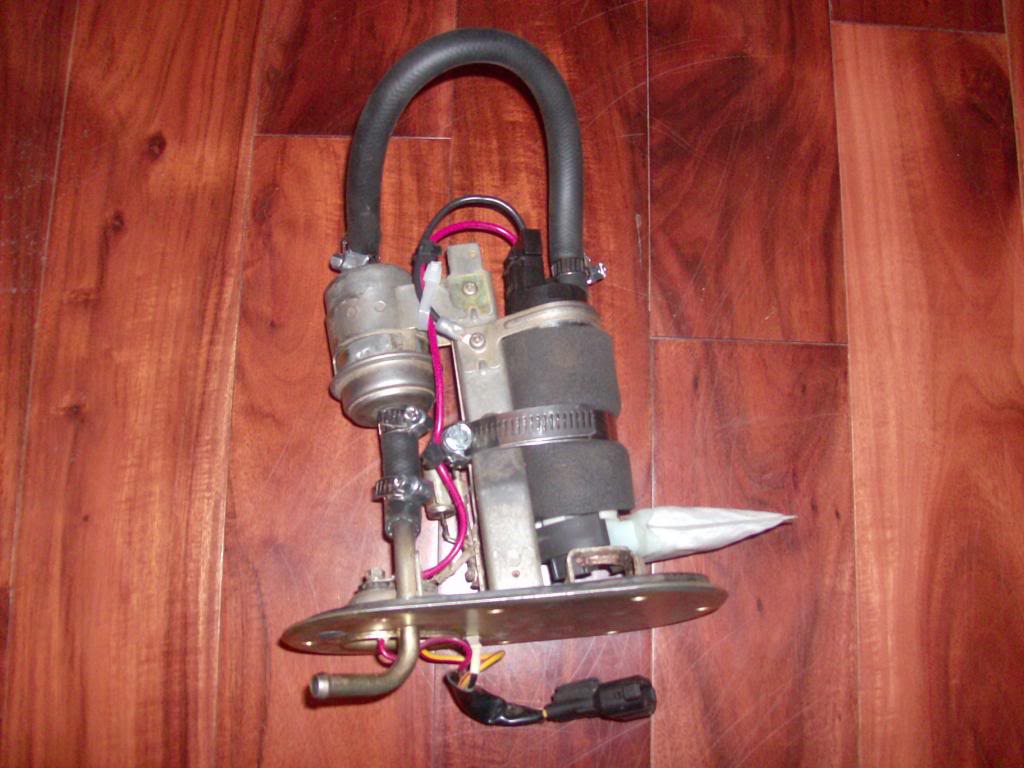
The ZX12R's always had a very "iffy" fuel pump. They weren't designed to handle much horsepower over stock so I upgraded to a Walbro pump. It's not really impressive to look at. If you didn't know better you'd think it was still a stock unit except for the bigger pre-filter (sock).
While I'm addressing weak links, the clutch is a timebomb in a 12. The stock basket will explode eventually on the dragstrip or even if abused on the street. That's why I went with Muzzys clutch kit:
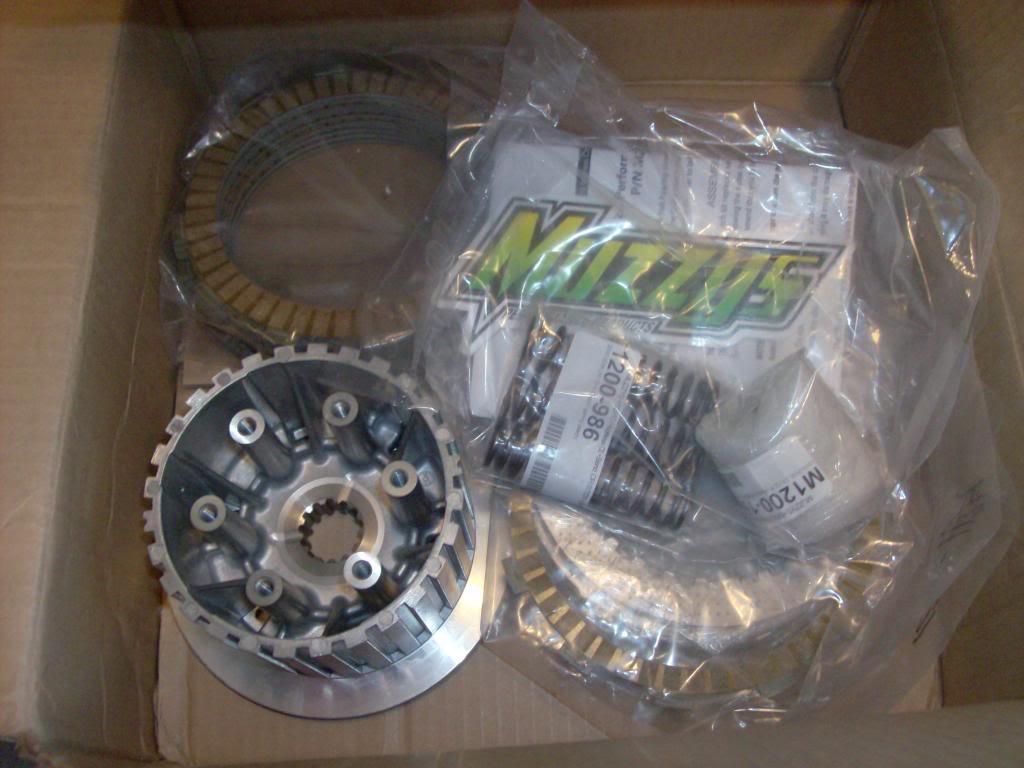
and a billet clutch basket from Falicon:
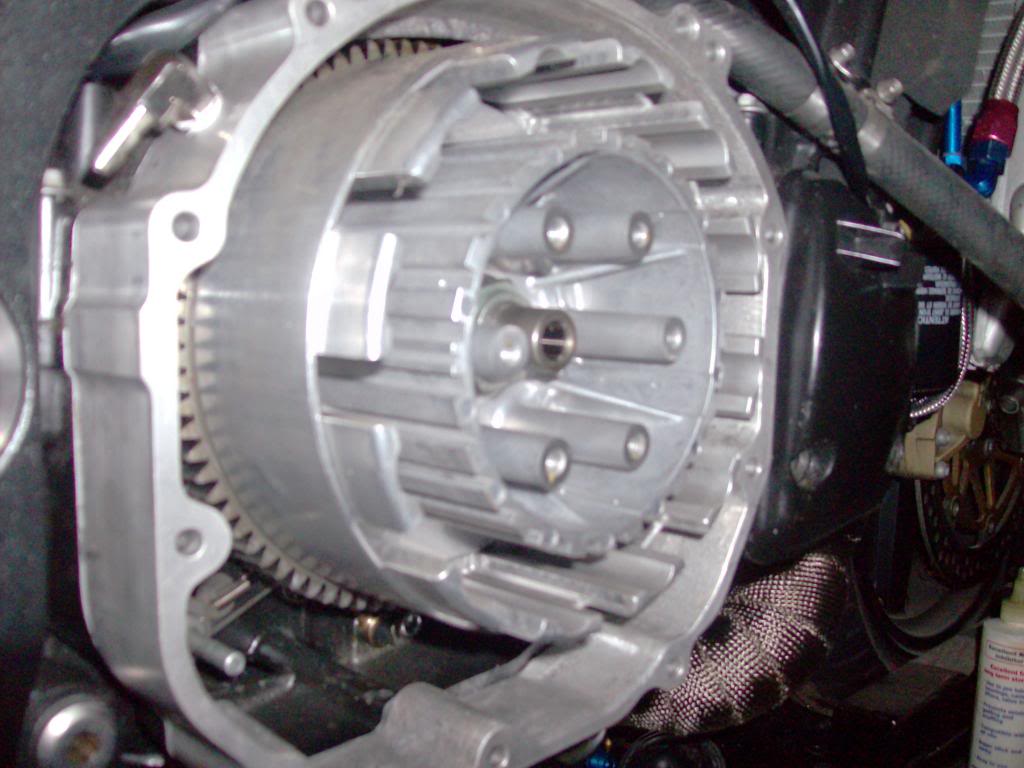
While I'm addressing weak links, the clutch is a timebomb in a 12. The stock basket will explode eventually on the dragstrip or even if abused on the street. That's why I went with Muzzys clutch kit:
and a billet clutch basket from Falicon:
Thread Starter
|
Senior Member
1st Gear Member
Joined: Sep 2012
Posts: 326
From: Ohio
1st Gear Member
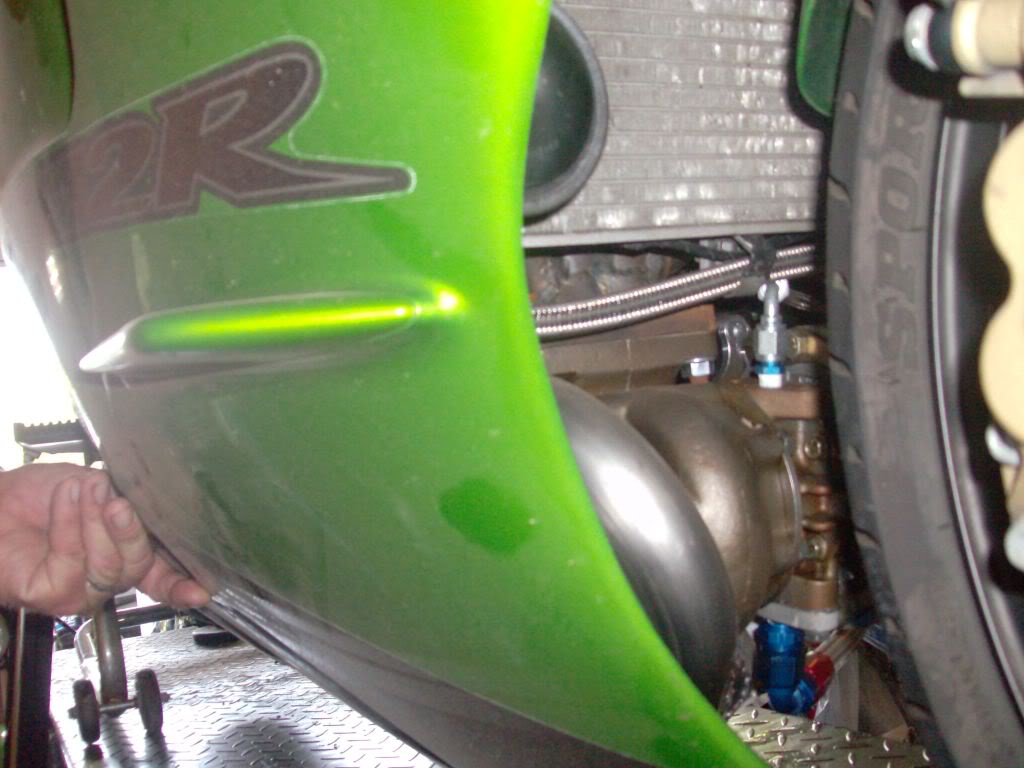
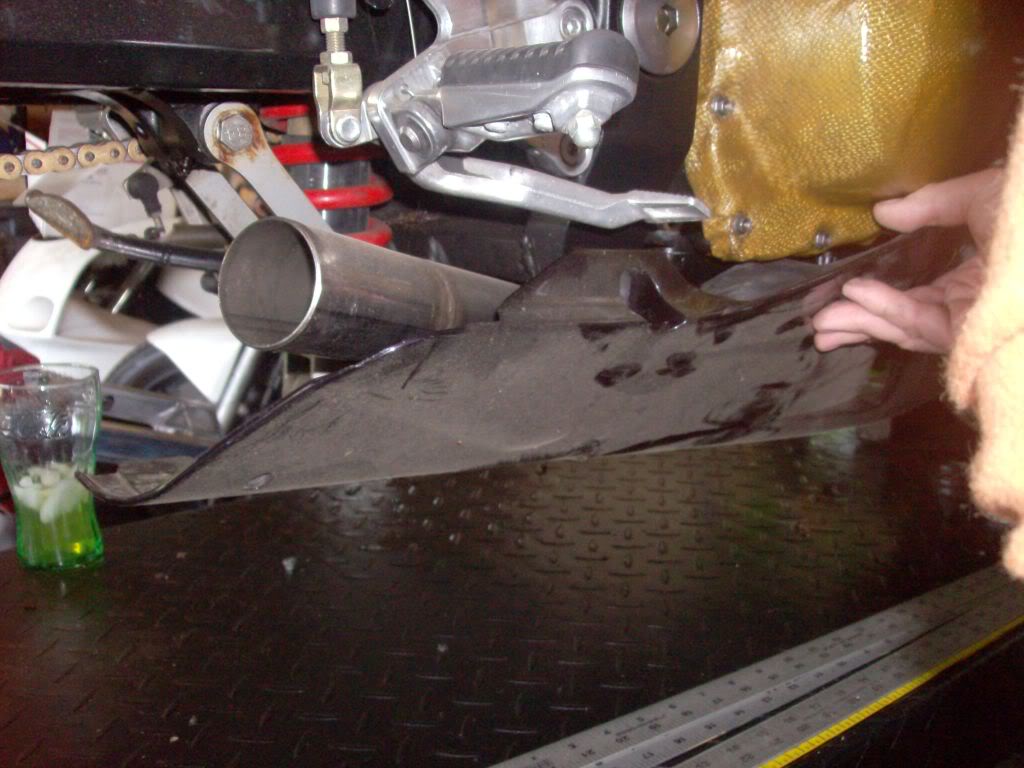
Several years ago I stretched the swingarm 4 inches and this forced me to remove the stock undertail. I made a new one out of aluminum but it was flat and the rear tire would hit it on a hard launch. I modded it with a recess in it to enable hard launches without hitting it anymore:
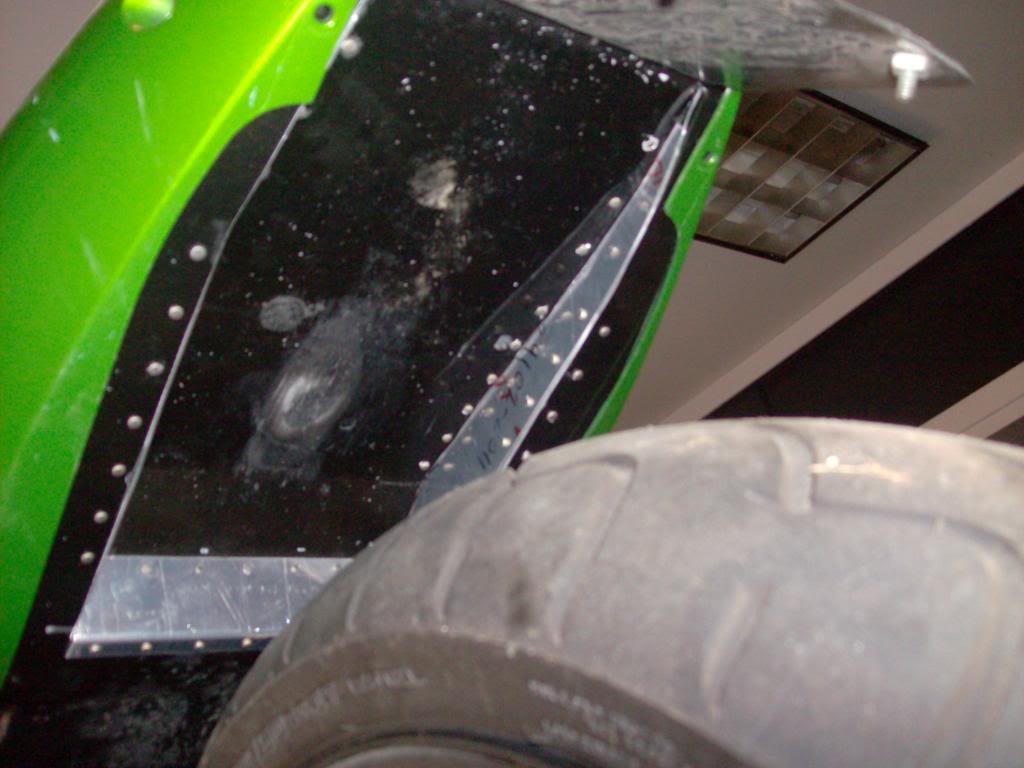
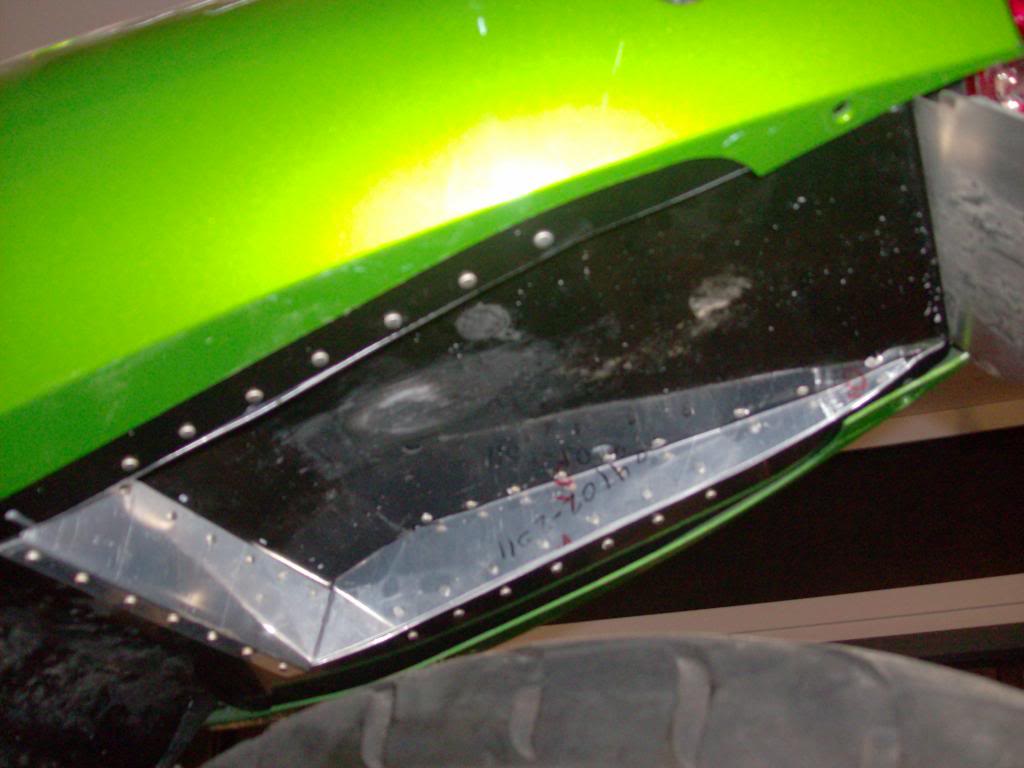
In the pictures you can see where the tire used to hit. I will paint it with the rest of the brackets I still need to fabricate. I need to brace the pan the oil cooler sits on and make a bracket for the scavenge pump to mount. I also have to mount the new fuel pressure regulator as well. That will be a nightmare I'm not looking forward to.
In the pictures you can see where the tire used to hit. I will paint it with the rest of the brackets I still need to fabricate. I need to brace the pan the oil cooler sits on and make a bracket for the scavenge pump to mount. I also have to mount the new fuel pressure regulator as well. That will be a nightmare I'm not looking forward to.

Thread Starter
|
Senior Member
1st Gear Member
Joined: Sep 2012
Posts: 326
From: Ohio
1st Gear Member
I have no doubt he does. Our other friend, Billy, rode this bike when it was just lowered, stretched and had the nitrous system installed.
Thread Starter
|
Senior Member
1st Gear Member
Joined: Sep 2012
Posts: 326
From: Ohio
1st Gear Member
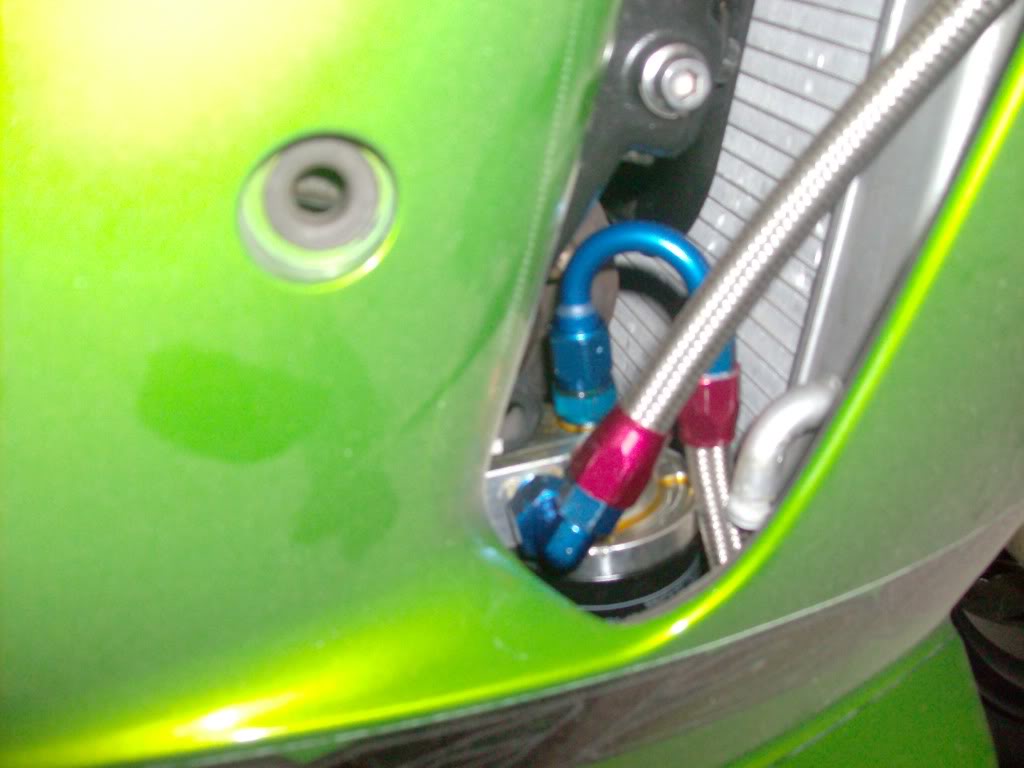
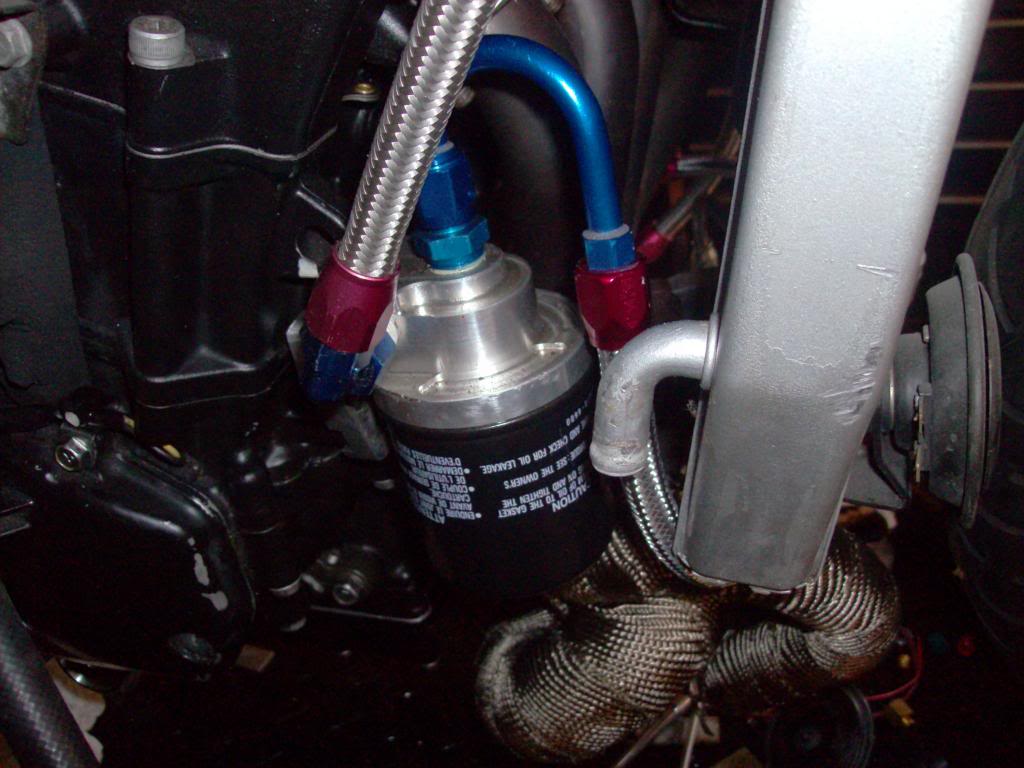
I spent today figuring out the fuel delivery and return system.
I'm using a Walbro pump to feed this thing and although I'm cheaping out right now and using the waste gate and blow off valve springs to control the boost, it won't stay that way. So I need to be able to feed the horses when they want hay. That's why I'm using an Aeromotive fuel pressure regulator to maintain fuel pressure. These things use AN fittings to connect it to the fuel system and the ZX12R uses 5/16" rubber fuel line so I needed to connect the two. I went to Jegs (they're right down the street from where I work) and bought braided line and fittings to make the connections. I also went to NAPA and got some high pressure rubber fuel line for that side of it. I'm locating the FPR on top of the valve cover due to space restrictions everywhere on this bike and running the lines to connect everything from there.
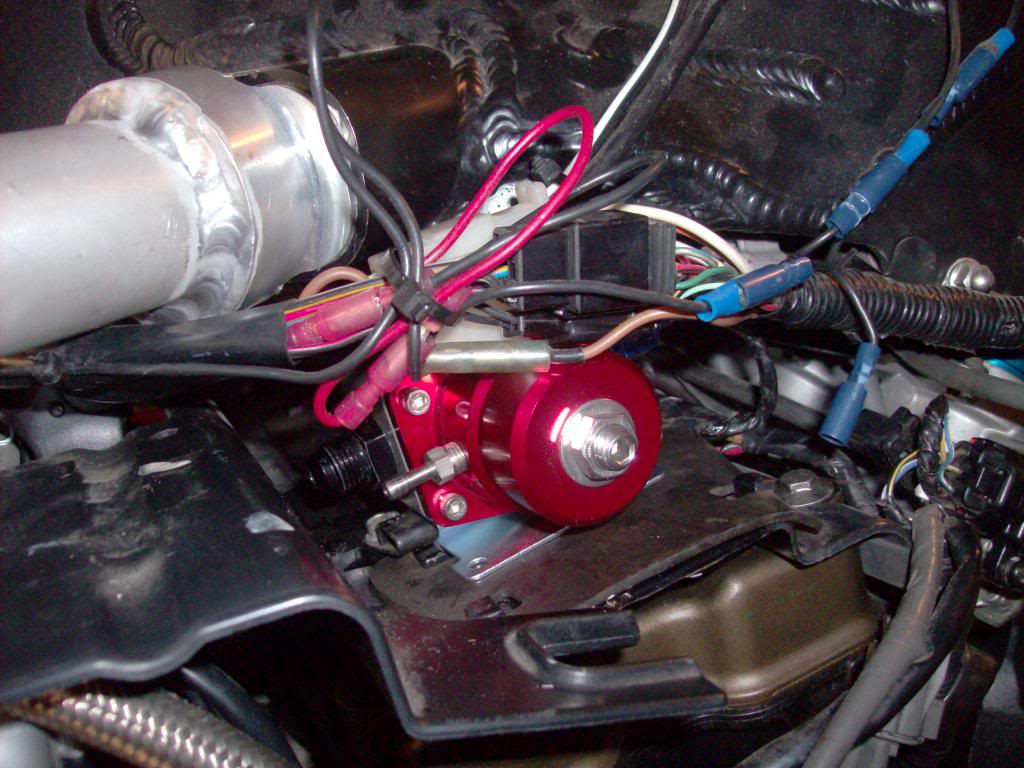
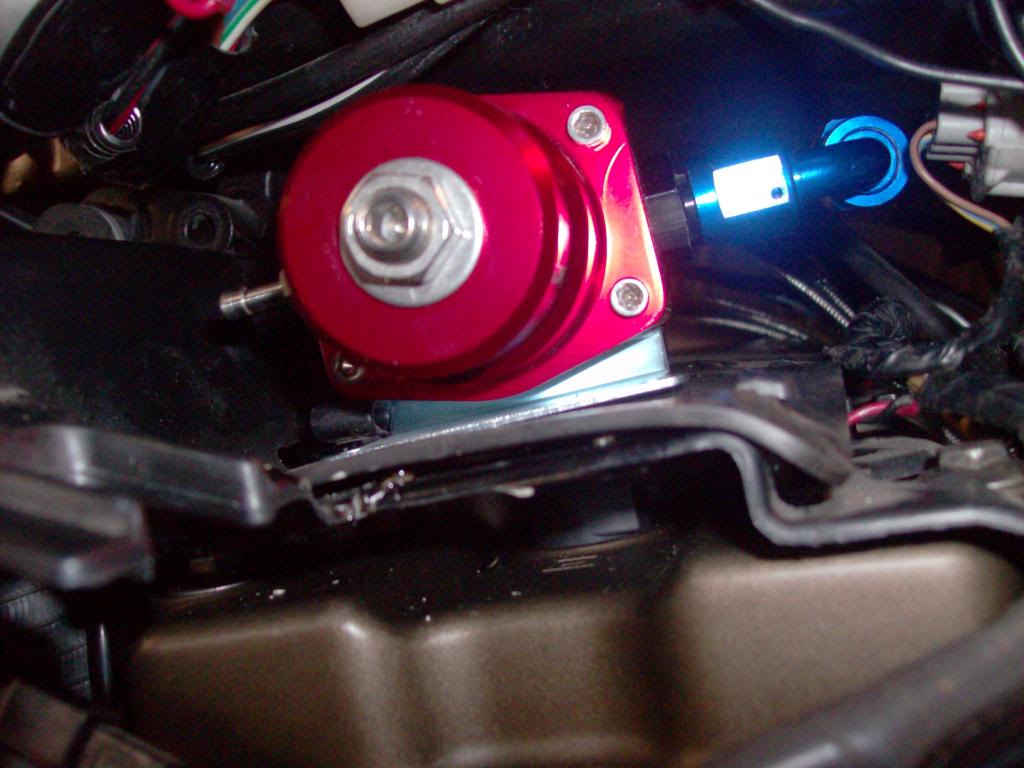
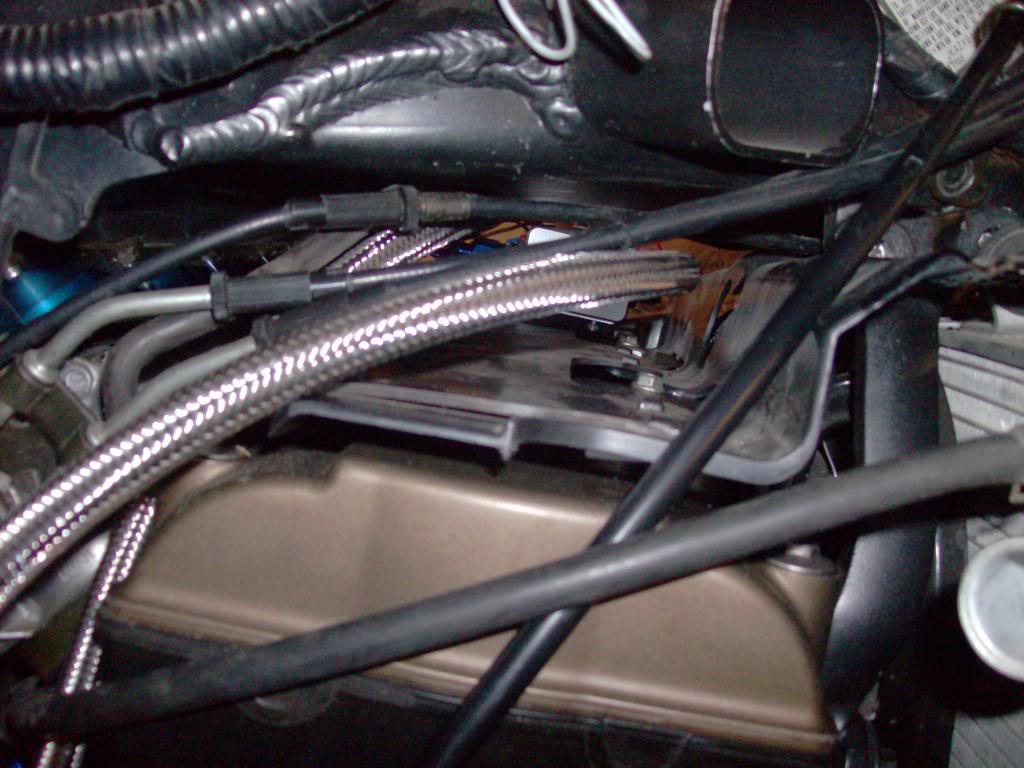
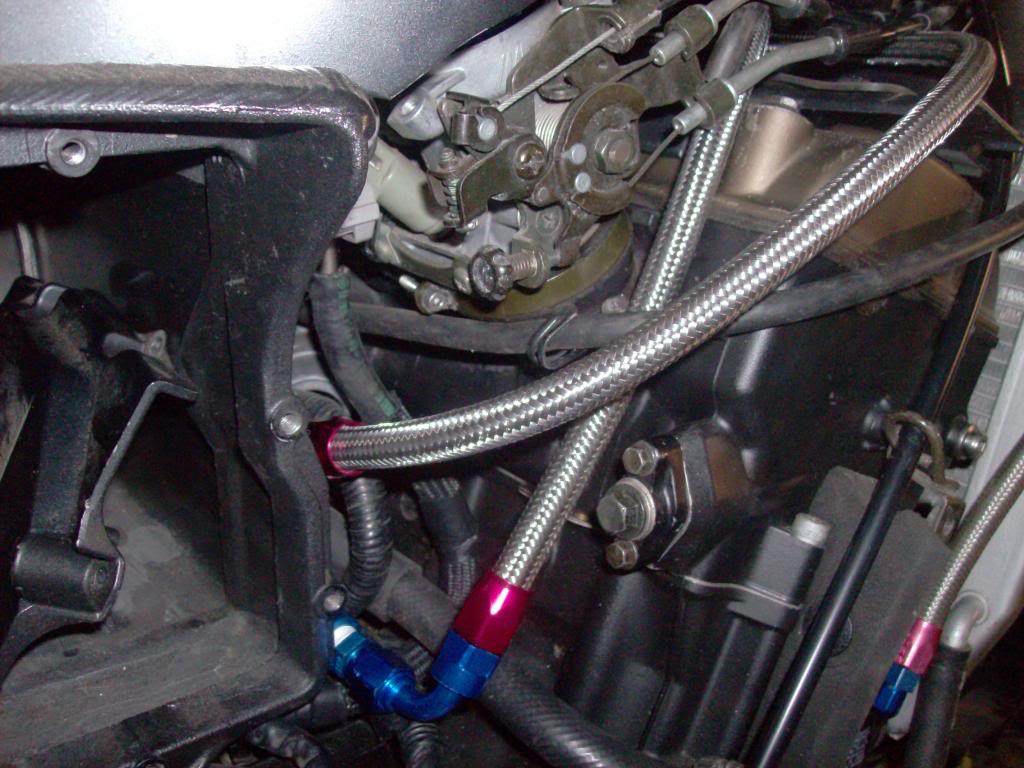
It looks sloppy right now simply because nothing is completely tied up. Trust me, when it's done everything will be secure and you won't see anything I don't want seen. As you all can see I still need to make the mounting bracket for the FPR. It's on my list and I plan to have it done and mounted by the end of next weekend.
I'm using a Walbro pump to feed this thing and although I'm cheaping out right now and using the waste gate and blow off valve springs to control the boost, it won't stay that way. So I need to be able to feed the horses when they want hay. That's why I'm using an Aeromotive fuel pressure regulator to maintain fuel pressure. These things use AN fittings to connect it to the fuel system and the ZX12R uses 5/16" rubber fuel line so I needed to connect the two. I went to Jegs (they're right down the street from where I work) and bought braided line and fittings to make the connections. I also went to NAPA and got some high pressure rubber fuel line for that side of it. I'm locating the FPR on top of the valve cover due to space restrictions everywhere on this bike and running the lines to connect everything from there.
It looks sloppy right now simply because nothing is completely tied up. Trust me, when it's done everything will be secure and you won't see anything I don't want seen. As you all can see I still need to make the mounting bracket for the FPR. It's on my list and I plan to have it done and mounted by the end of next weekend.
Thread Starter
|
Senior Member
1st Gear Member
Joined: Sep 2012
Posts: 326
From: Ohio
1st Gear Member
This beast still has the dry nitrous system installed. I'm keeping it in there for now.
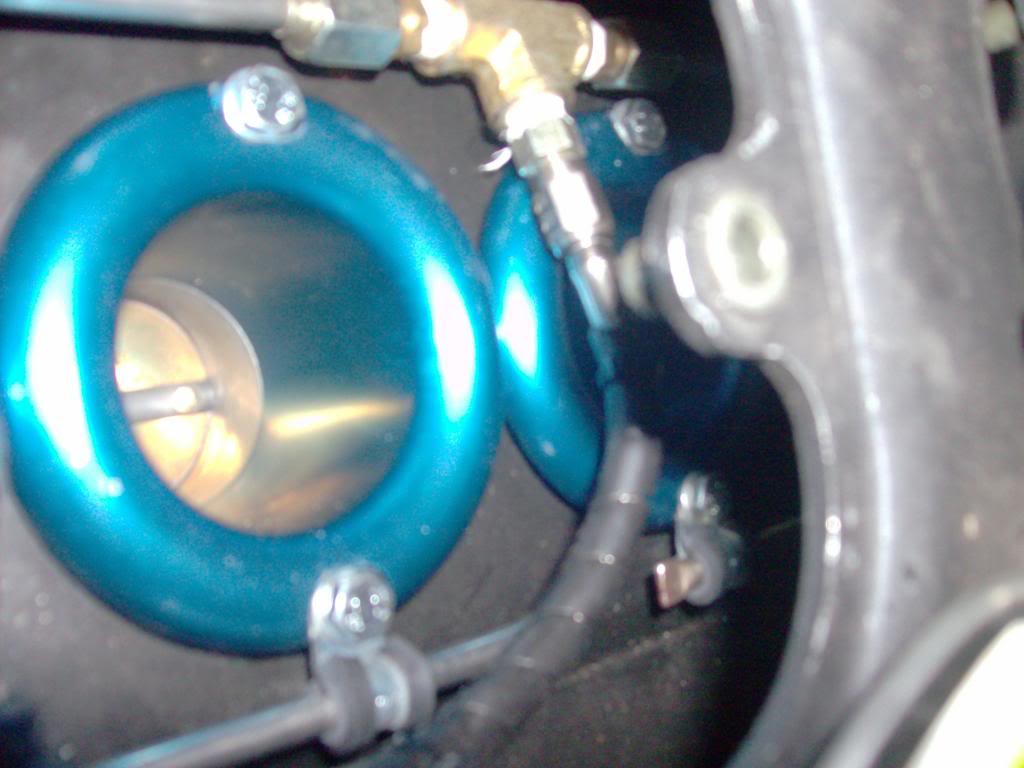

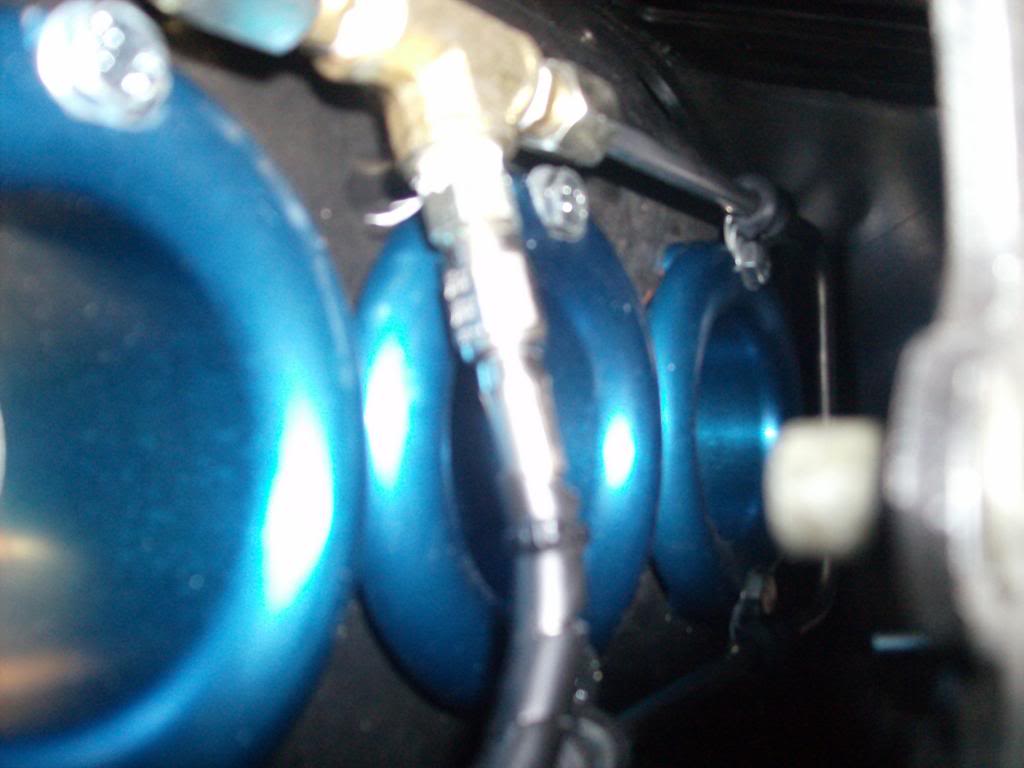
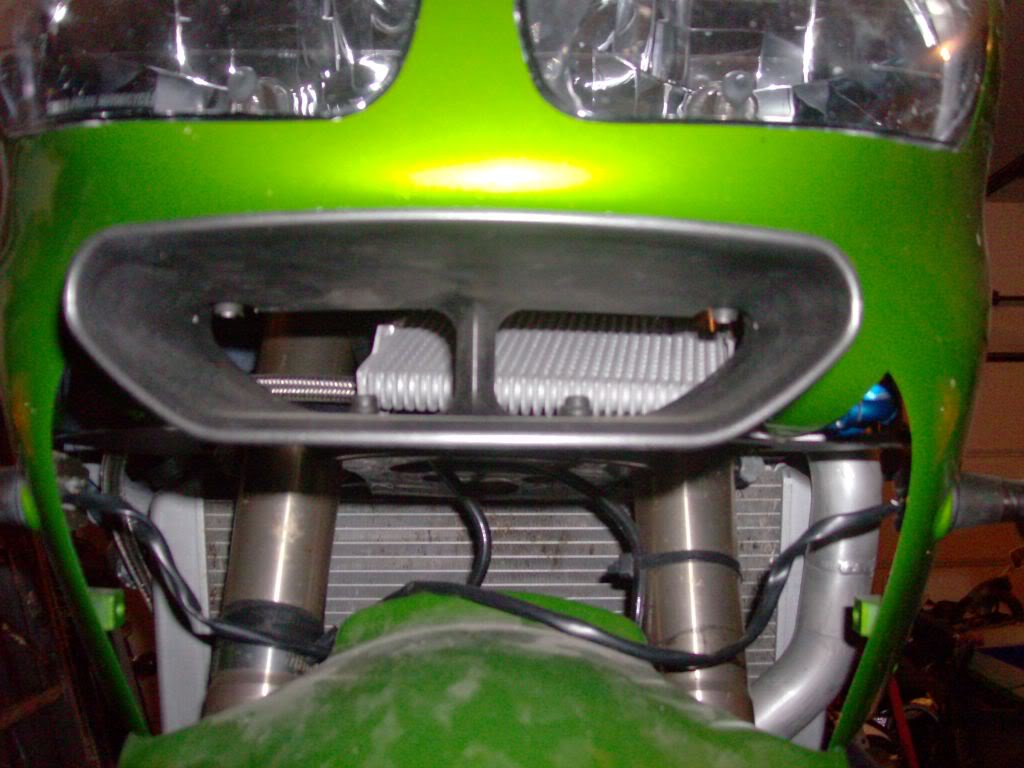
It's also sporting Muzzy velocity stacks. I don't need them for boost containment at the moment but I might down the road....
It's also sporting Muzzy velocity stacks. I don't need them for boost containment at the moment but I might down the road....
Thread Starter
|
Senior Member
1st Gear Member
Joined: Sep 2012
Posts: 326
From: Ohio
1st Gear Member
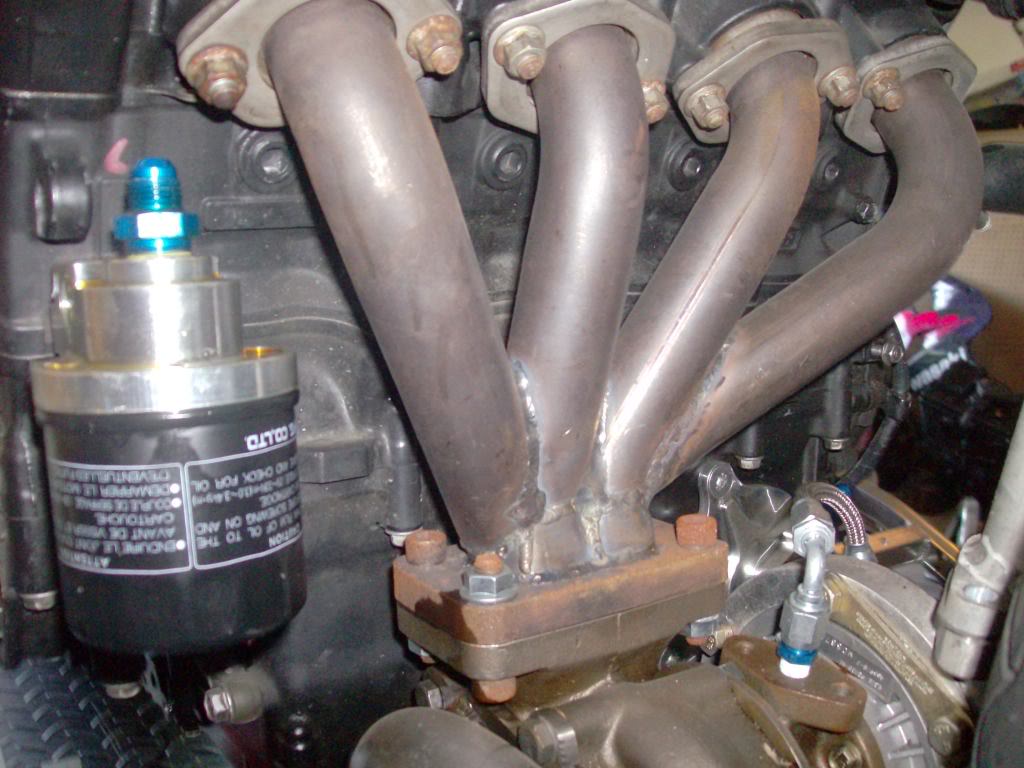
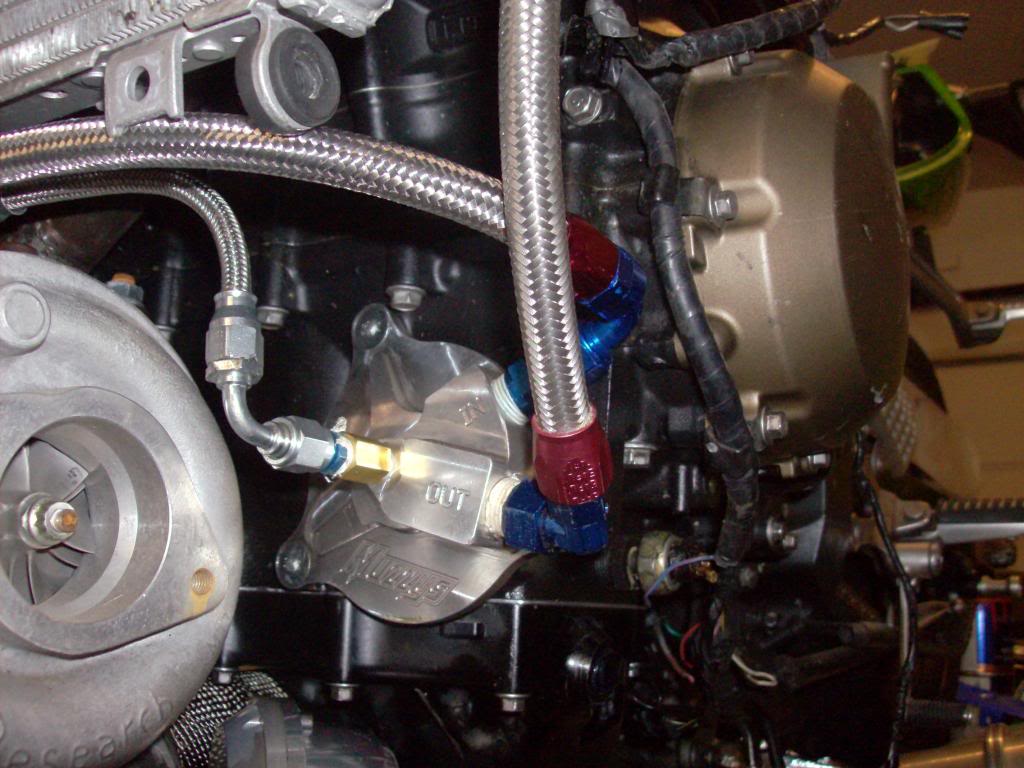
Here's a better look at the pan the oil cooler sits on:
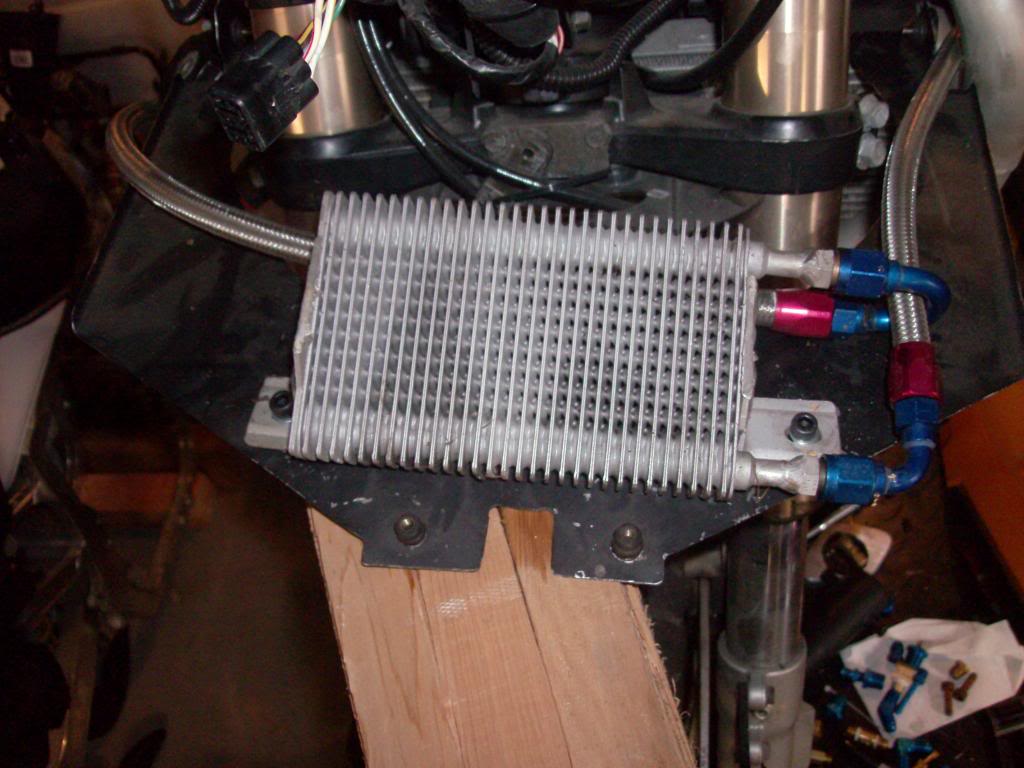
The oiler cooler itself is originally a power steering cooler from a 1999 Ford Super Duty pickup. I cut the hose ends off and my brother welded AN fittings on. We also reversed the angle and orientation of the cooler so it sits lower and is angled for max airflow across it from the now unused ramair snorkel.
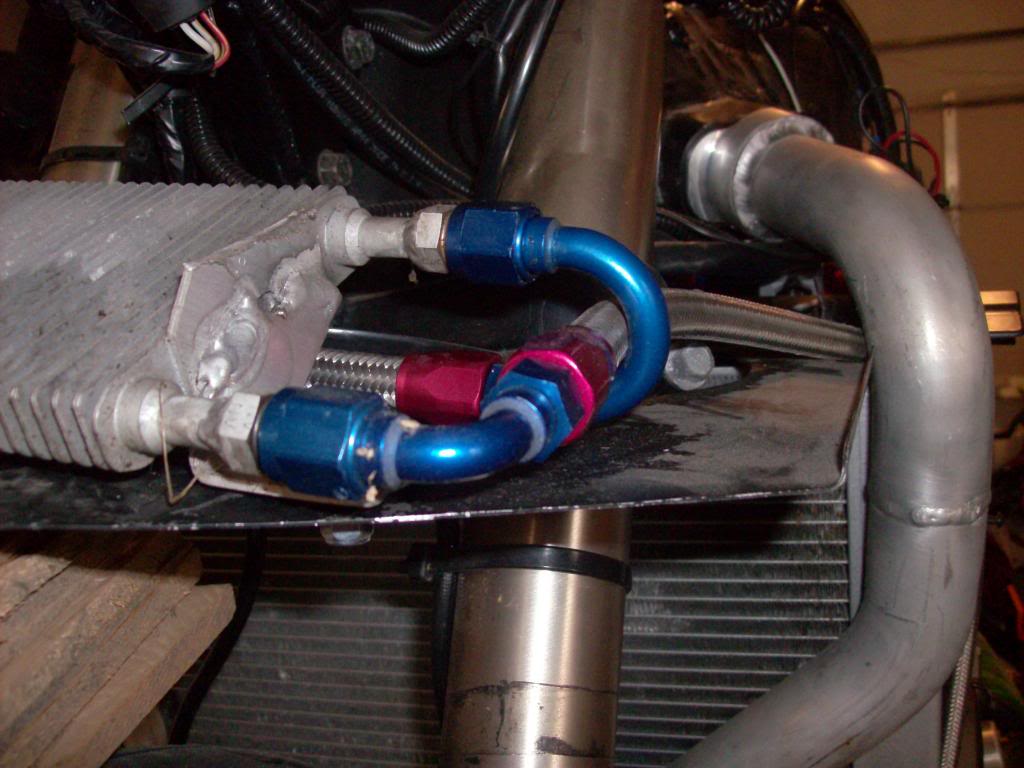
As you can see the cooler needs some trim work done. That's another project for this week.
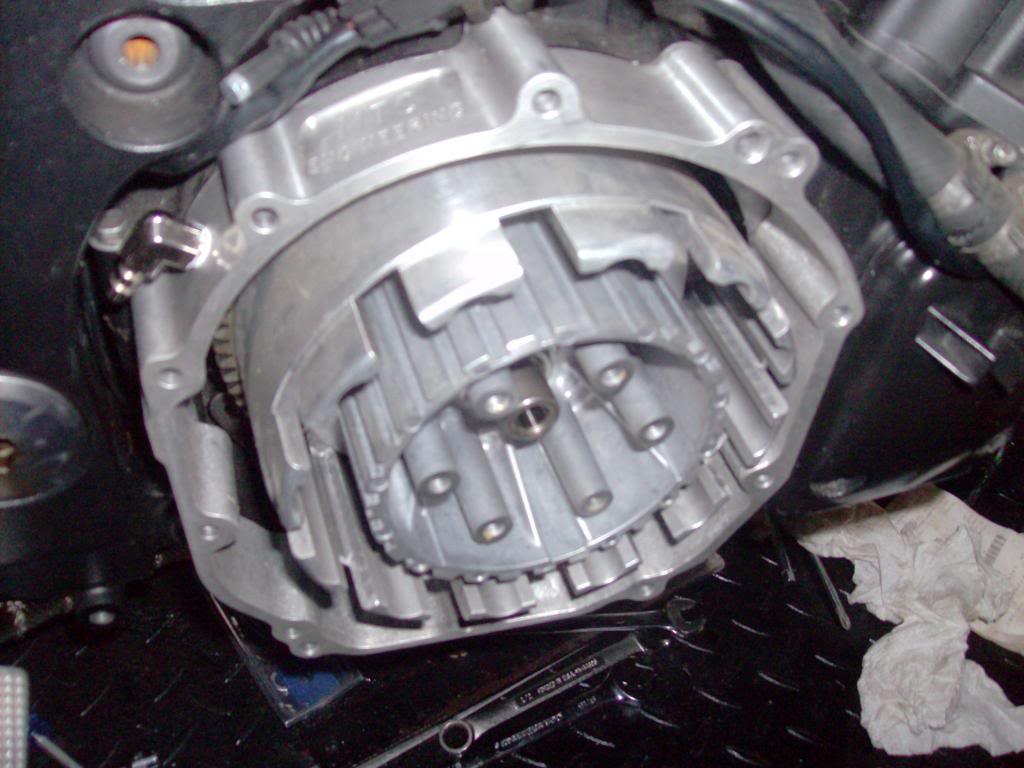
The other part of the oilcooler relocation in the Muzzy oil filter relocation kit:
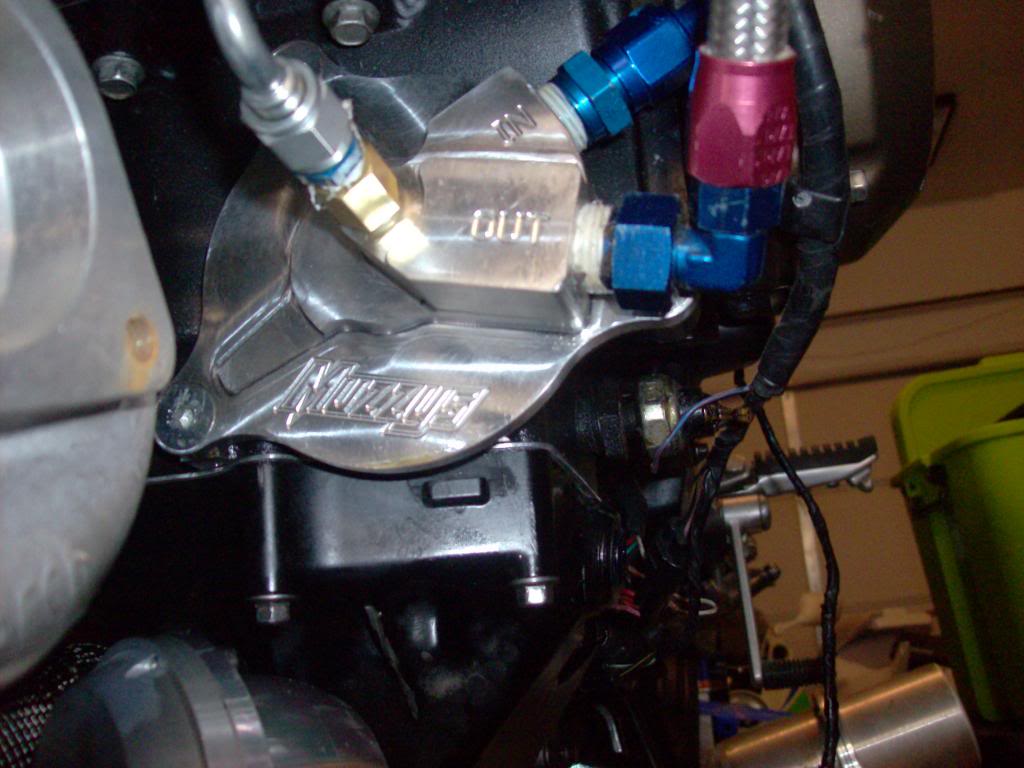
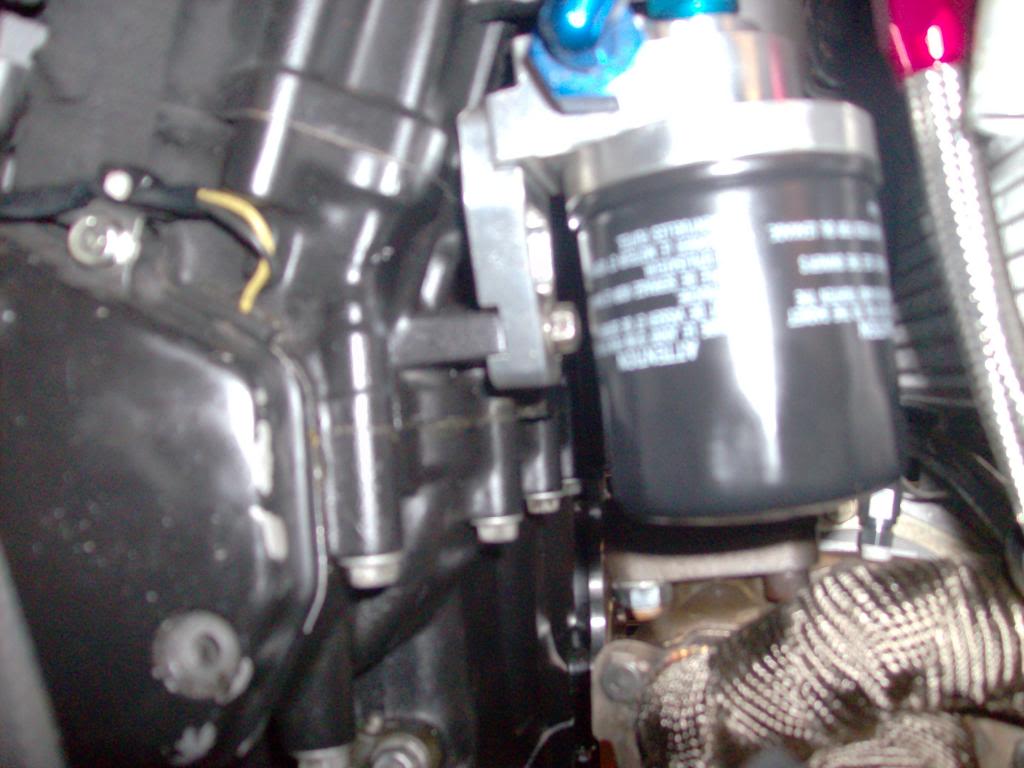
It provides the mount for the oil filter and the block off for the original oil cooler. You supply the filter,cooler and all oil lines. The good part of this kit is the extra feed line that I used for the turbo oil feed. You just need to run an in-line restrictor to keep oil volume down. Otherwise you can blow the seals in the turbo. That will make for a bad day.
The oiler cooler itself is originally a power steering cooler from a 1999 Ford Super Duty pickup. I cut the hose ends off and my brother welded AN fittings on. We also reversed the angle and orientation of the cooler so it sits lower and is angled for max airflow across it from the now unused ramair snorkel.
As you can see the cooler needs some trim work done. That's another project for this week.
The other part of the oilcooler relocation in the Muzzy oil filter relocation kit:
It provides the mount for the oil filter and the block off for the original oil cooler. You supply the filter,cooler and all oil lines. The good part of this kit is the extra feed line that I used for the turbo oil feed. You just need to run an in-line restrictor to keep oil volume down. Otherwise you can blow the seals in the turbo. That will make for a bad day.
Last edited by 2fat2fly; Mar 15, 2013 at 07:51 PM.