
Clarke tank install


Thread Starter
|
Senior Member
Joined: Apr 2006
Posts: 187
From:
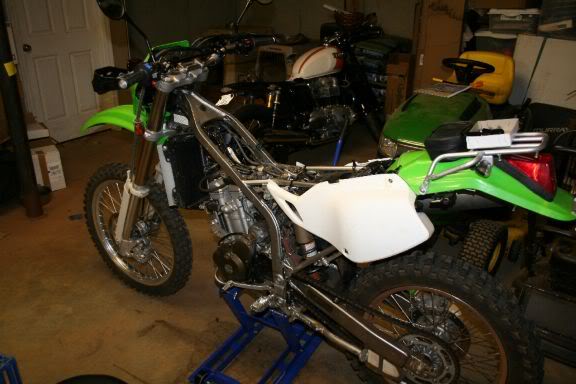
Ok - after running a search and coming up with minimal pics of the Clarke 2.9 gal tank - I figured I would post of pics of how my install went. Pretty straight fwd. The Clarke instructions warned that it would be difficult and recommended you have a professional install your tank - but if I can do it - YOU most certainly can do it. Basic hand tools and about 1 1/2 hrs at the most. The longest part was getting the fuel drained out of the old stock tank.
I had already started into the swap when I thought, 'dang, some pics would be nice' - so pardon not having any complete before shots of the bike with the stock tank or me pulling every 8mm bolt off the seat/shroudstank.
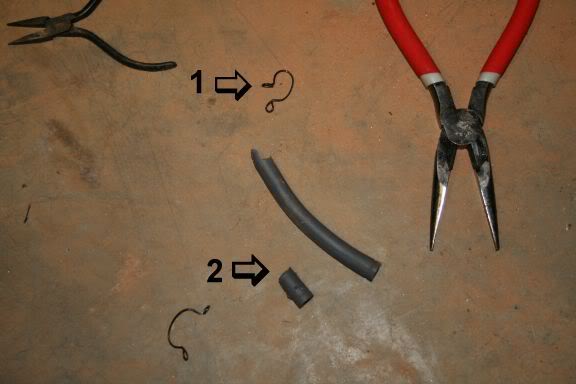
The stock fuel lines are obviously meant to be dealt with 'kid gloves' - and not knowing this, i reach in and grab ahold of the primary and give a good tug. It rips the hose in two pieces (see 2). "phuq". oh well. Note: those stock wire clips (see 1) - tossed them. the only things they're good for is stabbing your fingers to the bone. I could not remove a single one without deforming the crap out it - so I chucked em. Replaced with good old fashion zip ties.
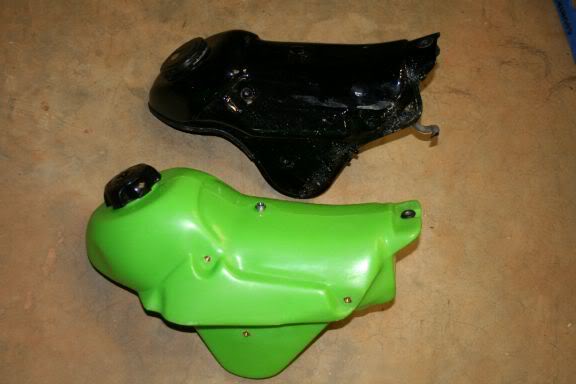
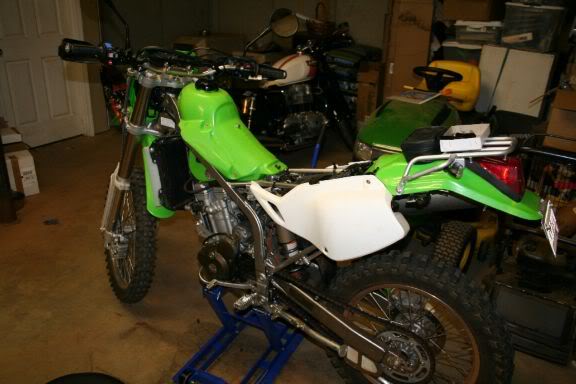
Got the stock tank off and set it next to the new Clarke tank. You see the width is increased - it's also a wee bit taller.
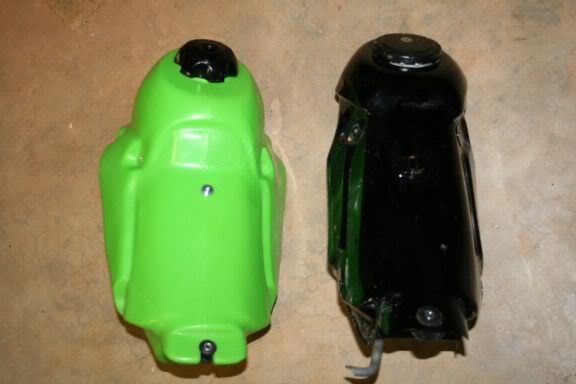
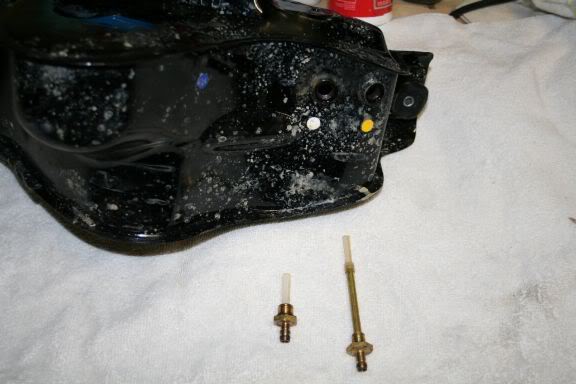
Set the stock tank on the work bench and removed the stock pingels. You'll need to reuse these in the Clarke tank.
Clarke supplies two replacement O-rings. Remove the stock black o-rings from the pingels and install the replacements. They are two different sizes. Make sure you use the appropiate one for the correct pingel.
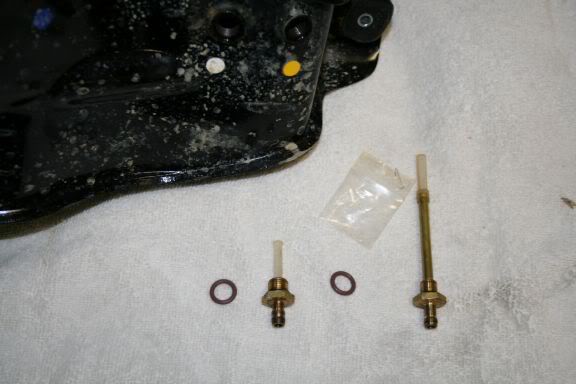
Install the pingels on the new Clarke tank and hand tighten. Use a wrench to cinch them down - but be careful not to overtighten. Dont worry if you forget which pingel goes where - they're two different sized threads so you cant make a mistake and swap them around.
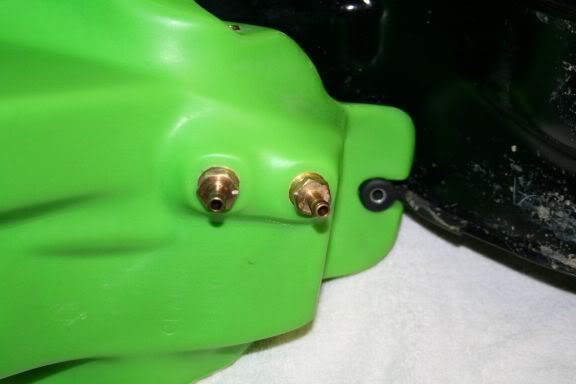
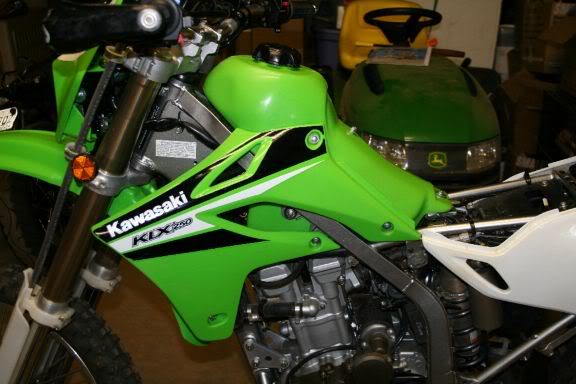
Test fitting the tank onto the bike - make sure I'm not wasting my time here with a ill-fittin tank. All is a go.
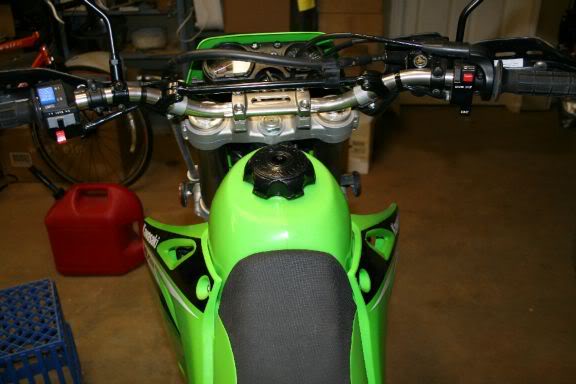
Now that we're set - hook your fuel lines back up and start locking her down. Add some fuel, turn your petcock, and check for leaks.I even fired her up to make sure everything was flowing correctly. Note: the stock tank has two 'vent hoses' running off two nips located on the left hand side of the tank/bike. You will not be re-using these. The Clarke gas cap has a vent nip in it. If you want - pick youself up a proper sized hose for it and run it likea typical MX set up.
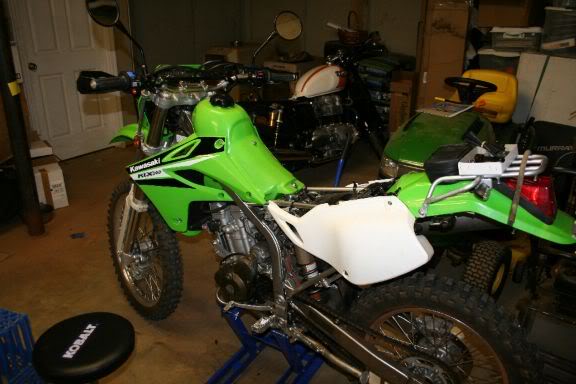
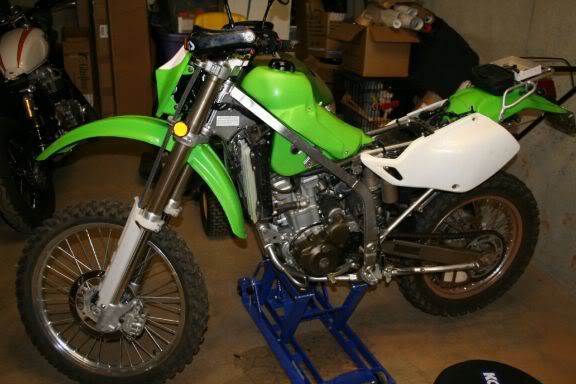
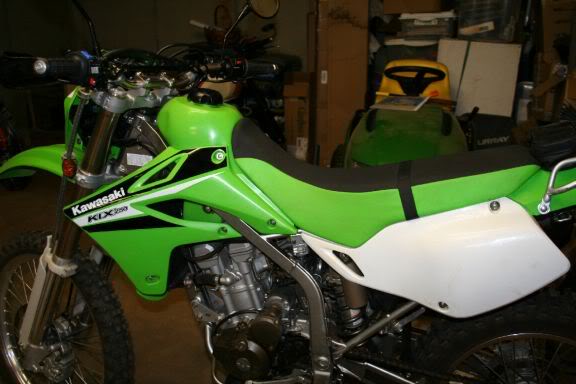
Everything is done. The seat was a bit of a biotch to get 'seated' onto the front bolt that's attached to the Clarke tank. There's also a wee bit of fitment gap from the shrouds to the seat now. No biggie - its function over form with this truely 'bolt on and go' tank.
I had already started into the swap when I thought, 'dang, some pics would be nice' - so pardon not having any complete before shots of the bike with the stock tank or me pulling every 8mm bolt off the seat/shroudstank.
The stock fuel lines are obviously meant to be dealt with 'kid gloves' - and not knowing this, i reach in and grab ahold of the primary and give a good tug. It rips the hose in two pieces (see 2). "phuq". oh well. Note: those stock wire clips (see 1) - tossed them. the only things they're good for is stabbing your fingers to the bone. I could not remove a single one without deforming the crap out it - so I chucked em. Replaced with good old fashion zip ties.
Got the stock tank off and set it next to the new Clarke tank. You see the width is increased - it's also a wee bit taller.
Set the stock tank on the work bench and removed the stock pingels. You'll need to reuse these in the Clarke tank.
Clarke supplies two replacement O-rings. Remove the stock black o-rings from the pingels and install the replacements. They are two different sizes. Make sure you use the appropiate one for the correct pingel.
Install the pingels on the new Clarke tank and hand tighten. Use a wrench to cinch them down - but be careful not to overtighten. Dont worry if you forget which pingel goes where - they're two different sized threads so you cant make a mistake and swap them around.
Test fitting the tank onto the bike - make sure I'm not wasting my time here with a ill-fittin tank. All is a go.
Now that we're set - hook your fuel lines back up and start locking her down. Add some fuel, turn your petcock, and check for leaks.I even fired her up to make sure everything was flowing correctly. Note: the stock tank has two 'vent hoses' running off two nips located on the left hand side of the tank/bike. You will not be re-using these. The Clarke gas cap has a vent nip in it. If you want - pick youself up a proper sized hose for it and run it likea typical MX set up.
Everything is done. The seat was a bit of a biotch to get 'seated' onto the front bolt that's attached to the Clarke tank. There's also a wee bit of fitment gap from the shrouds to the seat now. No biggie - its function over form with this truely 'bolt on and go' tank.

Senior Member
1st Gear Member
Joined: Nov 2007
Posts: 270
From:
Hey Bonafide, thanks for the write up and pics, looks great, I'd much prefer a plastic tank than the stock steel one. I'm just started looking into getting one of these tanks, I'll add your thread to my faves so I can draw on your experience when I get one.
Cheers
Chris.
P.S for any one on the metric system the tank is 12.1 litres.
Cheers
Chris.
P.S for any one on the metric system the tank is 12.1 litres.


Senior Member
1st Gear Member
Joined: Jan 2007
Posts: 422
From:
Here's another indication of Clarke's good customer service. When I was having the leaking problems with the early tanks, I fed back to Clarke that I was disappointed that they did not include new o-rings. Looks like they are supplying them now. ...way to go!
The green tank looks great! Nice write up.
The green tank looks great! Nice write up.