When you click on links to various merchants on this site and make a purchase, this can result in this site earning a commission. Affiliate programs and affiliations include, but are not limited to, the eBay Partner Network.
Max, funny thing on the replacement of some of your rubber parts like manifold and airbox boot. I have a 36-pumper in my '06 with original airbox boot. Over time I've had a harder time getting my boot to mate up and clamp to the intake mouth of the carb...like it was too short. Nothing is loose or broken...like airbox mount, frame, or engine mounts are all good. The boot was still supple and not damaged. I ordered a new airbox boot for grins. Wow!...the original boot was at least 1/2" shorter. I know these kinds of parts can get hard and stiff, but in my case the original boot had literally shrunk but was still supple. Anyway, the new boot fits up nicely to the carb now with plenty of clamping interface. After that many miles it's probably wise to replace the manifold and boot like you're doing regardless of how they "look".
That is exactly what I found when I recently installed a 300 kit, I mentioned in another post and got no comments. It was definitely the most difficult part of the carb reinstall and am not certain it is sealed completely at the air box end. Time to order new one. Thanks
Funny thing is that the carb boot and manifold are back ordered with no expected date.
We'll see if I get them before I need them, I get the feeling I won't.
It looks like all the damage is up on the subframe?
Do you spend a lot of trail time in water or removal from said water?
Strange to have so much rust (?) damage. Do you live near the ocean?
The bike has definitely seen water on the trails, we have lots of beaver around here. One week a trail is dry and the next week it can be under a lot of water thanks to them.
But that's not what did it.
The KLX was my only vehicle for 3 years.
It went through 3 northern NH winters where the DOT loves to use salt.
Despite being washed at the car wash once a week it still managed to collect salt under the seat rail. It must have just been the spot where all the melt collected and then dried.
Funny thing is that the carb boot and manifold are back ordered with no expected date.
We'll see if I get them before I need them, I get the feeling I won't.
Mine was backordered at the time also, but it was probably only another week or 10 days when it showed up compared to the other parts in the order. Apparently it's not unusual for this item...not sure where they're coming from.
So here's the post weekend picture dump.
First is the pile of rust that came out of the end of the frame. Sorry it's blurry.
Next is the frame primed and almost ready for paint. But first it goes to the welder. Note the passenger foot pegs on the bench. Had a slight issue in removing them. The bolts were free but the bolt and peg seized together (one being aluminum and the other steel) so I had to use a BFH and the one peg didn't like that too much. Since I never carry a passenger, I'm going to put and eyelet bolt of some sort as a tie down point in there instead.
And another of the frame in/on my high tech paint booth, lol. Most of the bike except the wheels and swing arm are on the shelves in the background. Still lots of cleaning to do on those.
Oh yeah, forgot to mention I got the collar off the drive shaft which allowed me to get the transmission out. Hooray for small victories.
And the crank came out with the not recommended BFH. It pained me to ruin the crank shaft (I wanted to find someone to at least try and rebuild it) but ultimately it's just a paper weight.
All the bearings are out except the ones I have to use the greasy rag trick on. I need to find something that is close to the size of the bearing to drive it out. Only things I have are too big or small to be effective. I think I might try a wood dowel because I can make it fit if it's too big.
Crank has arrived. Bearings should arrive tomorrow unless the Nor'easter screws that up. So that means the bottom end can go back together and it's time to send Bill Blue my cylinder and $500.
Unfortunately, and as I expected, no one (probably because of liability issues) wants to touch my frame. Looks like I'll be buying a MIG and fixing it myself, which I was prepared to do until I found the big hole. I wish I had something to practice on but I don't, other than pieces of flat scrap. I'll have to find some tubing to practice on.
I did a lot of reinforcement of my rear subframe. It looks like that is where most of your damage is.
Don't know what your plan with the welder is..... but, here is my unsolicited recommendation. Cut those sections of tubing out completely, order some more cromoly tubing that the OD is the ID of the good steel, make te cromoly tubing at least twice the thickness of the frame material. Make sure the new cromoly sticks way in beyond the damage as much as possible before re-welding it all back together. If you plan on carrying anything substantial on the subframe, put some bracing on the battery side. The stock muffler offers some support on the other side, if your running a modmuffler, you may want to add a angle stiffener on that side too.
I think I posted my work somewhere on the forum with picks of my work.


 Sorry it's blurry.
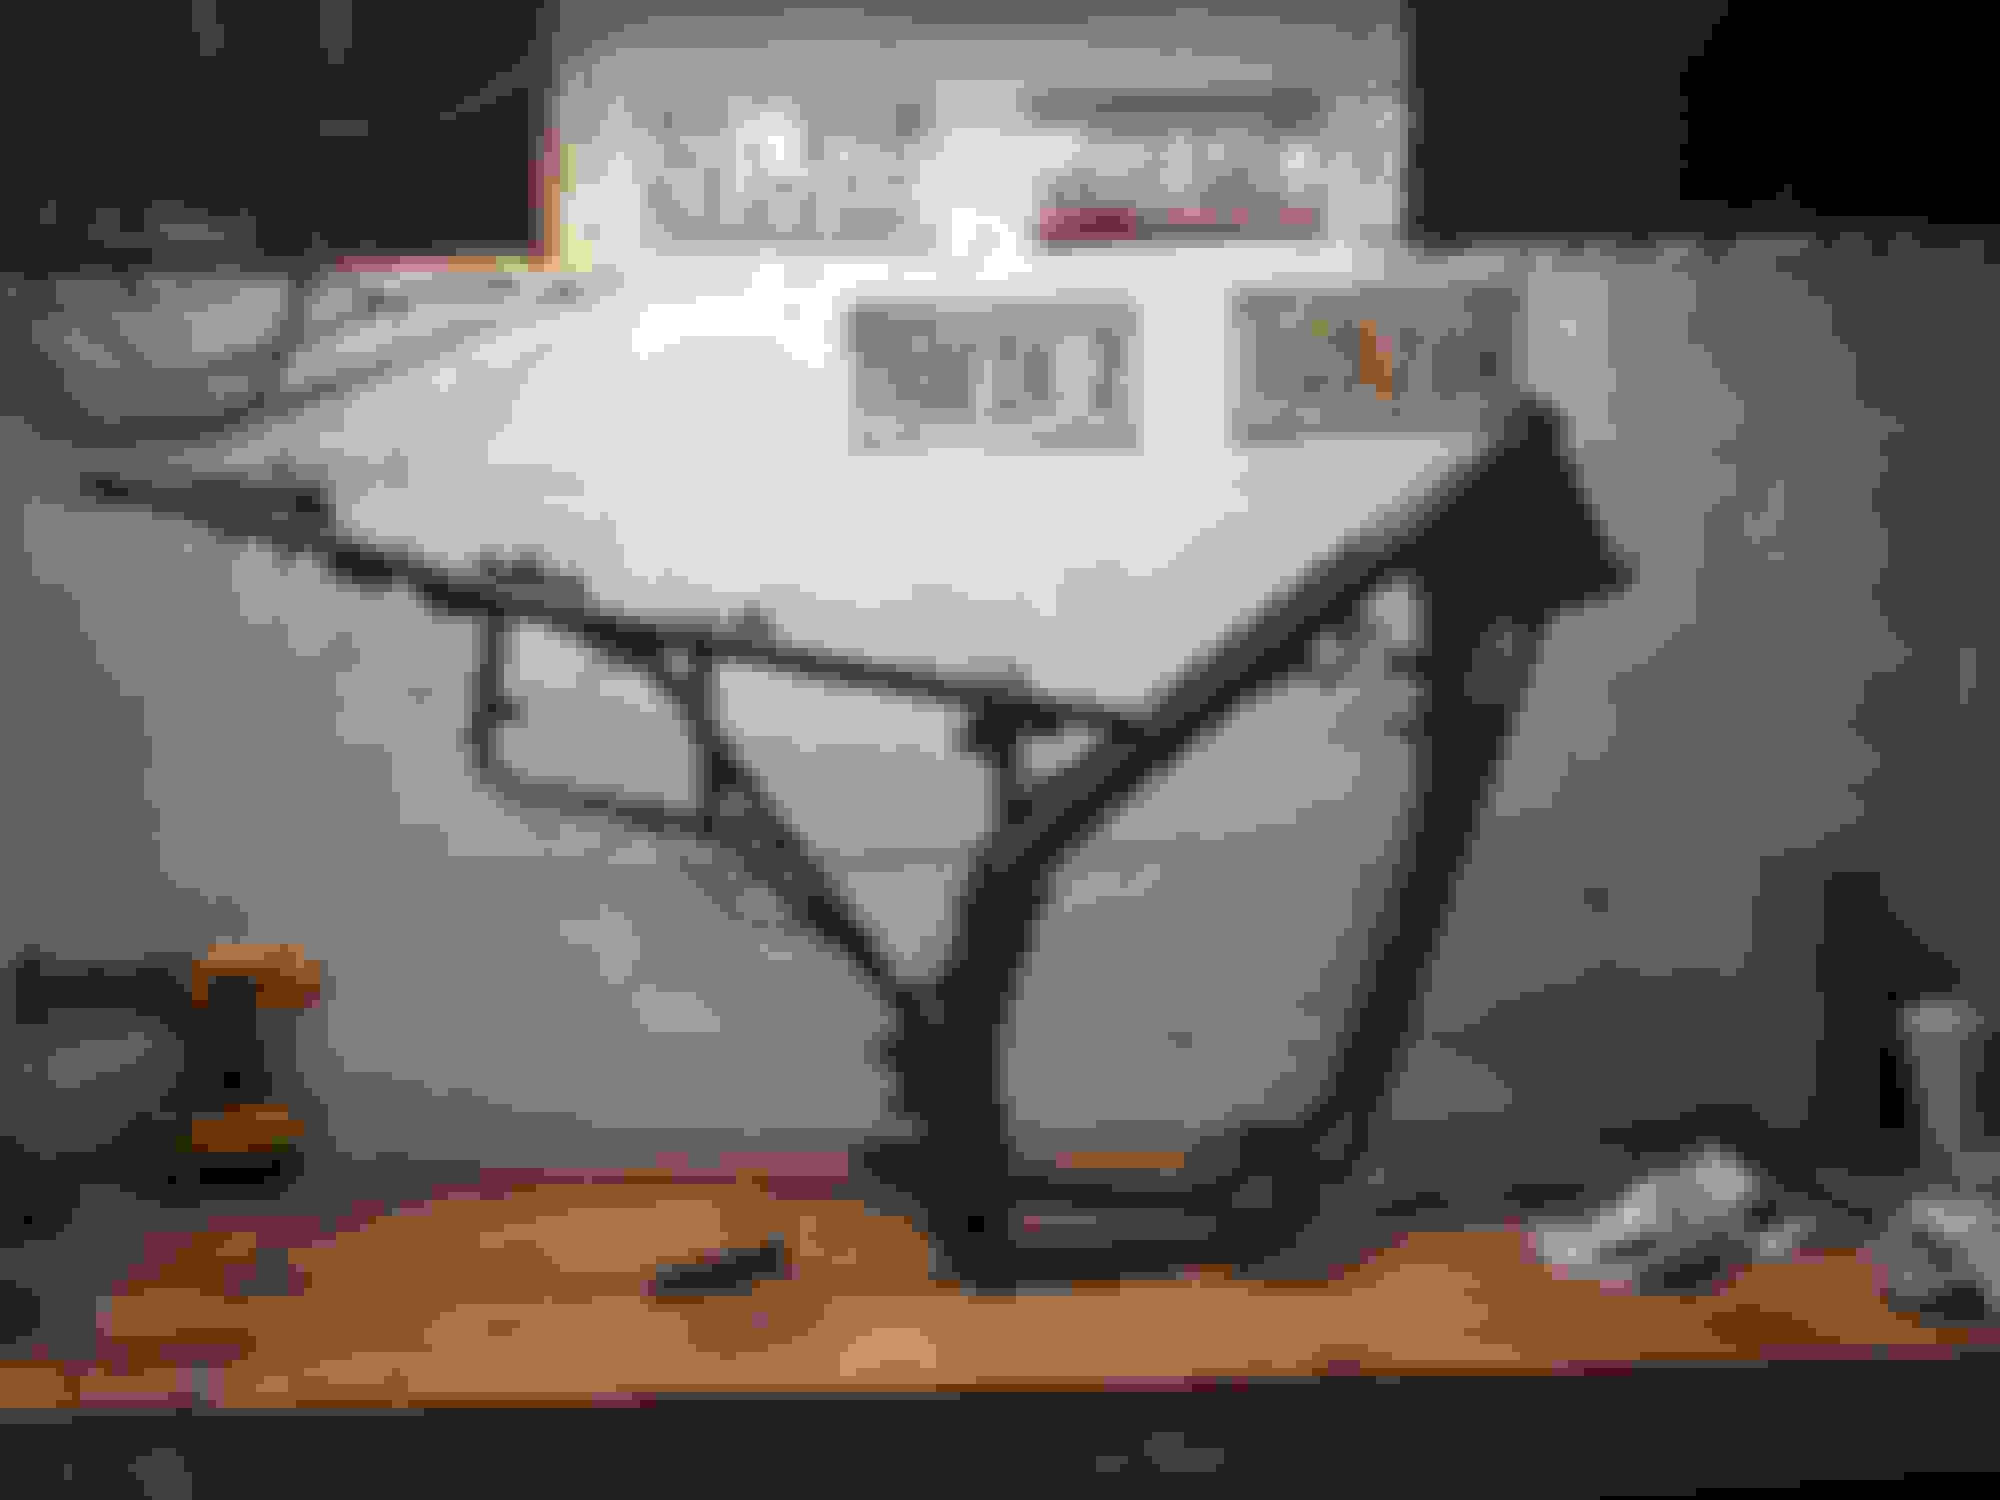
") Most of the bike except the wheels and swing arm are on the shelves in the background. Still lots of cleaning to do on those.
Most of the bike except the wheels and swing arm are on the shelves in the background. Still lots of cleaning to do on those.