
The slow evolution of my ZX12R

Thread Starter
|
Senior Member
1st Gear Member
Joined: Sep 2012
Posts: 326
From: Ohio
1st Gear Member
Today was a busy day for me. I had to fix a heat issue with a fairing, install the ZX14 fuel injectors, mod the throttle body to accept the ZX14 fuel injectors, mod the vacuum system to support the 3 bar map sensor, and a couple other things. Here's pics of the progress:
Exhaust pipe ( even though it's heat wrapped) melted into the insulation and dimpled the fairing. I caught it before it did any real damage.

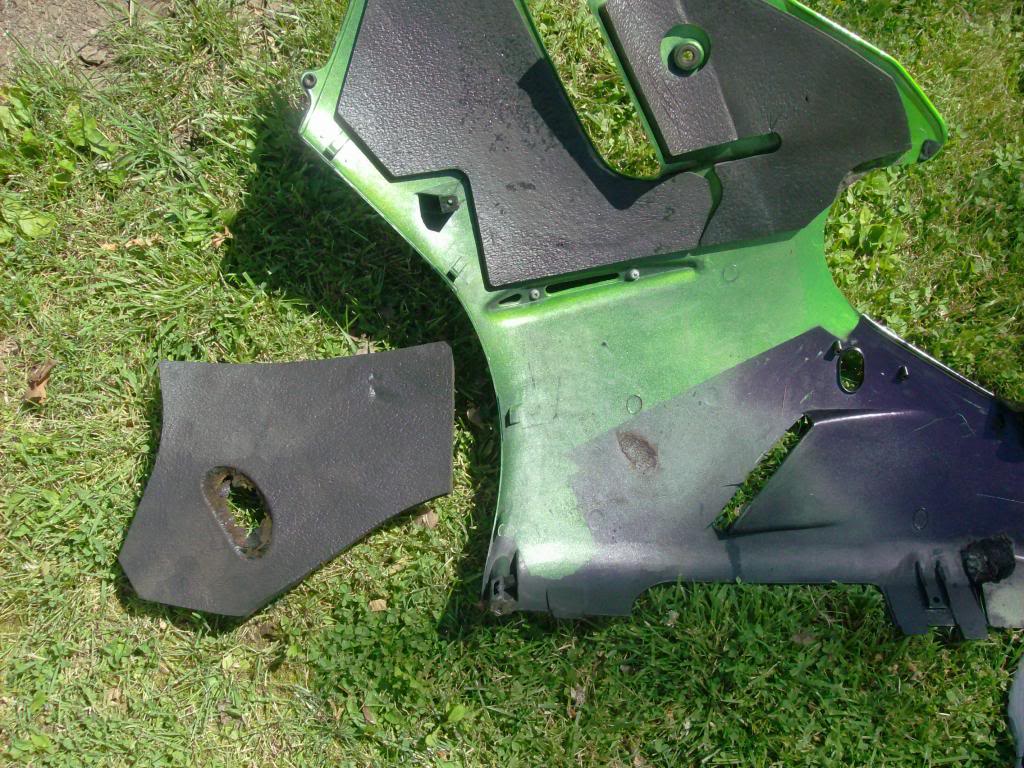
You can see the dimple on this one:
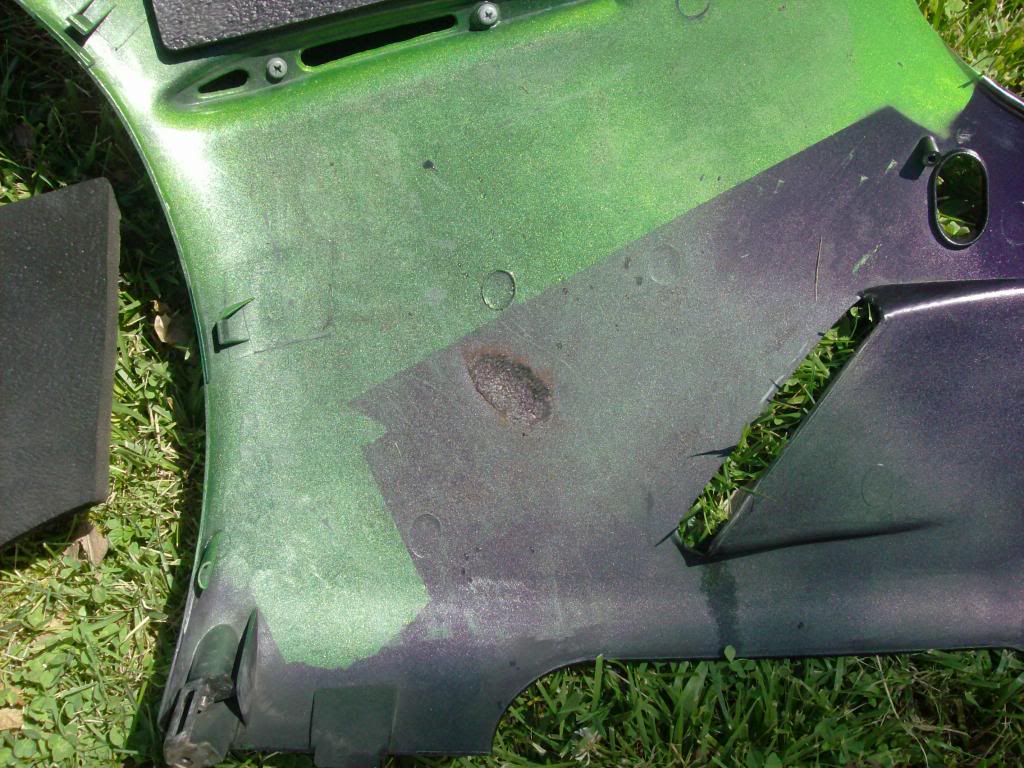
I stopped at Jeg's on the way home from work last night and got an adhesive heat shield. Then I installed it today.


Exhaust pipe ( even though it's heat wrapped) melted into the insulation and dimpled the fairing. I caught it before it did any real damage.


You can see the dimple on this one:

I stopped at Jeg's on the way home from work last night and got an adhesive heat shield. Then I installed it today.


Thread Starter
|
Senior Member
1st Gear Member
Joined: Sep 2012
Posts: 326
From: Ohio
1st Gear Member
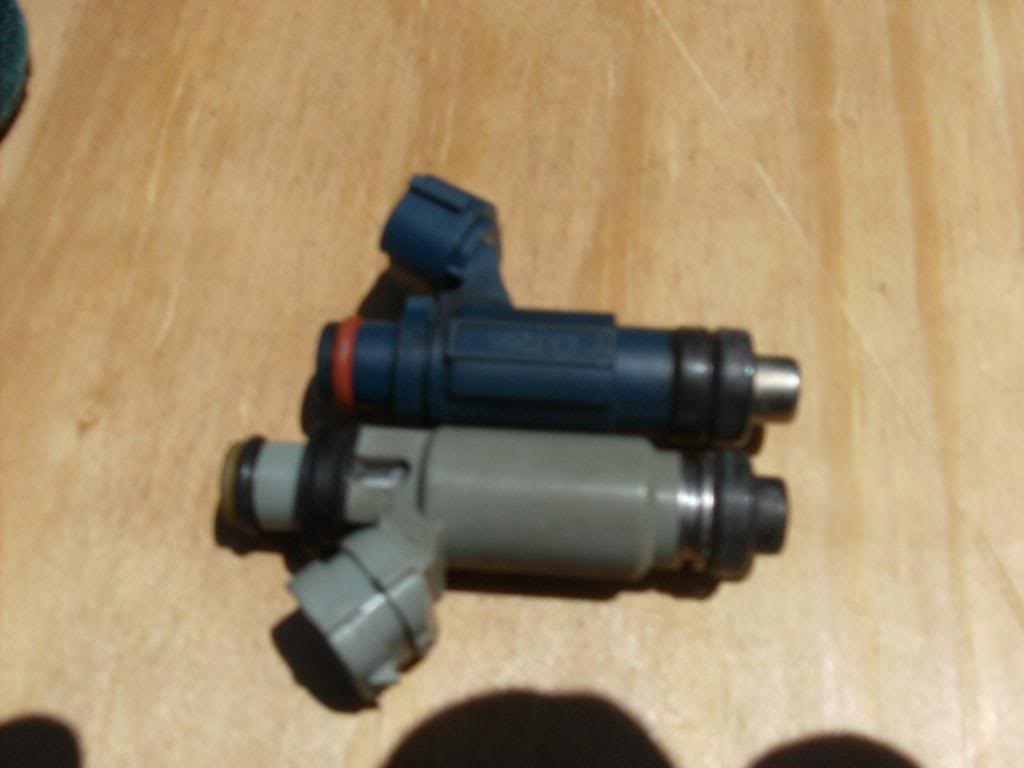
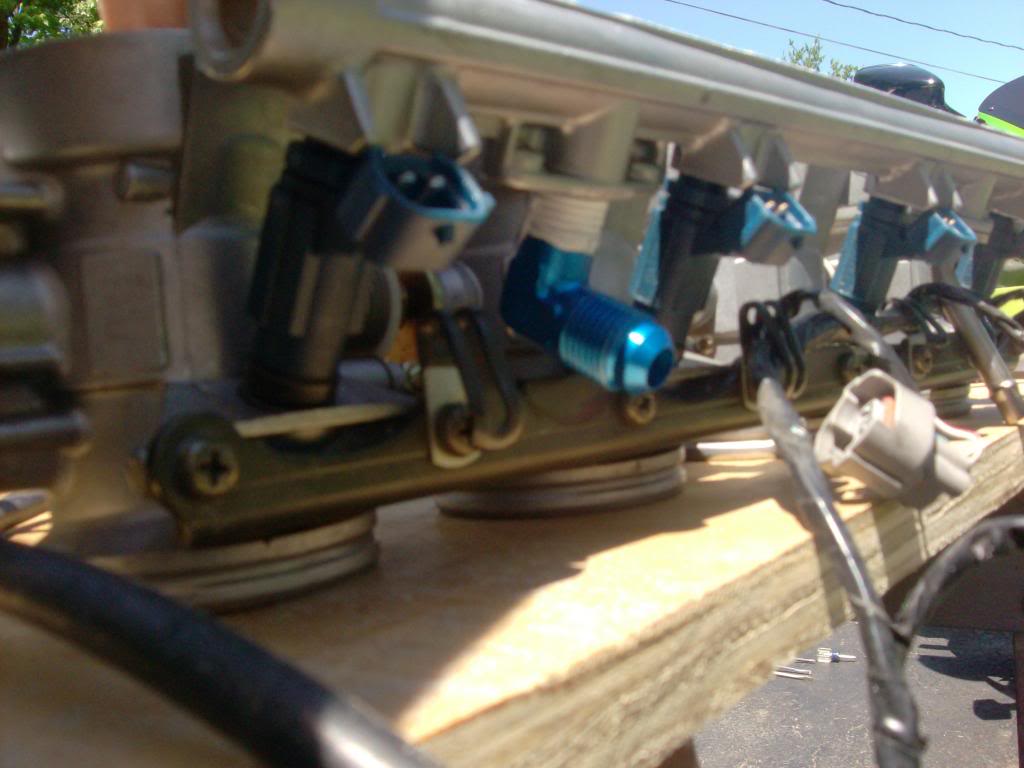
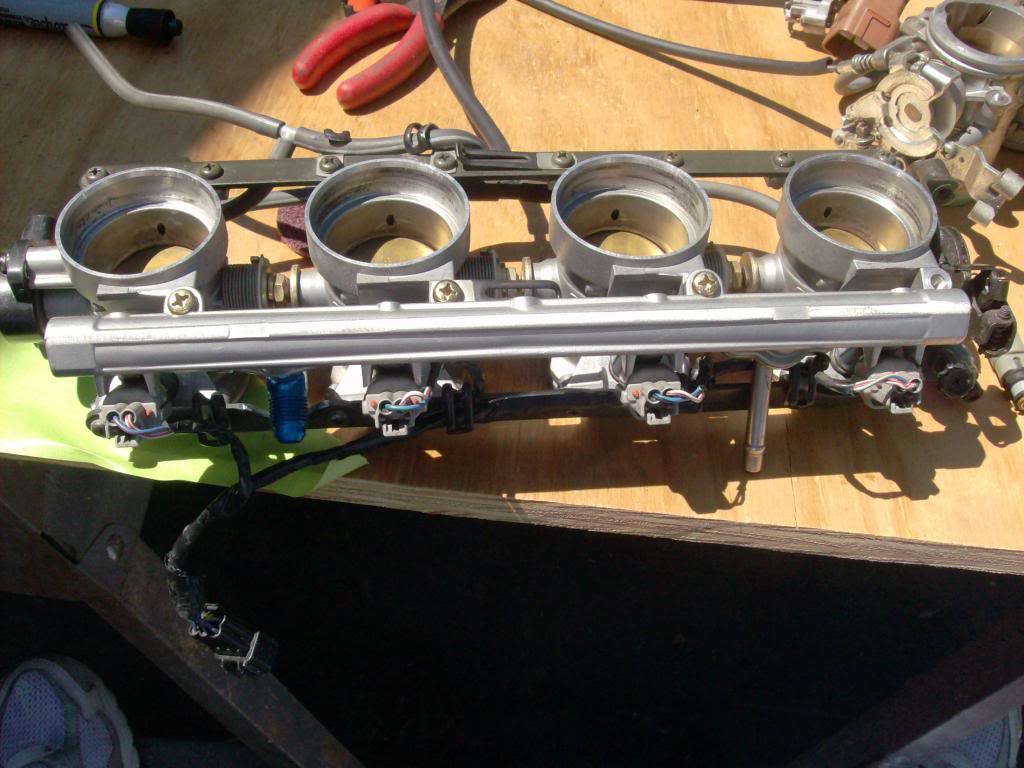
I had my work cut out for me to install the zx14 injectors. There was alot of minor modding to do to he fuel rail and throttle bodies.
The ZX14 injector is way shorter than the ZX12R injector. To install the injectors I had to "shorten" the mounting area on the throttle bodies and fuel rail. I removed 0.100" from the TB's fuel rail mounting pads and 0.100" from the fuel rail mounting tabs. The rest of the distance was made up by installing the lower o-rings from the 12's injectors below the 14's o-rings. This stack-up and the material removal on the top part closed the distance enough to install the 14's injectors.
Upper rail before grinding:

After:

Throttle Body's fuel rail mounting pad after:
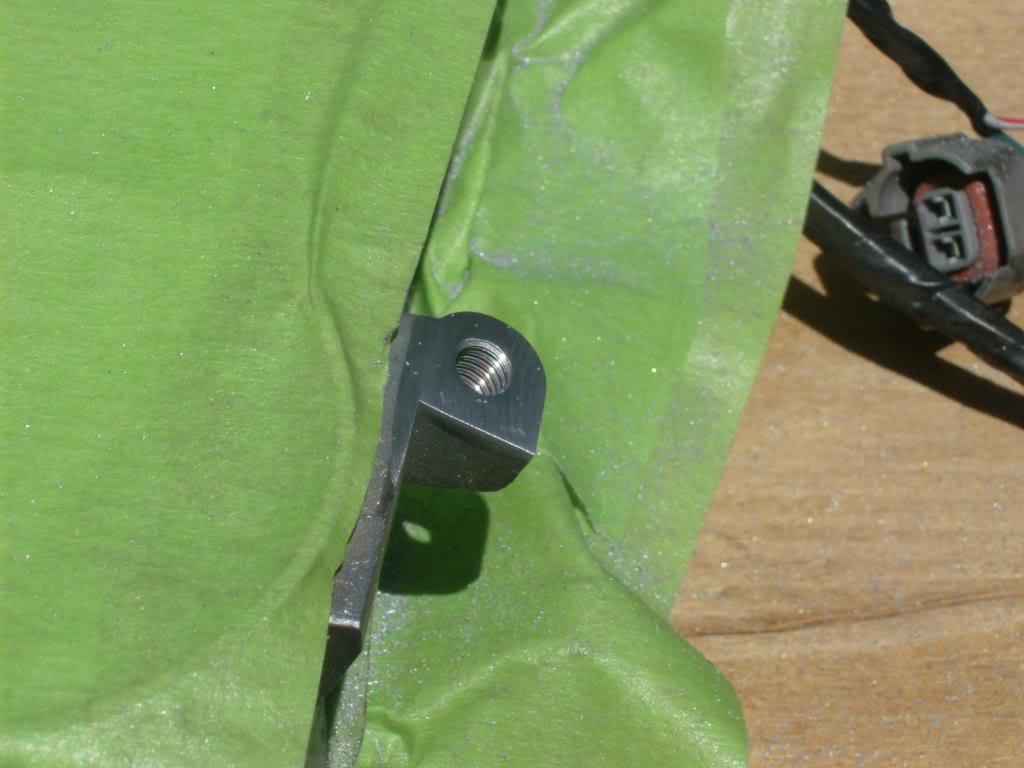
Injector mounted:

Had to gain clearance for the fuel return line as well:
Before:
During:
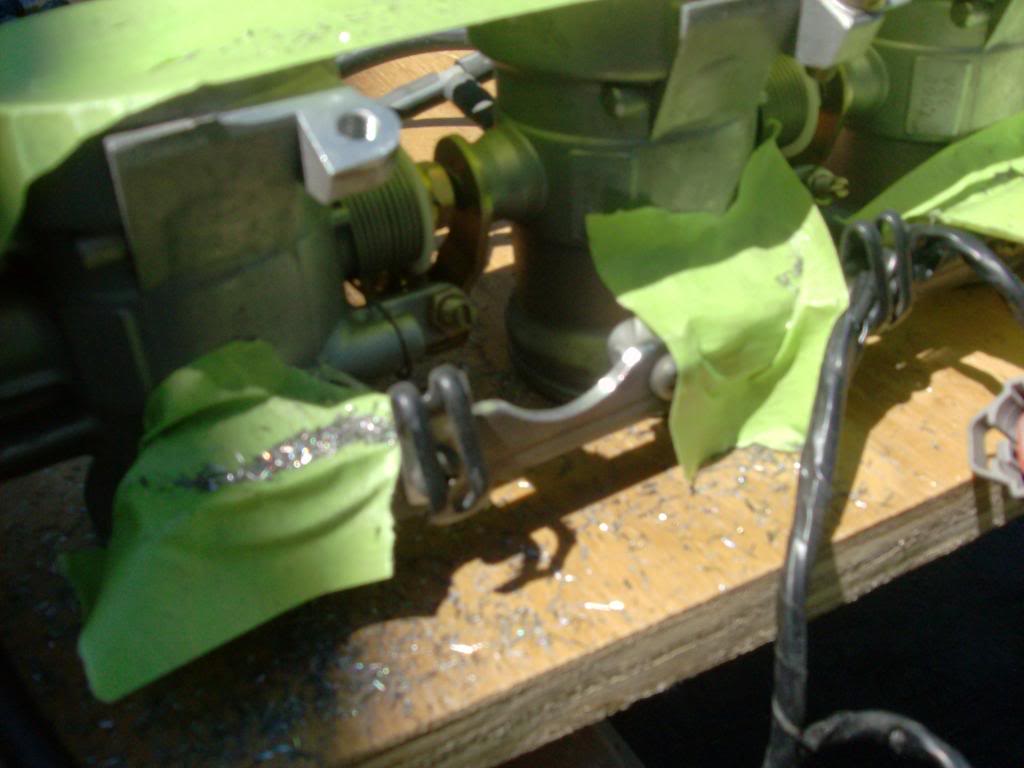
After:
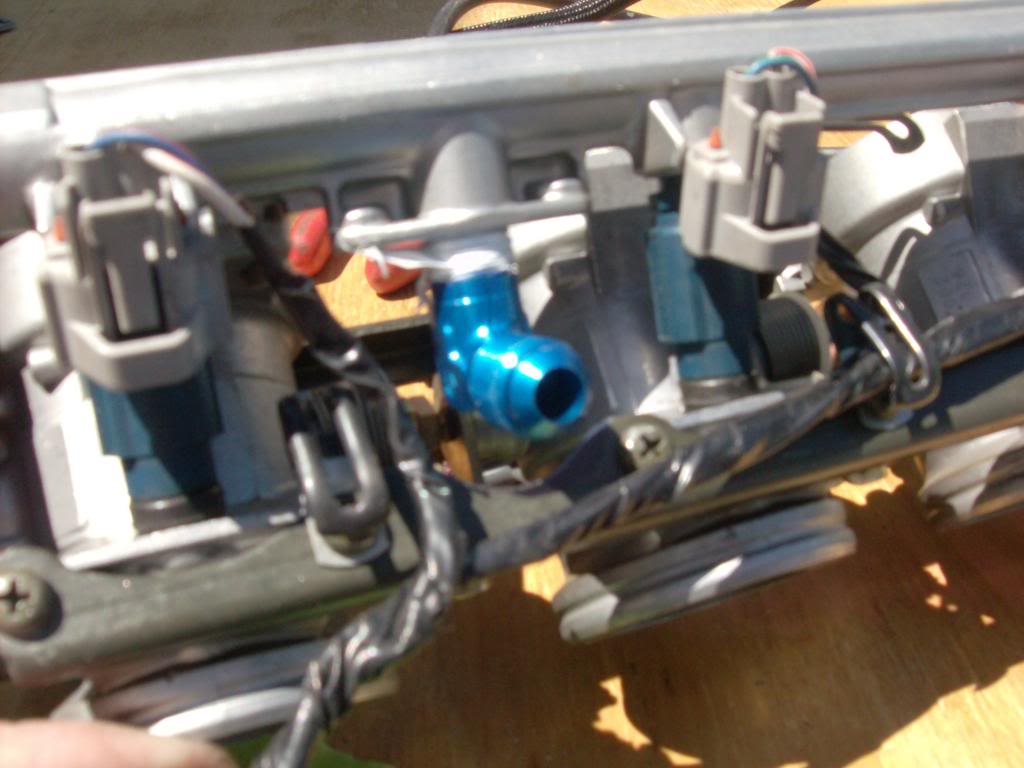
I needed clearance for the injector plugs as well:


After:
The ZX14 injector is way shorter than the ZX12R injector. To install the injectors I had to "shorten" the mounting area on the throttle bodies and fuel rail. I removed 0.100" from the TB's fuel rail mounting pads and 0.100" from the fuel rail mounting tabs. The rest of the distance was made up by installing the lower o-rings from the 12's injectors below the 14's o-rings. This stack-up and the material removal on the top part closed the distance enough to install the 14's injectors.

Upper rail before grinding:

After:

Throttle Body's fuel rail mounting pad after:

Injector mounted:

Had to gain clearance for the fuel return line as well:
Before:

During:

After:

I needed clearance for the injector plugs as well:


After:

Thread Starter
|
Senior Member
1st Gear Member
Joined: Sep 2012
Posts: 326
From: Ohio
1st Gear Member
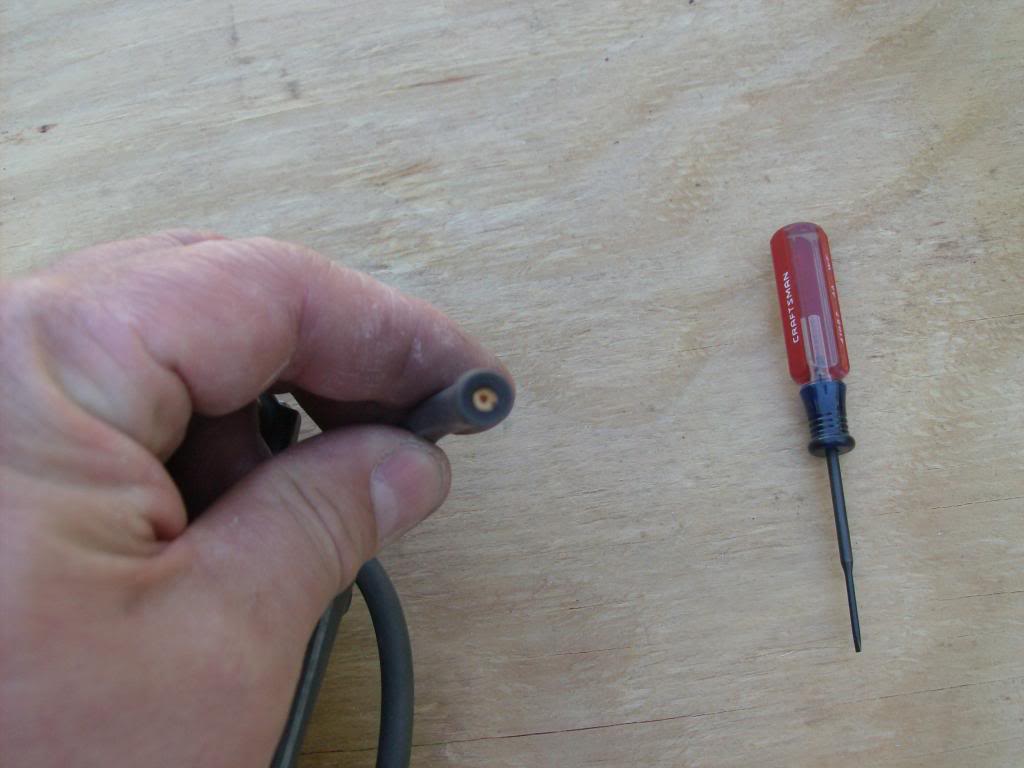
I also did the famous ZX12 pilot jet mod (google it for more info). It's usually done to smooth out hte idle on a header equipped ZX12R. I did it to help insulate the inlet air pressure sensor from boost pressure. I also did some other things to help with that but I have no pictures of it all yet.
Mikuni 12.5 pilot jet:

Installed in the vacuum hose for the IAPS:
That's all for today. I'll post more pics of today's progress and tomorrow's progress later.
Mikuni 12.5 pilot jet:

Installed in the vacuum hose for the IAPS:

That's all for today. I'll post more pics of today's progress and tomorrow's progress later.
Thread Starter
|
Senior Member
1st Gear Member
Joined: Sep 2012
Posts: 326
From: Ohio
1st Gear Member
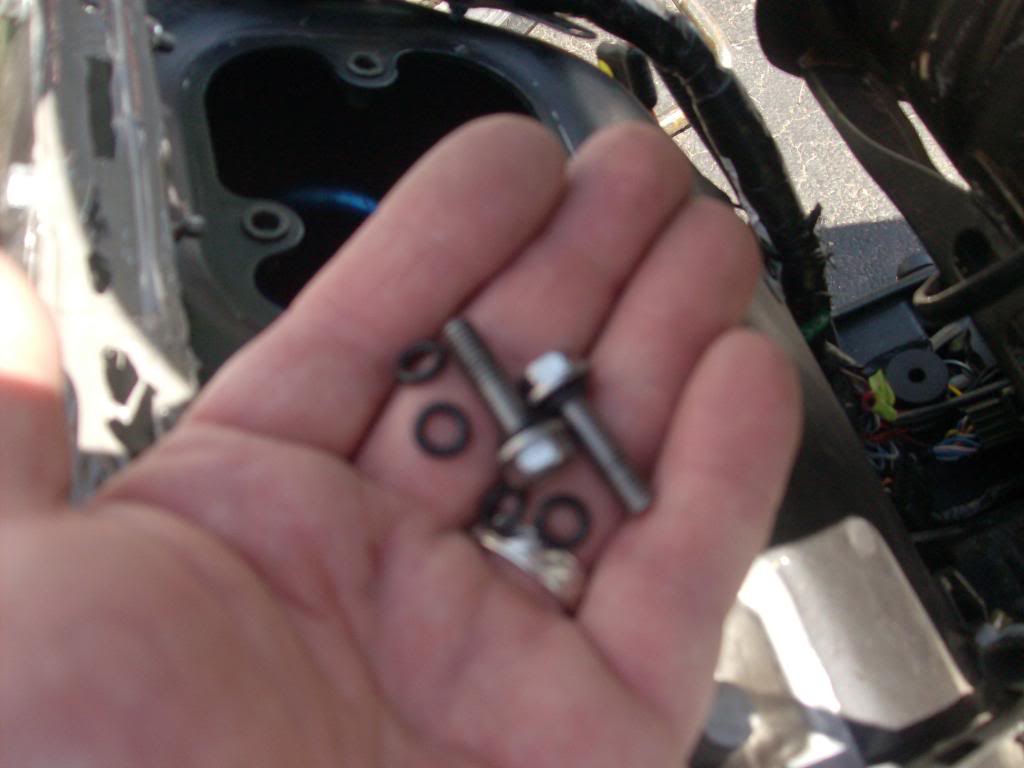
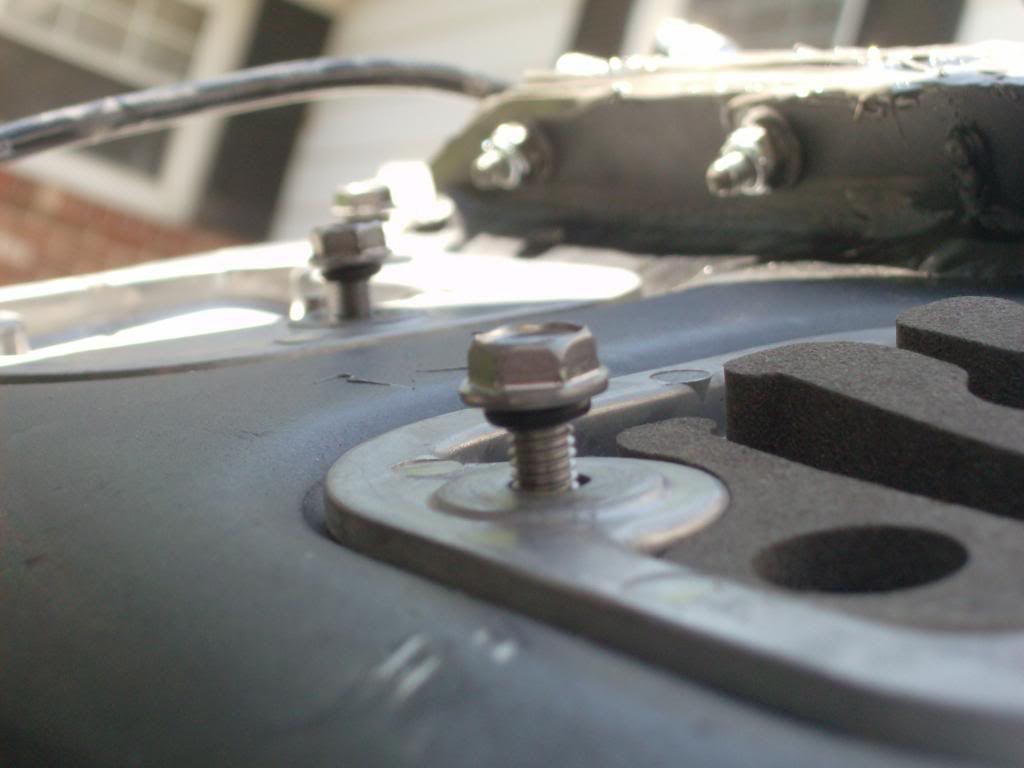
Today I put the final touches on sealing the airbox to make a true plenum out of it. I used aircraft sealant for the major structural parts and rubber o-rings for screws and some rivnuts. The velocity stacks are a particular issue all their own because they sit against the bottom of the airbox and have screws going through them and the airbox floor to a nut channel below it. I used the Muzzy velocity stacks because they have rubber o-rings sealing their bottoms to the airbox. That leaves the screw holes. I filled them with sealant before sitting the velocity stacks in place. Then I pushed the screws through the sealant and into their nuts and tightened them. When the sealant dries they will be air-tight. I applied sealant around the edges of the openings for the airfilter block off plates and pushed the plates into it to make sure I had total coverage. I put the bolts in place but did not tighten them until the sealant started to cure. This kept the sealant from totally pushing out and creating voids. I also sealed in place the rubber rivnuts for the air inlet covers and front of the fuel tank cover. The screws will seal those up when they're installed. The final part was the airbox access covers. They have rubber gaskets from the factory. All I needed to do was seal the bolts that hold them down. I put rubber o-rings on them and that finished it all up.None of this part is pretty but it works.
Here's the photos:


Here's the photos:


Thread Starter
|
Senior Member
1st Gear Member
Joined: Sep 2012
Posts: 326
From: Ohio
1st Gear Member
I know some of you are wondering why I left the sealant on the outside of the block off plates if I pushed them into the sealant to create an internal seal. I did that so I can spot check for leaks. It only takes a small hole to lose a decent amount of pressure. I can either look for the blown out sealant or I can spray soapy water on it, fire the bike up and watch for bubbles to form. There's your leak detection 101 class for the day.
There's your leak detection 101 class for the day
ah, but I hate using goop of anything unless needed. You say yay...I have no experience in your situation, so my mouth is shut! lol (a bad *** ride though)

Thread Starter
|
Senior Member
1st Gear Member
Joined: Sep 2012
Posts: 326
From: Ohio
1st Gear Member
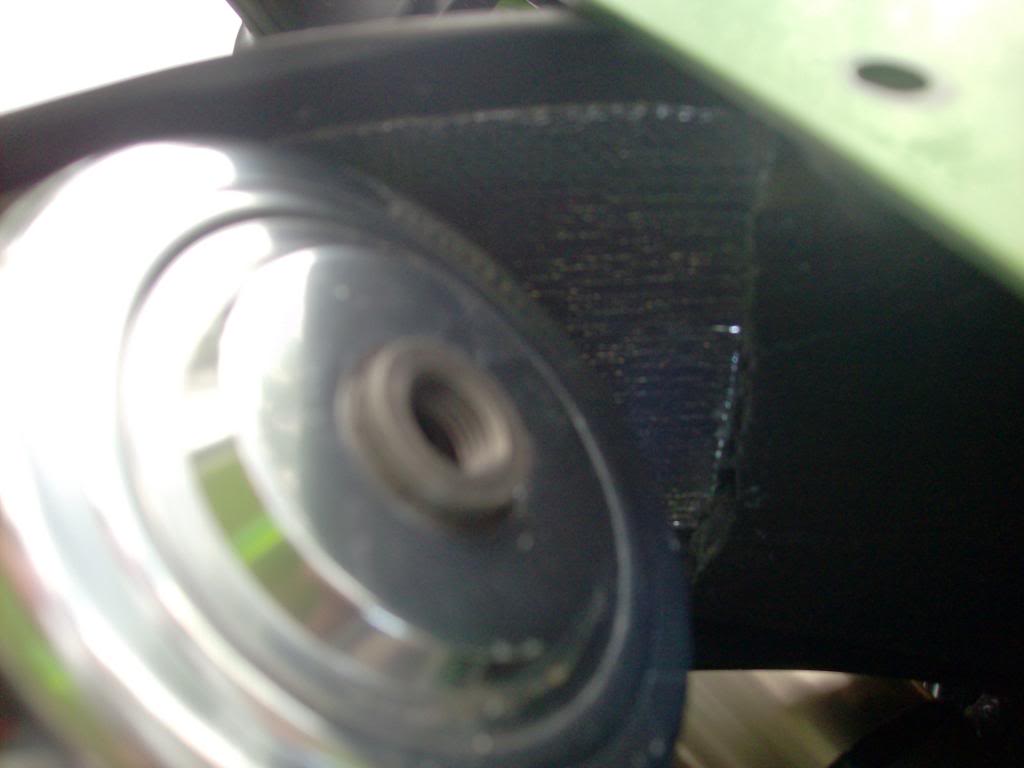
This morning I worked on a couple things relatd to heat issues. I applied heat barrier stuff to the underside of the right dash coevr to protect it from the blow off valve:


And I also worked on the right fairing a little. I added 2 layers of carbon fiber sheet on top of the heat shield there.

This is because the exhaust burned into the heat shield there.


And I also worked on the right fairing a little. I added 2 layers of carbon fiber sheet on top of the heat shield there.

This is because the exhaust burned into the heat shield there.

Thread Starter
|
Senior Member
1st Gear Member
Joined: Sep 2012
Posts: 326
From: Ohio
1st Gear Member
I also trimmed the fairing around the clutch cover to eleviate some of the stress put on that fairing. I believe that is part of why the exhaust is bound up against it.
Then I took it for a ride and stopped at my favorite photo site to snap a couple pictures.
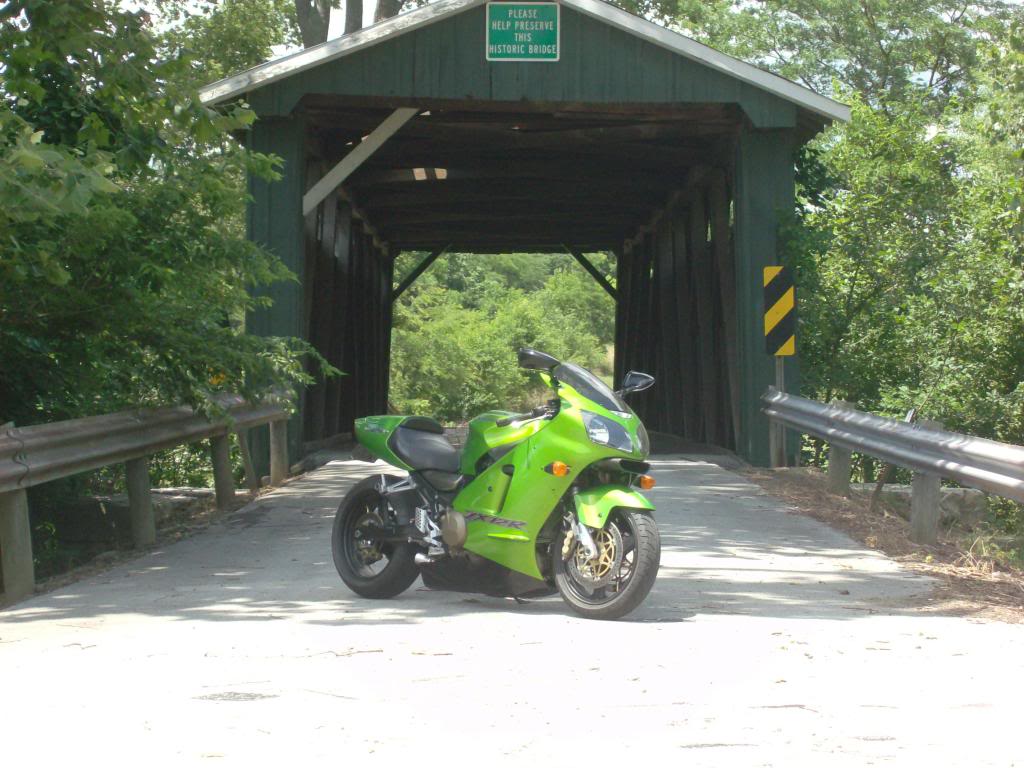


It's the oldest still active covered bridge in Ohio (according to the Greene County Historical Society).
Then I took it for a ride and stopped at my favorite photo site to snap a couple pictures.


It's the oldest still active covered bridge in Ohio (according to the Greene County Historical Society).


