
Shifter shaft seal replacement


Thread Starter
|
Junior Member
Joined: Jul 2012
Posts: 8
I had a leaky seal on my shifter shaft and all though it is a fairly basic and straight forward procedure, I figured I would post it up in case anyone would like to use it as a reference in the future.
You will require:
Kawasaki Part # 92049-1559 (Oil Seal)
8mm wrench
Hammer
Small punch
Something to drive in new seal (socket)
**Drain your engine oil before starting**
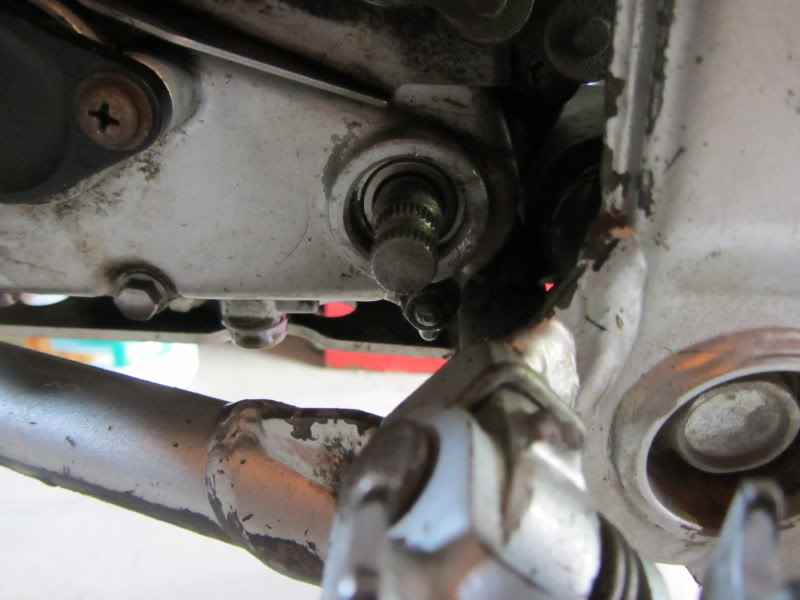
Start by removing the shift lever. Remove the 8mm bolt and slide the lever off the shaft. This will reveal the seal.
To remove the seal, use a small punch and a hammer. I found that catching the edge of the seal and driving it towards the shaft to deform it worked well. Use care in this step; not a lot of force is required and you do not want to mar your case.
Here is the new seal with the old
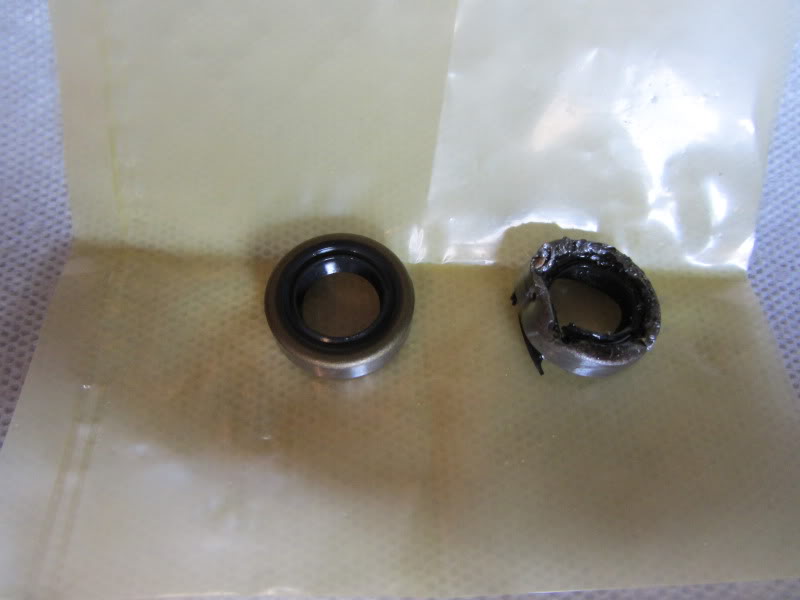
Seal removed
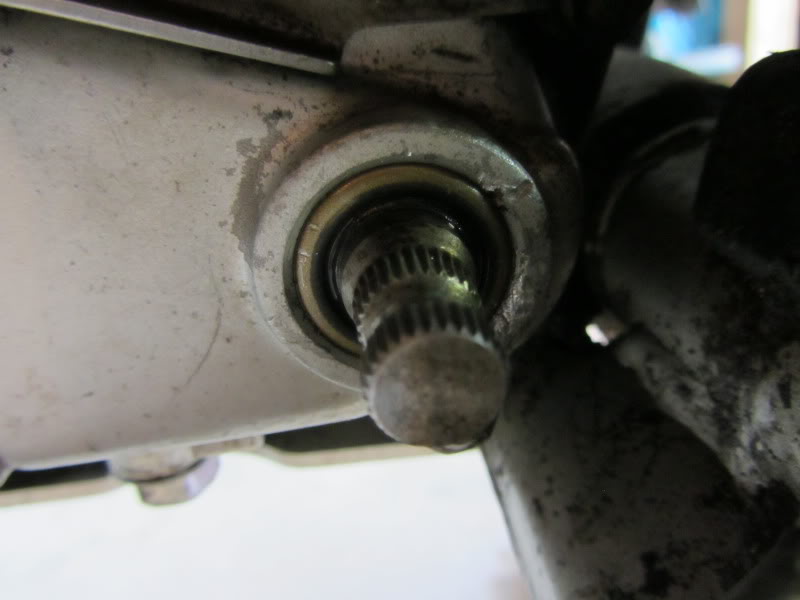
Once the seal is removed, clean any visible dirt from the surface. Once clean, take your new seal from the package, give it a light coat of oil and drive it in. This is a little tricky because of the positioning of the engine in the frame makes the foot peg a bit of an obstacle. I found that a 1/2" drive 1/2" socket worked. You want the seal to drive in evenly, meaning you don't want any one side to be driven in further than another.

New seal in place (marring on the case was not caused by the removal of the seal, it was caused by what I assume was the previous owner prying against it. This was the reason for the replacement of the seal in the first place)
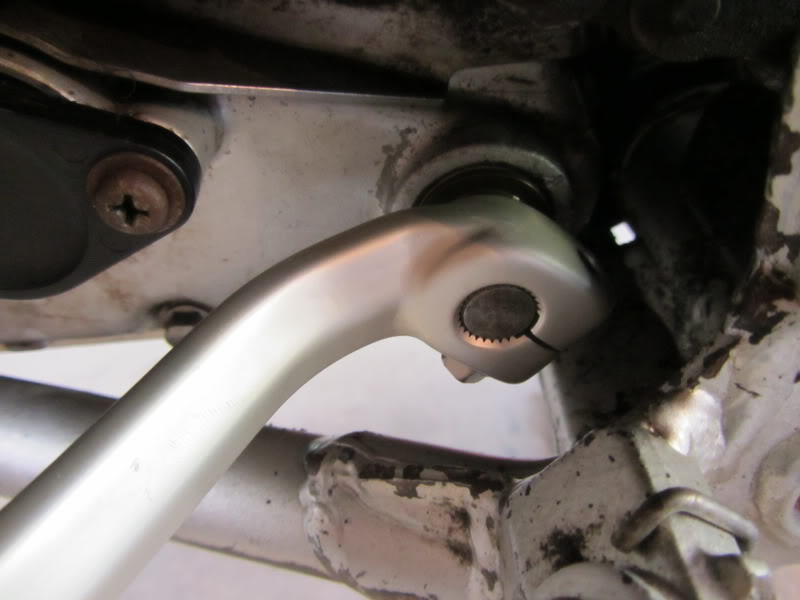
All buttoned up
This will require you to remove you oil, or you could probably just lean your bike way over onto the right side. I was doing an oil change at the same time so I just chose to drain it.
That's all there is to it!
You will require:
Kawasaki Part # 92049-1559 (Oil Seal)
8mm wrench
Hammer
Small punch
Something to drive in new seal (socket)
**Drain your engine oil before starting**
Start by removing the shift lever. Remove the 8mm bolt and slide the lever off the shaft. This will reveal the seal.
To remove the seal, use a small punch and a hammer. I found that catching the edge of the seal and driving it towards the shaft to deform it worked well. Use care in this step; not a lot of force is required and you do not want to mar your case.
Here is the new seal with the old
Seal removed
Once the seal is removed, clean any visible dirt from the surface. Once clean, take your new seal from the package, give it a light coat of oil and drive it in. This is a little tricky because of the positioning of the engine in the frame makes the foot peg a bit of an obstacle. I found that a 1/2" drive 1/2" socket worked. You want the seal to drive in evenly, meaning you don't want any one side to be driven in further than another.
New seal in place (marring on the case was not caused by the removal of the seal, it was caused by what I assume was the previous owner prying against it. This was the reason for the replacement of the seal in the first place)
All buttoned up
This will require you to remove you oil, or you could probably just lean your bike way over onto the right side. I was doing an oil change at the same time so I just chose to drain it.
That's all there is to it!

Senior Member
Joined: Mar 2008
Posts: 3,406
From: N. Illinois
1st Gear Member
Dan

Senior Member
Joined: Oct 2010
Posts: 4,507
From: SW Idaho
1st Gear Member

Thread
Thread Starter
Forum
Replies
Last Post
neonarc
KLX 250S
14
Jun 28, 2015 02:58 PM