Bill Blue 351 install, Pic’s links
#1
 05-18-2010, 03:05 AM

Join Date: Mar 2008
Location: N. Illinois
Posts: 3,406
Got'er done!!!!!!!
Some helpful links.
Armycopters 351 install https://www.kawasakiforums.com/forum...ad.php?t=31703
Bill Blues site http://bandbcyclerestorations.com/
ADV thread on the 351 kit http://www.advrider.com/forums/showthread.php?t=405545
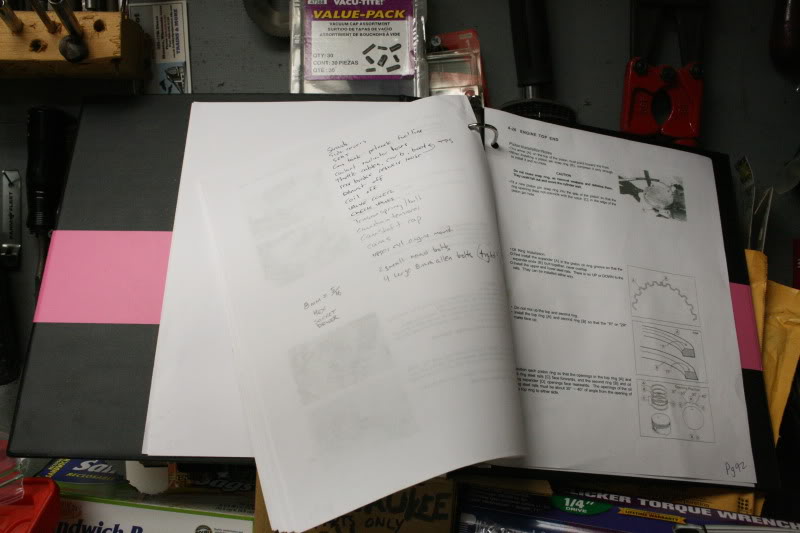
There is a bit of information on here already on 351 installs including the excellent one by Armycopter (see above). I don’t plan on a step by step write up , but I’ll put up a bunch of pics, some tips, and some trouble spots I found. I’ll start by saying that I have never done much of anything inside an engine, but I feel I’m fairly mechanically inclined. Swapping out the cylinder is pretty easy, but you will need patience, the right tools, and a manual. When you get your 351 kit in the mail it’s just a box of parts. I printed out the manual pages I would need from the one that’s been shared here on KF, and put them in a 3 ring binder.
First thing it wash the bike good, you don’t want any dirt falling into the engine while it’s all opened up. Even with at good washing you keep uncovering dirt. I kept a rag and a bucket of soapy water to wipe off any new dirt as I uncovered it.
Get all the easy stuff off the bike. Shrouds seat tank etc. I didn't take any pics of that, if you need those pics.......well good luck.
As suggested in other threads, I put all the bolts and little parts in baggies as I took them off so I didn't loose anything. Baggies are cheap.
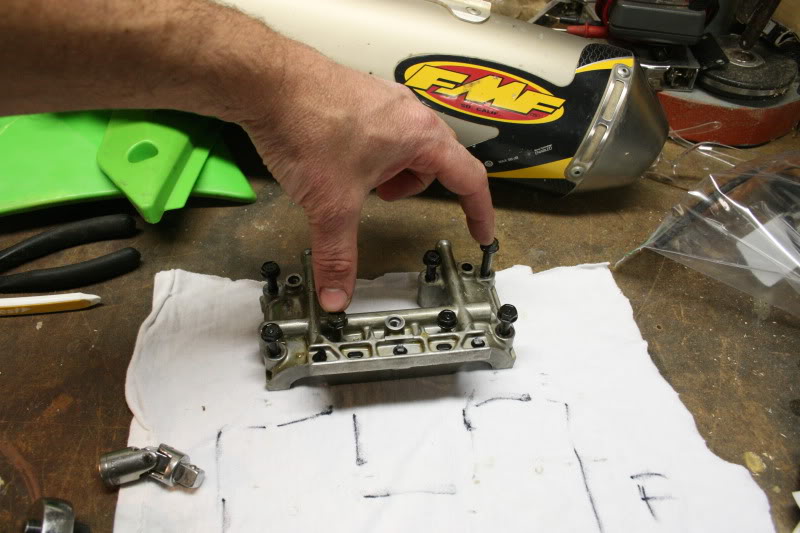
Don’t mix up the bolts holding the cam cap on, two of them are longer. The longer ones went where the dowel pins line things up.
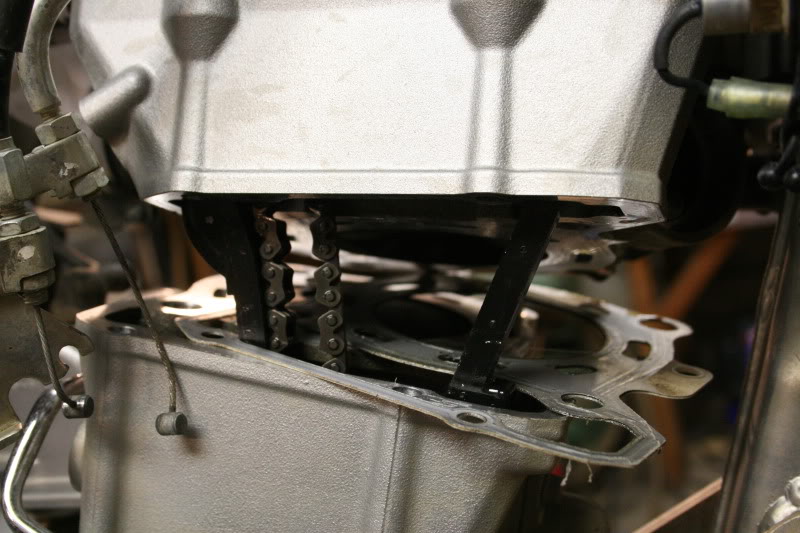
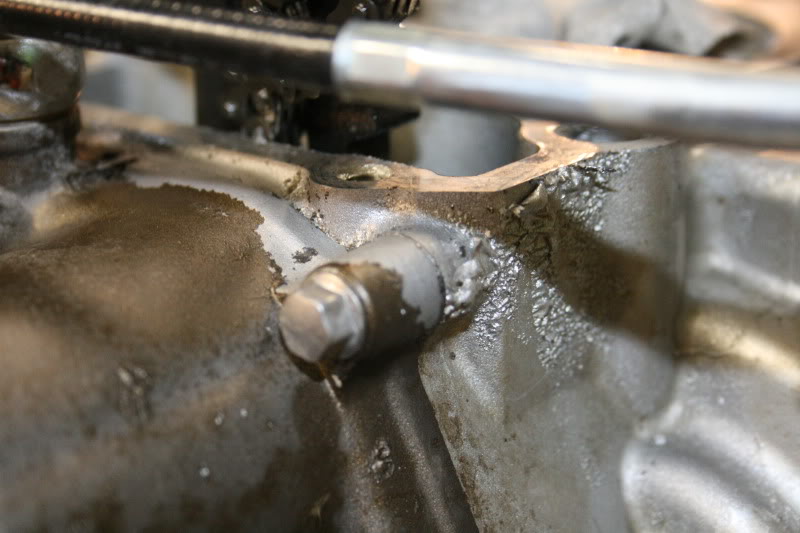
Manual said to remove the cam chain guide, I didn’t see a way to get it out and just had to finagle my way around it.
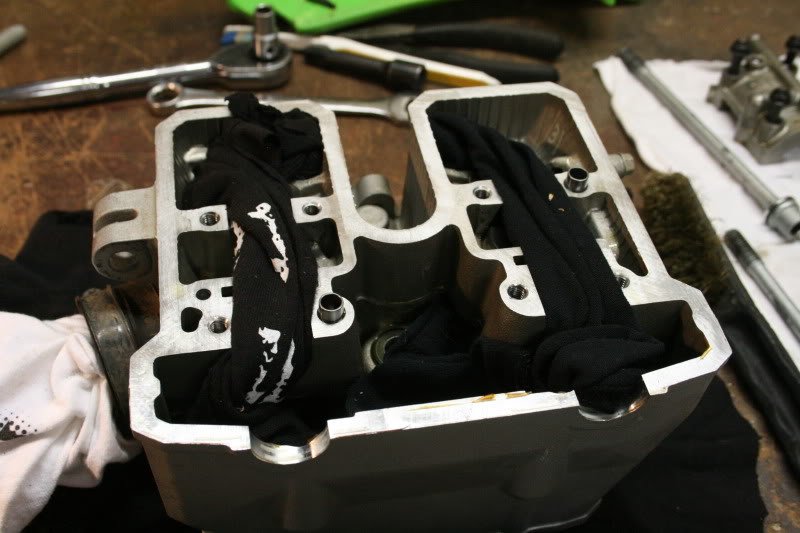
Before I flipped the head over I stuffed rags in the top to hold the buckets in. (I think it was cousinlarry that taught me that one) , you don’t want to flip the head over without holding the buckets in, or they will probably fall out and you might loose or mix up a shim.
Some helpful links.
Armycopters 351 install https://www.kawasakiforums.com/forum...ad.php?t=31703
Bill Blues site http://bandbcyclerestorations.com/
ADV thread on the 351 kit http://www.advrider.com/forums/showthread.php?t=405545
There is a bit of information on here already on 351 installs including the excellent one by Armycopter (see above). I don’t plan on a step by step write up , but I’ll put up a bunch of pics, some tips, and some trouble spots I found. I’ll start by saying that I have never done much of anything inside an engine, but I feel I’m fairly mechanically inclined. Swapping out the cylinder is pretty easy, but you will need patience, the right tools, and a manual. When you get your 351 kit in the mail it’s just a box of parts. I printed out the manual pages I would need from the one that’s been shared here on KF, and put them in a 3 ring binder.
First thing it wash the bike good, you don’t want any dirt falling into the engine while it’s all opened up. Even with at good washing you keep uncovering dirt. I kept a rag and a bucket of soapy water to wipe off any new dirt as I uncovered it.
Get all the easy stuff off the bike. Shrouds seat tank etc. I didn't take any pics of that, if you need those pics.......well good luck.
As suggested in other threads, I put all the bolts and little parts in baggies as I took them off so I didn't loose anything. Baggies are cheap.
Don’t mix up the bolts holding the cam cap on, two of them are longer. The longer ones went where the dowel pins line things up.
Manual said to remove the cam chain guide, I didn’t see a way to get it out and just had to finagle my way around it.
Before I flipped the head over I stuffed rags in the top to hold the buckets in. (I think it was cousinlarry that taught me that one) , you don’t want to flip the head over without holding the buckets in, or they will probably fall out and you might loose or mix up a shim.
Last edited by dan888; 05-18-2010 at 08:33 PM.
#2
05-18-2010, 03:06 AM
Join Date: Mar 2008
Location: N. Illinois
Posts: 3,406
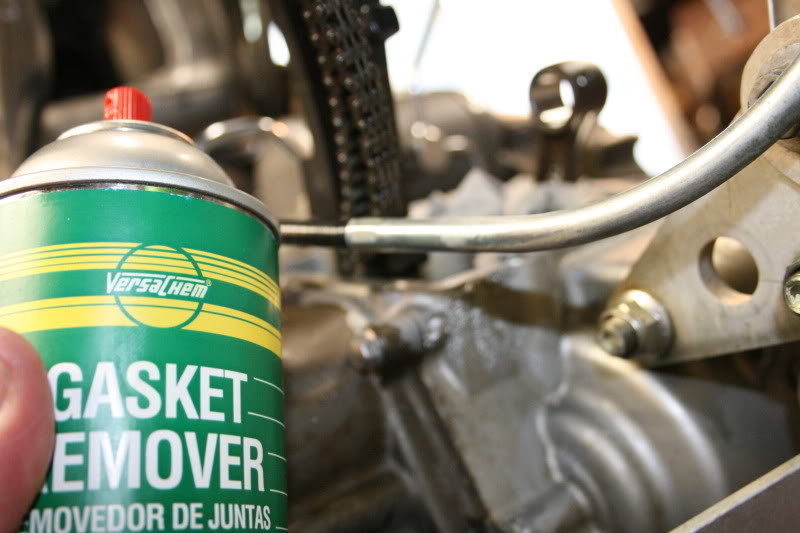
I read earlier , I think Nobrakes may have posted it, that the gasket remover would also remove paint. He wasn’t lying. Oh well, it’s a dirt bike.
The piston wrist pin clips made me nervous , I could easily see one of them popping loose and shooting off to some little nook where I would never find it. I ended up going into the bathroom to put the first on in.. It was the smallest room in the house and it has a smooth floor. I figured it would be easier to find a lost part in there. I found a good series of pics showing how to install the clip here. http://www.v-twinforum.com/forums/tw...pin-clips.html It ended up working great.
The manual says to replace the copper washers on either side of the banjo bolt on the oil line. These are little copper washers that deform and seal the pipe. Once they are squished they become a little harder (work hardened). Re-using the washers might not give you a good seal. Copper can be softened again (annealed) by heating. I found this site that explains how to anneal the copper washer back to a softer state, ready to deform and seal the fitting again. http://www.motorcycle.co.uk/Referenc...m-washers.aspx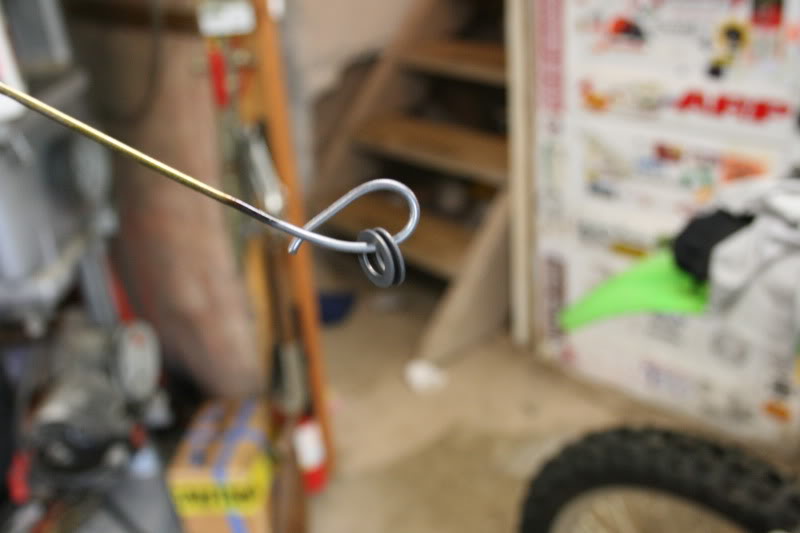
Last edited by dan888; 05-18-2010 at 03:10 AM.
#3
05-18-2010, 03:07 AM
Join Date: Mar 2008
Location: N. Illinois
Posts: 3,406
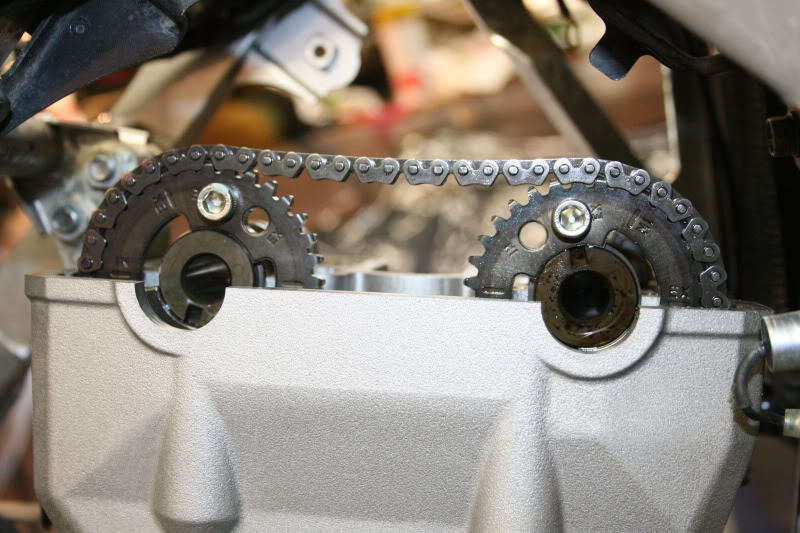
Bill told me to please double check and make sure to get the cams timed correctly. He recently had a guy put a 351 on and not turn it over by hand. He had it timed wrong and when he hit the starter button quite a bit of damage was done, (bye bye engine). When you get the cams in, and timed,, turn the engine over counter clockwise using a socket on the magneto nut. Turn it over at least four revolutions feeling for anything binding as you go. Four revolutions will completely cycle the engine (4 stroke). I turned that ***** over quite a few times, just to be sure. (Edit this pic shows the cams timed correctly, but no tensioners or cam cap in place. Install that stuff before cranking it over by hand.)
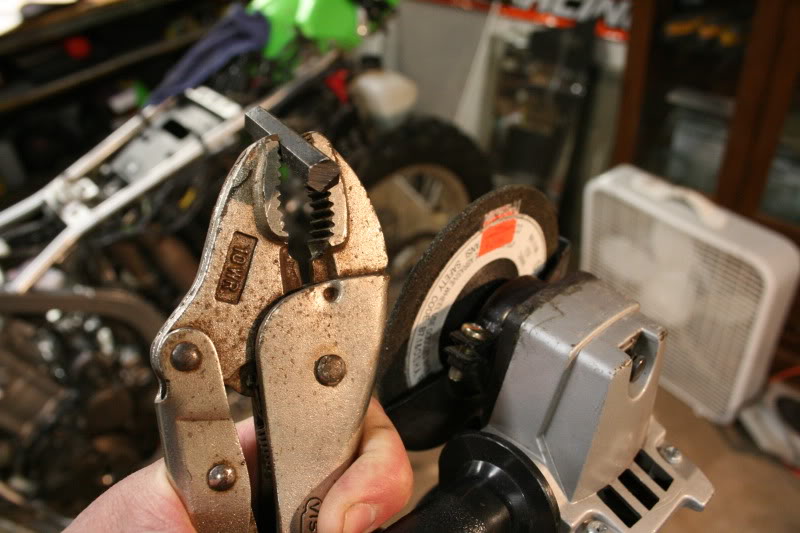
The Allen head bolts holding the head on are really tight!! I cut a piece of Allen wrench off and used it and a socket to drive these bolts. You could buy one but this was quicker, easier, and cheaper for me. BTW a 5/16 Allen wrench is the same as a 8mm. .312 vs .315, that's about a human hair different, and I'm sure the tolerances they mfg wrenches to cover that difference.
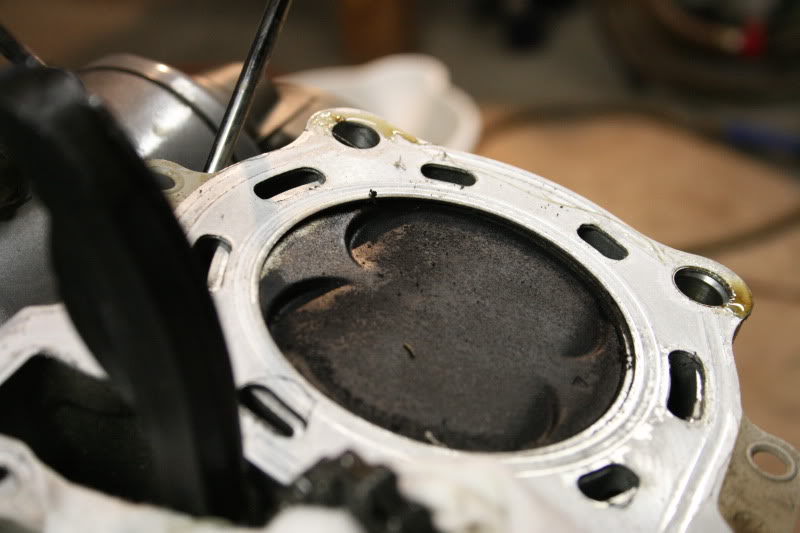
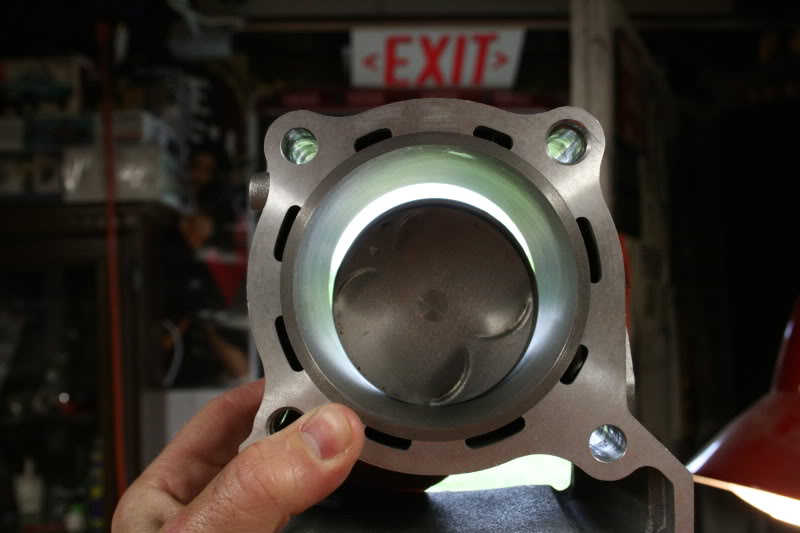
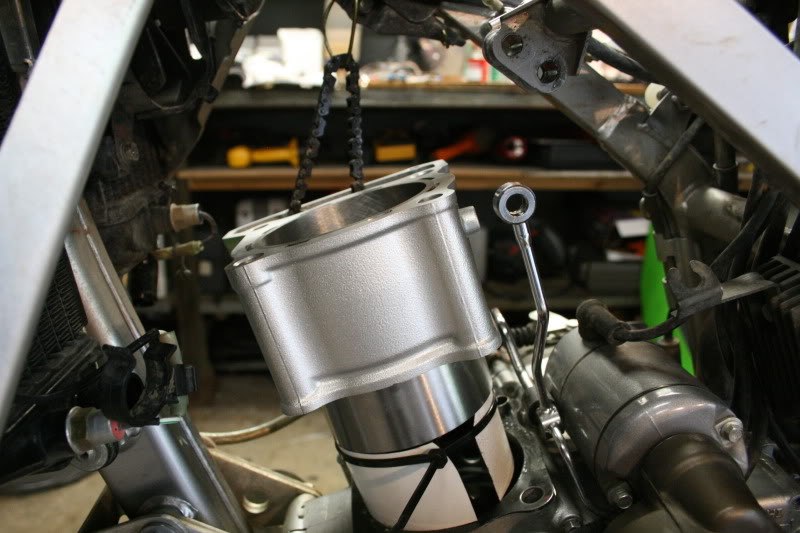
250 piston in the 351 bore.
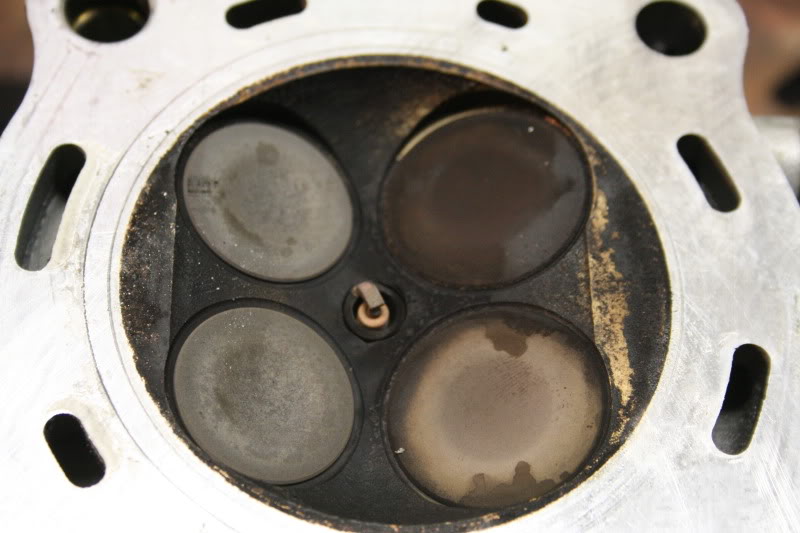
Took a brass brush and some carb cleaner to the head.
Cleaned up good.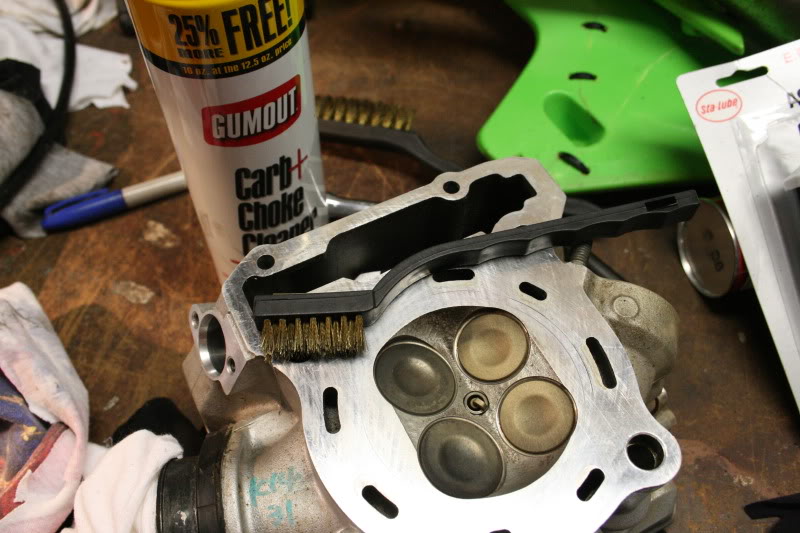
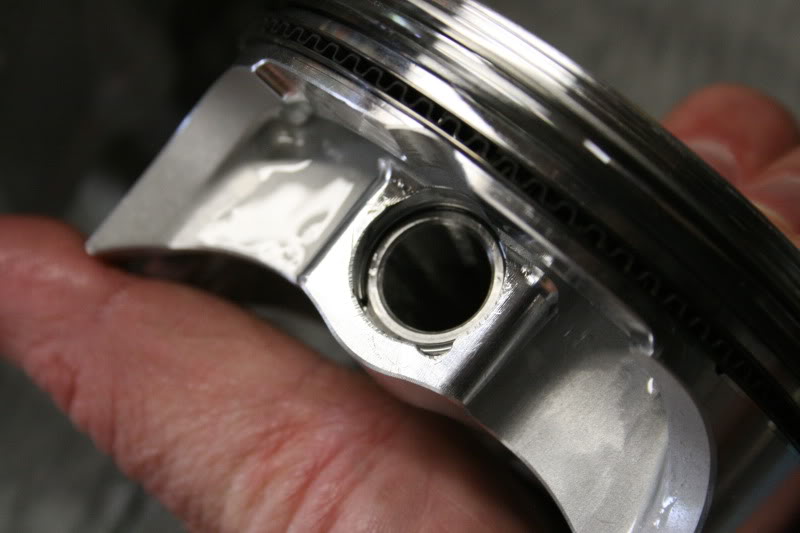
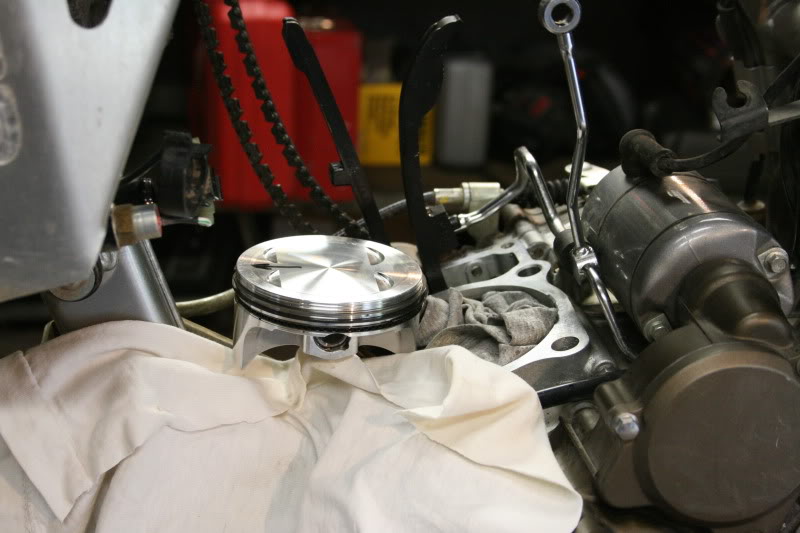
The piston has an arrow which you need to install facing the front of the engine. The reason for this is the cut outs in the piston are larger for the larger intake valves.
I didn’t have a piston ring compressor, so I made up a makeshift one out of some aluminum coil and a couple zip ties. It actually worked really well.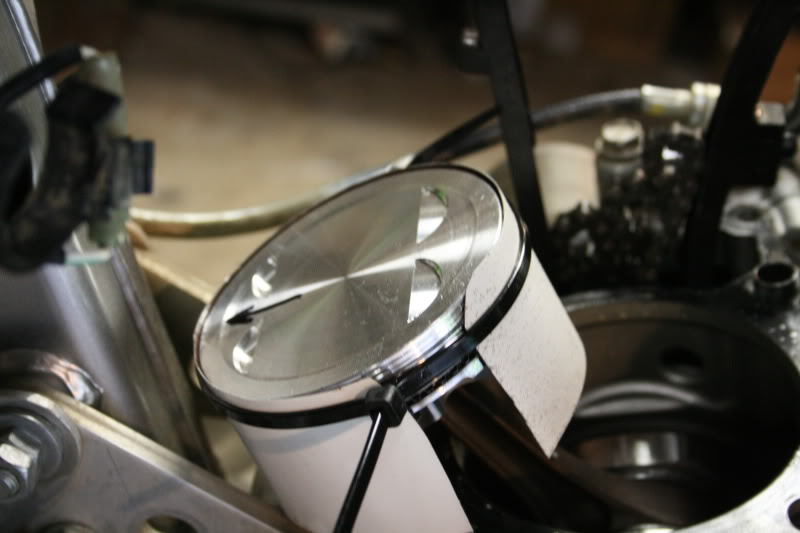
The Allen head bolts holding the head on are really tight!! I cut a piece of Allen wrench off and used it and a socket to drive these bolts. You could buy one but this was quicker, easier, and cheaper for me. BTW a 5/16 Allen wrench is the same as a 8mm. .312 vs .315, that's about a human hair different, and I'm sure the tolerances they mfg wrenches to cover that difference.
250 piston in the 351 bore.
Took a brass brush and some carb cleaner to the head.
Cleaned up good.
The piston has an arrow which you need to install facing the front of the engine. The reason for this is the cut outs in the piston are larger for the larger intake valves.
I didn’t have a piston ring compressor, so I made up a makeshift one out of some aluminum coil and a couple zip ties. It actually worked really well.
Last edited by dan888; 05-18-2010 at 08:30 PM.
#4
05-18-2010, 03:08 AM
Join Date: Mar 2008
Location: N. Illinois
Posts: 3,406
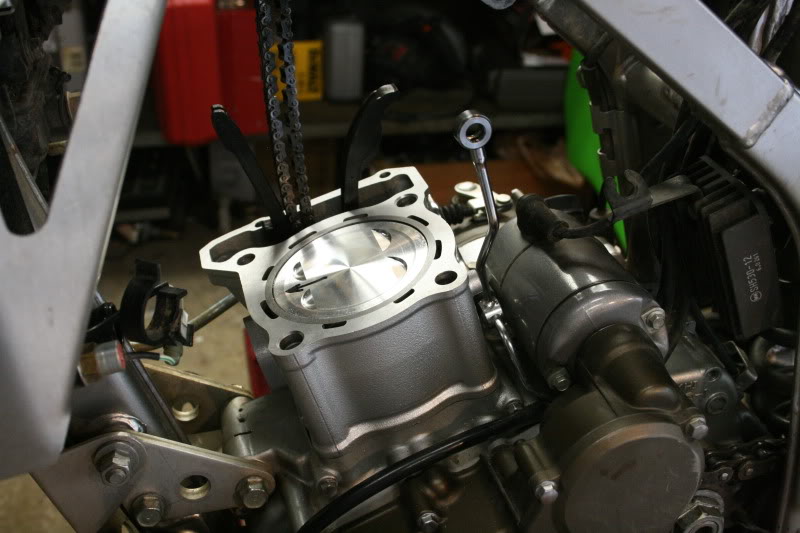
Pimped out smog block off plate. Make sure you use the gasket off the old fitting.

When I arrive at the moment of truth, I hit the starter switch and it got about a half a revolution and stopped with the solenoid click click clicking. The battery was dead, I recently had to bump start it a couple times and I knew the battery was going, but what crappy timing. I grabbed the boat battery hooked it up and turned the bike over. Vroooom started right up!!! That’s a pretty good feeling. It ran a minute or two and then died, and would not start. That’s a not so good feeling. I finally realized that I had the petcock shut off. Just call me Mr Dumass. Once I got it going , I let it warm up while varying the rpms, shut it down and later did the same thing. A couple heat cycles should help all the new parts settle in and find a home. Today took it out of the basement workshop and ran it around the yard. Definitely feel the extra cc’s. Front will come up without much effort, actually scared myself a couple times (I’m no wheelie expert). Jetting seems to be good after going by what Bill suggests (from what ever you are currently running, go one up one on the pilot and two on the main) I have the #40 pilot and the #135 main in now. I cleaned and re-oiled the filter,but I didn’t touch anything else. I’m not saying it’s perfect, but so far I see no need for adjustments. Got a new battery at the Batteries Plus store for $50. Took it for a break in run today and it ran great.
I’ll post more later. Thanks to all the people before me that have put up useful info on this install, and to those that offered help if I needed it. I’ll try to pay it forward.
Dan ………needs to change his signature.


#9
05-18-2010, 11:06 AM
Thanks for the great write-up! Your timing is excellent for me as I just ordered the 351 kit myself yesterday morning.
Can't wait to get it and put it in and your write up will certainly help with that!
Also enjoyed the write-up by Armycopter and picked up a few good points there as well! Giddy up!!!
Can't wait to get it and put it in and your write up will certainly help with that!
Also enjoyed the write-up by Armycopter and picked up a few good points there as well! Giddy up!!!
Last edited by Miaugi; 05-18-2010 at 11:38 AM.
#10
05-18-2010, 05:09 PM

Good job Dan. Wanna come down to S.C. and do mine? I'm jelous over the wheelies. I think my front tire is glued to the ground. Not like my old KDX250. Maybe I need a 13 up front. ENJOY !