"DIY" Seat Modification
#1
 04-10-2015, 12:44 AM


Join Date: Nov 2013
Location: Patagonia, AZ
Posts: 181
I was thinking about buying an aftermarket seat after trying my friend's Sargent, but the cost was slowing me down.  Lane, my friend, suggested that I take his OEM seat and see what I could do to modify it - worse case I could always buy an aftermarket seat if I mucked the project up too badly. At first I didn't think I wanted to try this but after reading Modify Seat I got enthused about giving it a try.
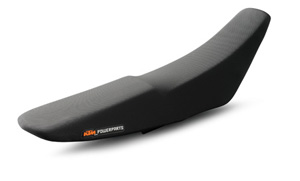
Before:
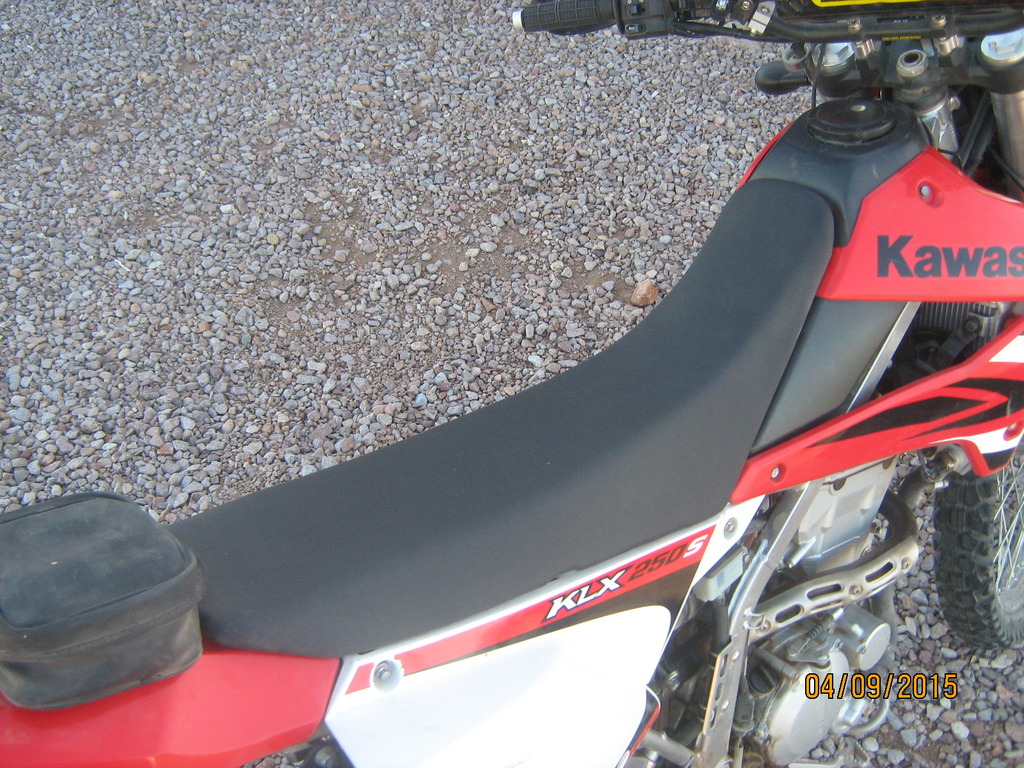
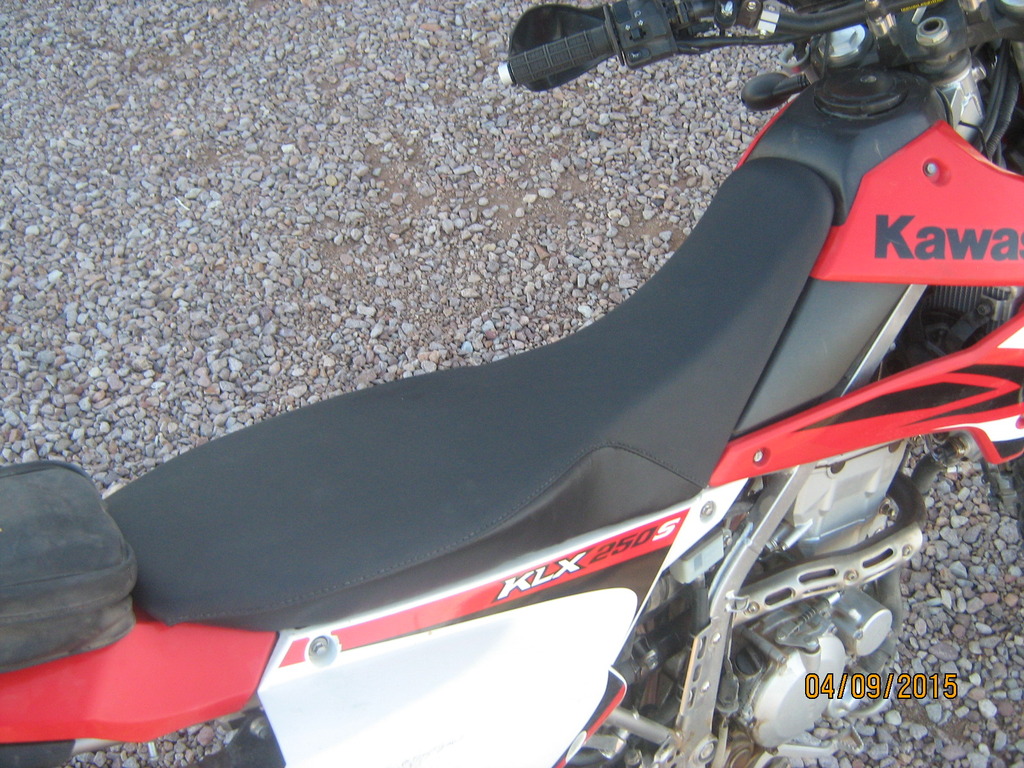
After:

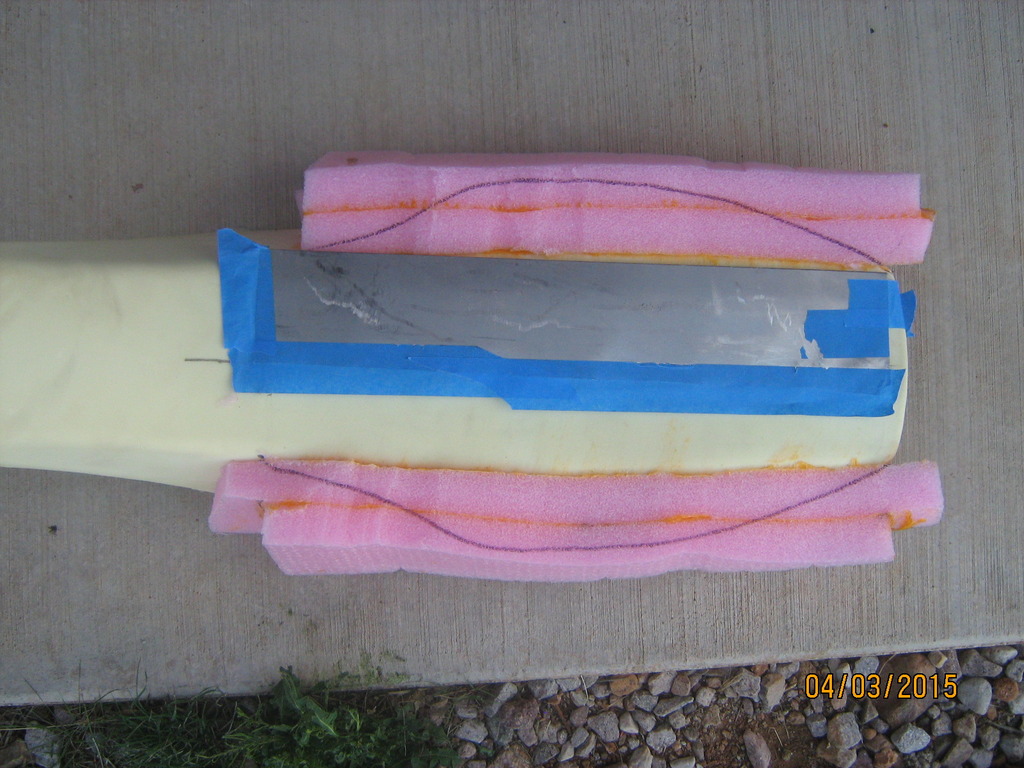
The process: i bought $5 worth of scrap packaging foam that felt like it had the same resistance as the foam in the stock seat.
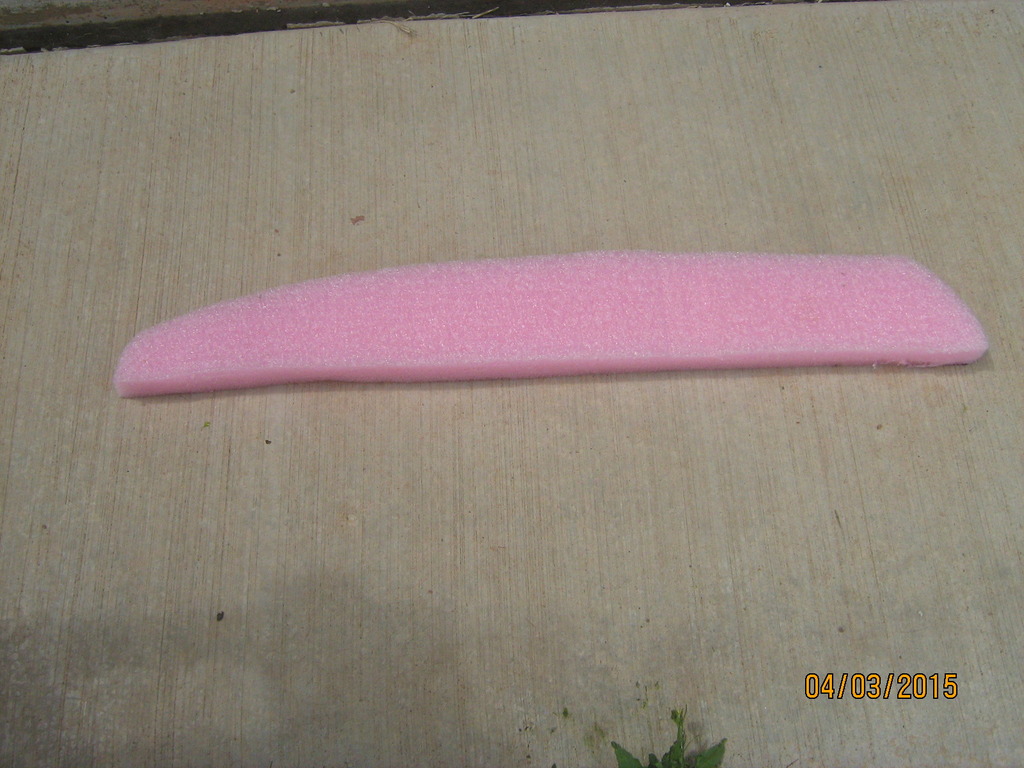
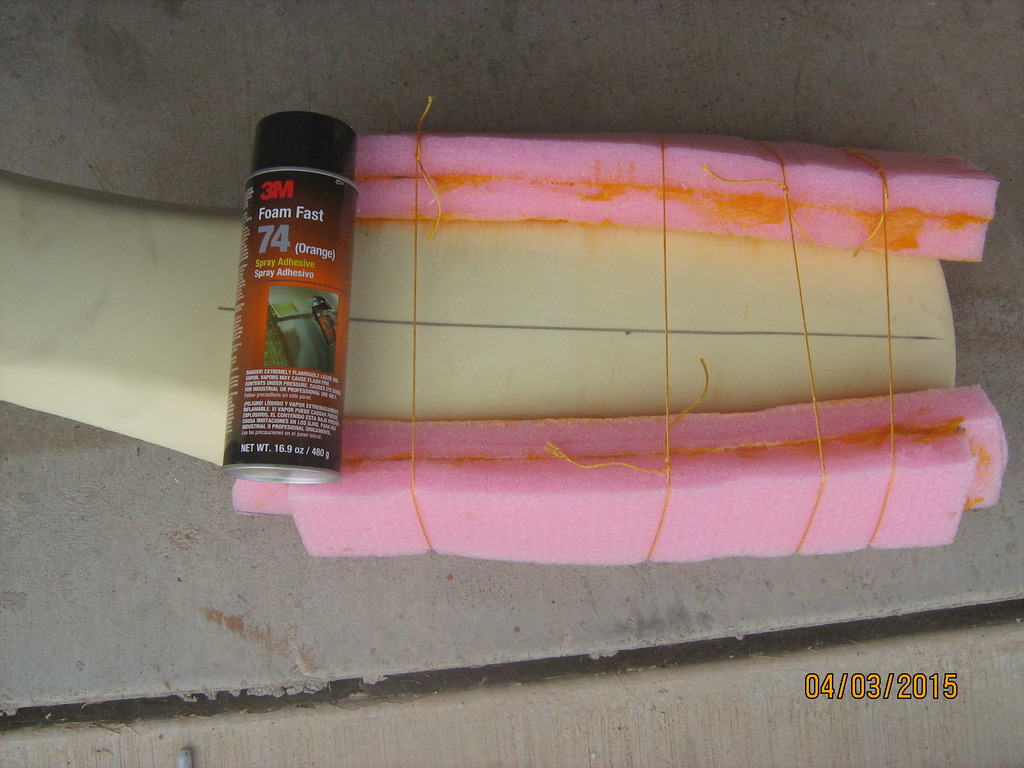
It is an inch thick and I was pretty sure I needed more thickness so using 3M' Fast Foam 74, I laminated two pieces together.
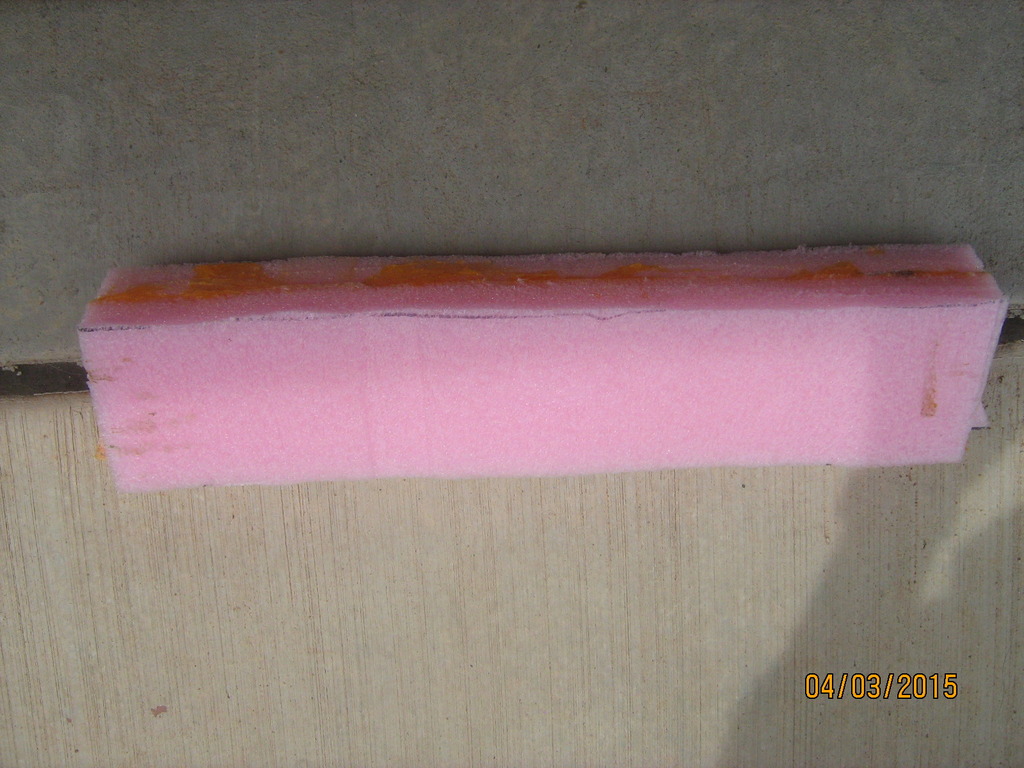
Had to do this for both sides and then glue the laminated pieces to the sides of the seat.
Next I used an electric kitchen knife, Black & Decker, about $10, got the plane of the laminated pieces to the same height as the OEM seat. Used a hunk of 22 gauge c.r.s so I wouldn't hack into the OEM seat surface.
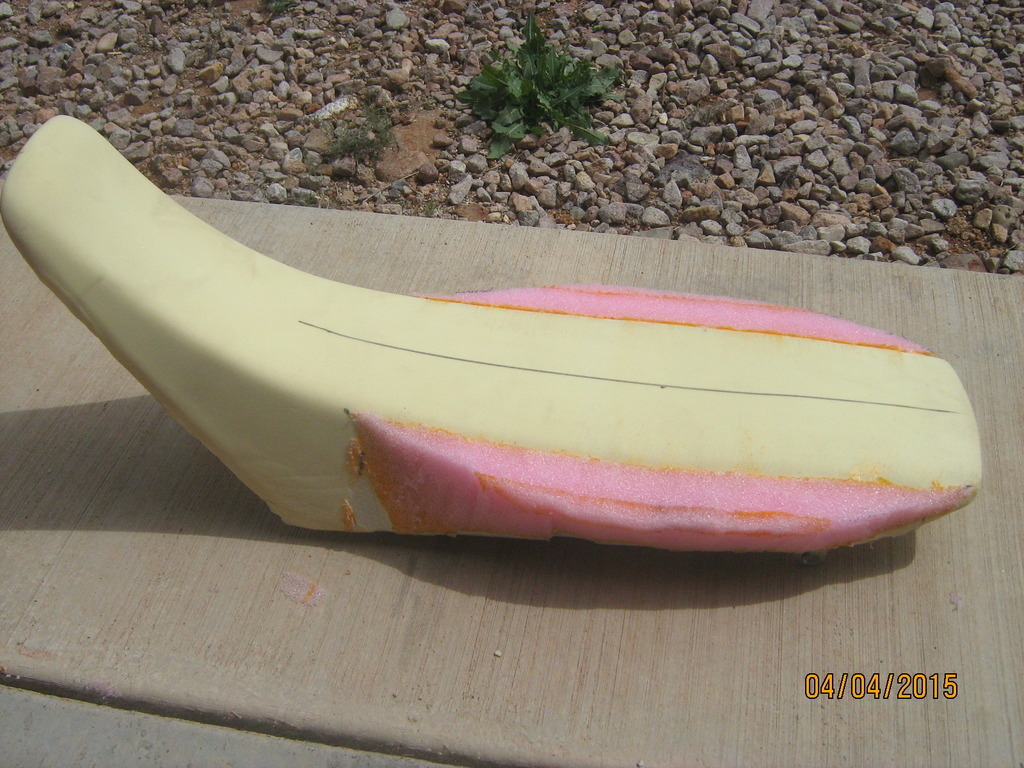
Then I traced the outline of template made from Lane's Sargent to define the contour of the seat.
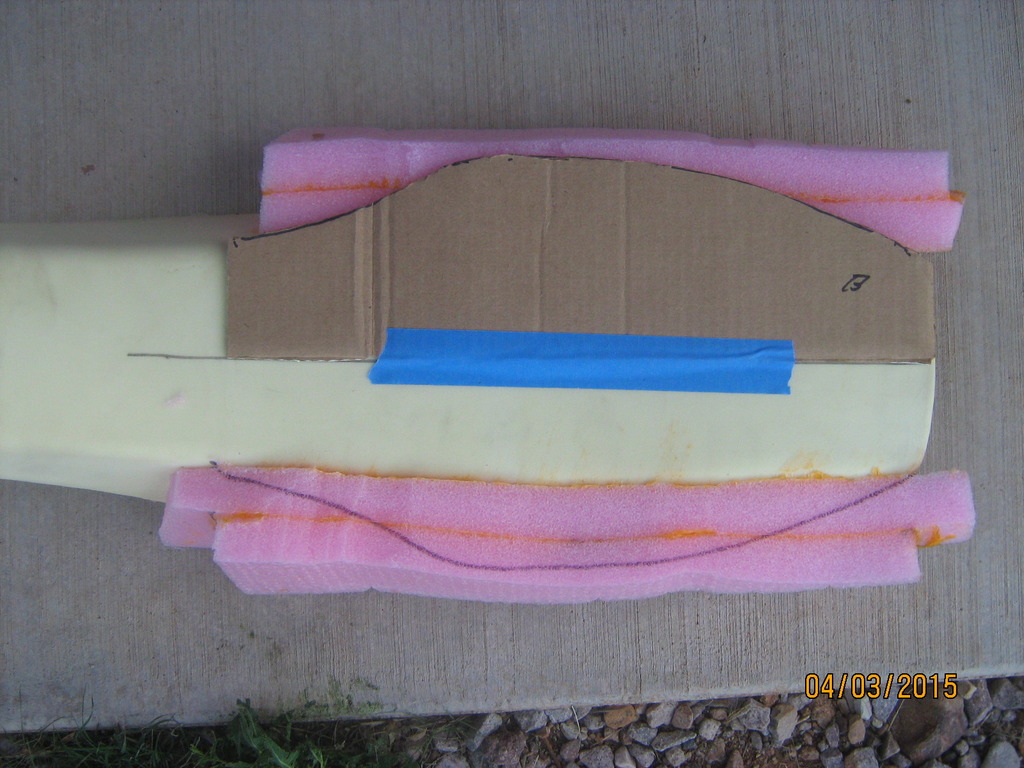
Spent some time smoothing rough edges as best I could with the electric knife.
Then it was off to a local upholstery shop to put the original cover back on (I like the non-skid feature) and add bolsters to the sides so that it could be stapled back on. I rationalized the $45 cost because I wouldn't have to buy a power stapler. I had tried my hand powered stapler and it wouldn't penetrate the seat pan to the degree I liked.
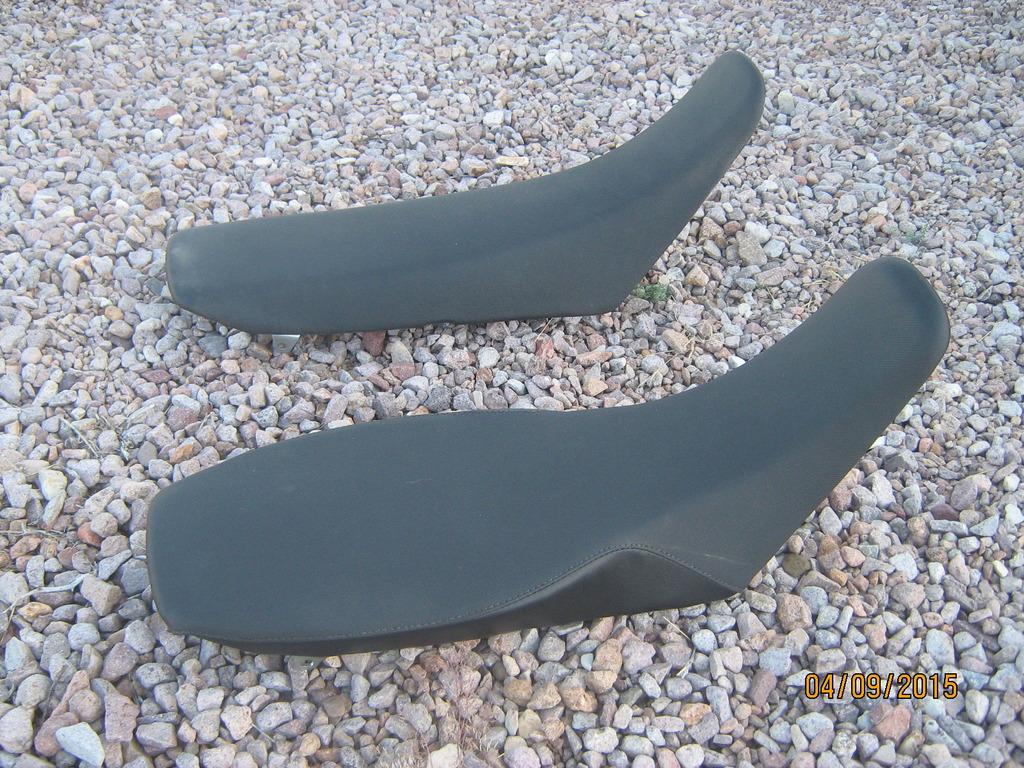
We'll see how it holds up and how much of an improvement it is. It will be pretty easy to remove the foam I added and try another type of foam sometime in the future. My cutting technique will be better the next time I do it.
Lane, my friend, suggested that I take his OEM seat and see what I could do to modify it - worse case I could always buy an aftermarket seat if I mucked the project up too badly. At first I didn't think I wanted to try this but after reading Modify Seat I got enthused about giving it a try.Before:
After:
The process: i bought $5 worth of scrap packaging foam that felt like it had the same resistance as the foam in the stock seat.
It is an inch thick and I was pretty sure I needed more thickness so using 3M' Fast Foam 74, I laminated two pieces together.
Had to do this for both sides and then glue the laminated pieces to the sides of the seat.
Next I used an electric kitchen knife, Black & Decker, about $10, got the plane of the laminated pieces to the same height as the OEM seat. Used a hunk of 22 gauge c.r.s so I wouldn't hack into the OEM seat surface.
Then I traced the outline of template made from Lane's Sargent to define the contour of the seat.
Spent some time smoothing rough edges as best I could with the electric knife.
Then it was off to a local upholstery shop to put the original cover back on (I like the non-skid feature) and add bolsters to the sides so that it could be stapled back on. I rationalized the $45 cost because I wouldn't have to buy a power stapler. I had tried my hand powered stapler and it wouldn't penetrate the seat pan to the degree I liked.
We'll see how it holds up and how much of an improvement it is. It will be pretty easy to remove the foam I added and try another type of foam sometime in the future. My cutting technique will be better the next time I do it.
#2
04-10-2015, 01:20 AM

Atta boy Rich.
I may look into that foam when I do the seat as a step up. I want to flatten the rider area on both my 650 and as needed on the 250 - no sliding into the tank - and put a slight step up on the back.
Ricky Carmichael's Hondas had that style seat, but his was to keep him in place under acceleration... I don't see that as an issue on the 250...
Last edited by klx678; 04-10-2015 at 01:26 AM.
#3
04-10-2015, 03:13 AM

For those of you with the older 06/07 models, keep in mind you can buy a cheap KLX300 seat off eBay for your seat DIY projects, so you have your good OEM one untouched 
Seatpan is exactly identical. Has same groove to fit on top of tank (even though KLX300 used a screw rather than the protrusion our tanks use).
I believe something with the seat is different in 09+ models, correct me if I'm wrong.
Seatpan is exactly identical. Has same groove to fit on top of tank (even though KLX300 used a screw rather than the protrusion our tanks use).
I believe something with the seat is different in 09+ models, correct me if I'm wrong.
#4
04-10-2015, 02:30 PM
Join Date: Oct 2009
Location: Sonoran Desert, Arizona
Posts: 262
Nice work, oldgypsy!
I'm doing something similar to a KLR seat, but I'm using closed cell foam:

Ron
I'm doing something similar to a KLR seat, but I'm using closed cell foam:

Ron
#9
05-24-2016, 06:32 PM
Join Date: Nov 2013
Location: Patagonia, AZ
Posts: 181
So far, so good.
Just after completion:
And now:
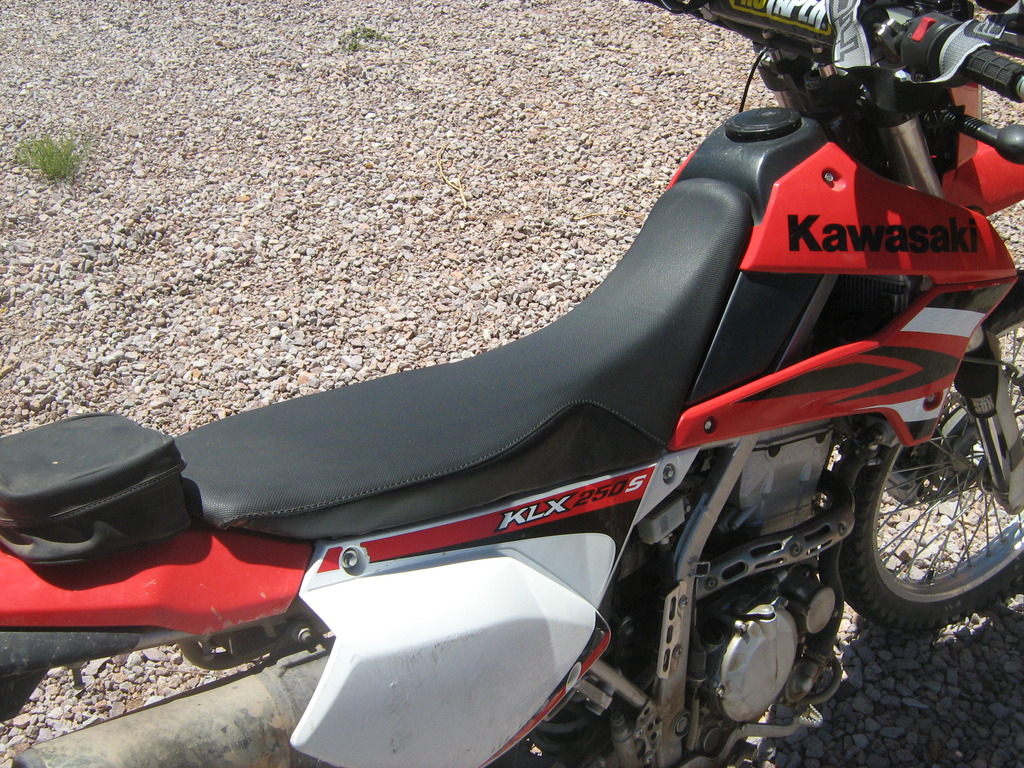
It's possible the foam that was added has compressed maybe an 1/8". I'm 79 years old, and I tend to sit vs stand more than the average rider. Unfortunately, I haven't been able to do a back to back compare with the Sargent seat, but I can still say that I've been quite pleased with the extra comfort and it seems to be holding up real well.
Just after completion:
And now:
It's possible the foam that was added has compressed maybe an 1/8". I'm 79 years old, and I tend to sit vs stand more than the average rider. Unfortunately, I haven't been able to do a back to back compare with the Sargent seat, but I can still say that I've been quite pleased with the extra comfort and it seems to be holding up real well.
#10
05-24-2016, 08:52 PM
Sir, you are my Hero and an Inspiration! Thanks for posting and keep riding. I can only hope & pray I will still be riding when I reach your age (Big If). Respect! And I love the seat Mod, tried to mod mine but gave up and bought the Seat Concepts with I'm sure similar results